A8/A6 Install on Windows
安装Windows 2012(虚拟机)
本渣这里使用的是OracleVirtualBox虚拟机,配置的方法如下: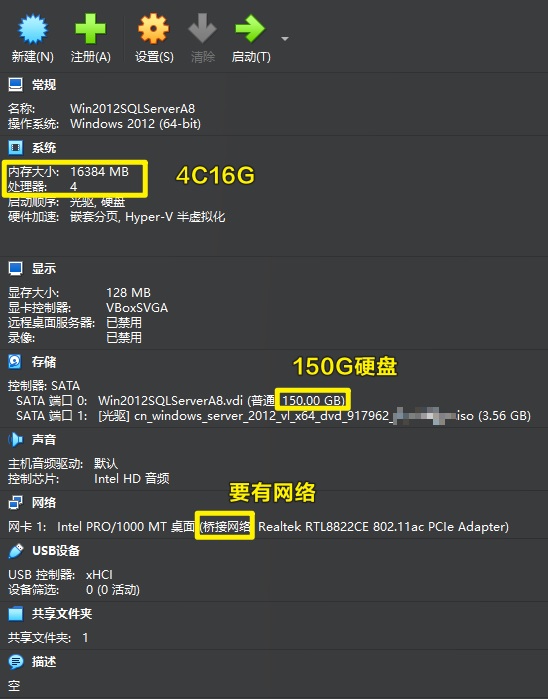
成功进入Windows安装界面
语言、货币、输入法都是默认值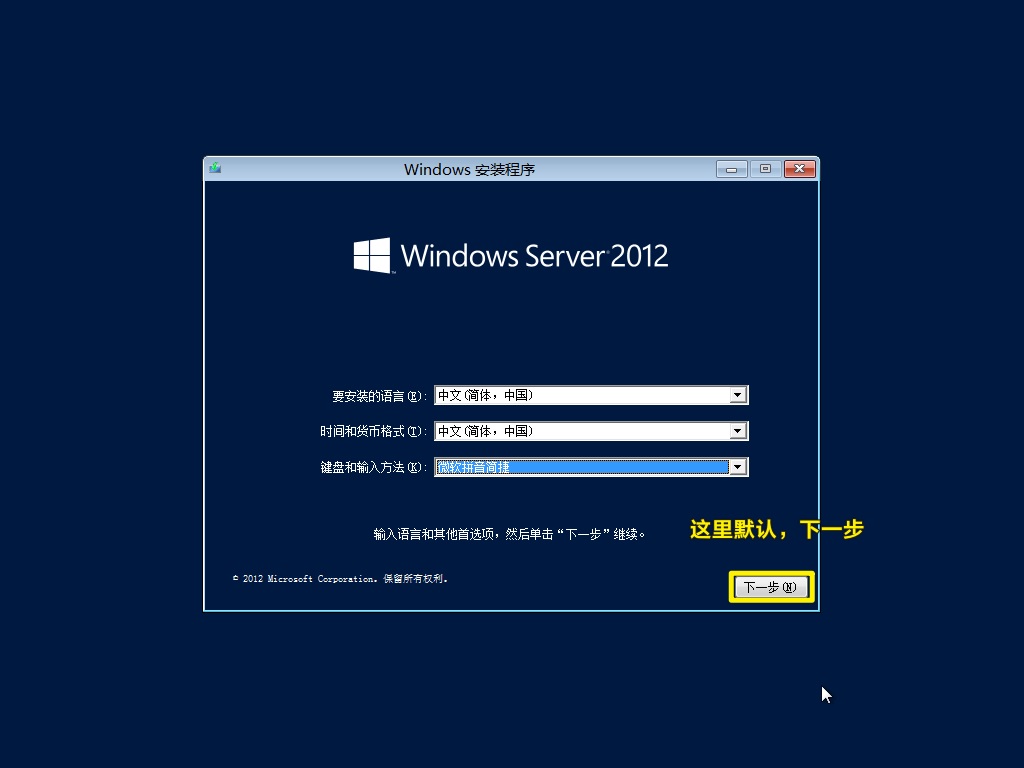
现在安装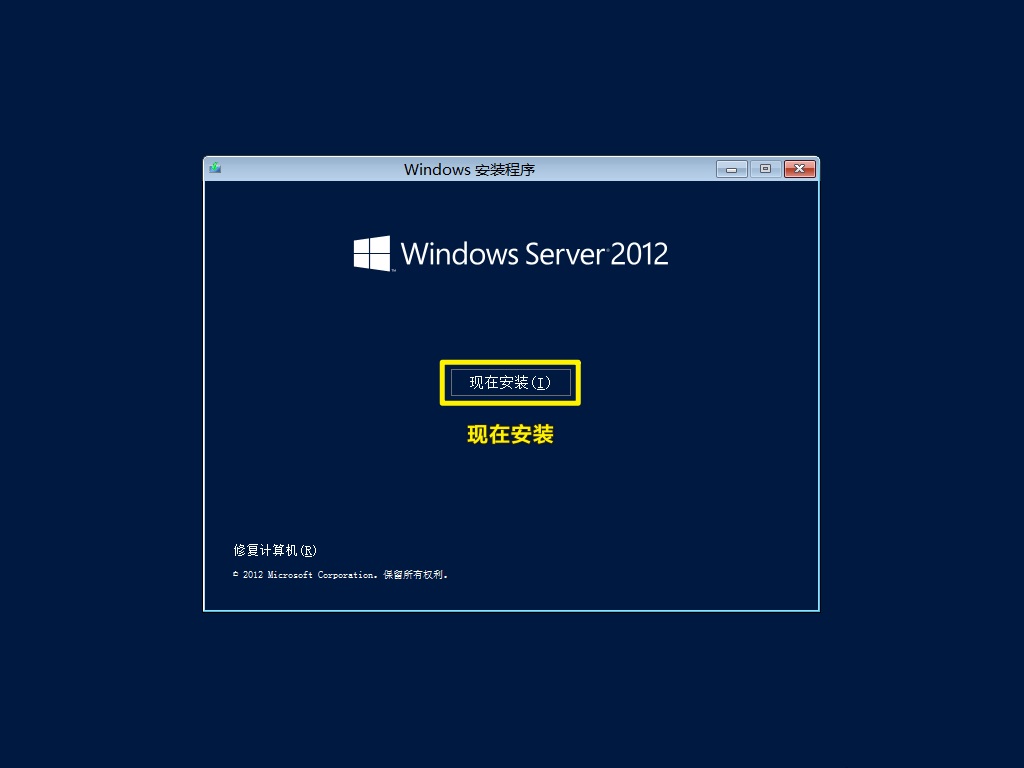
这里等一下安装程序运行
这里非常关键,必须要选择带GUI的版本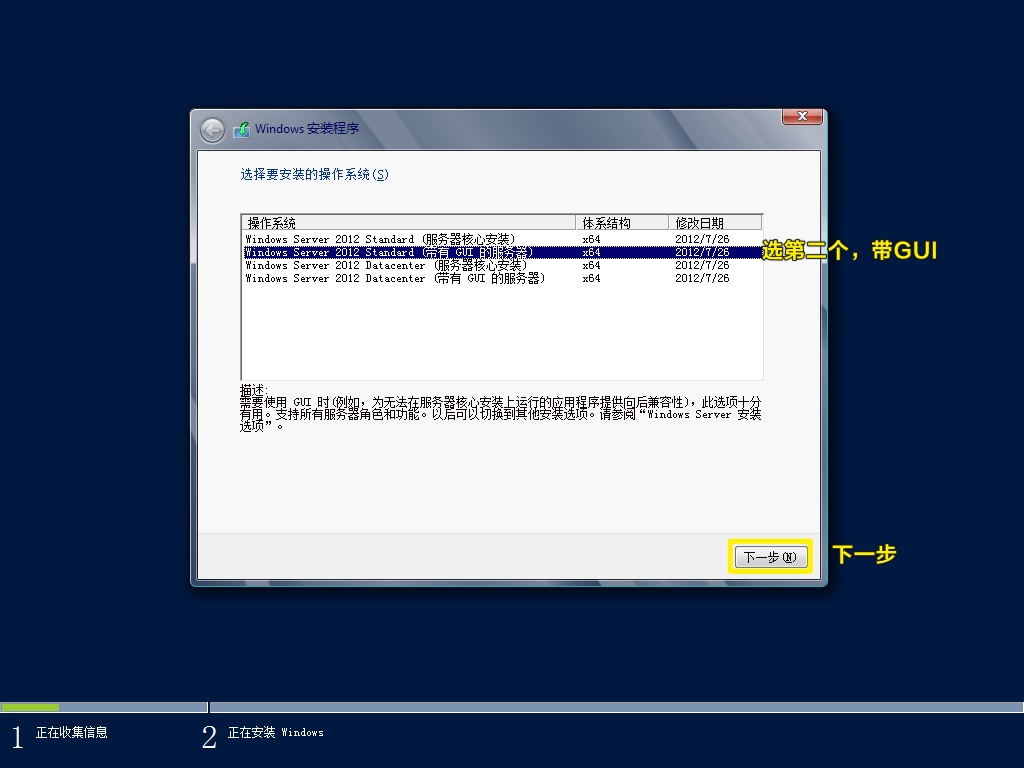
条款是必须要接受的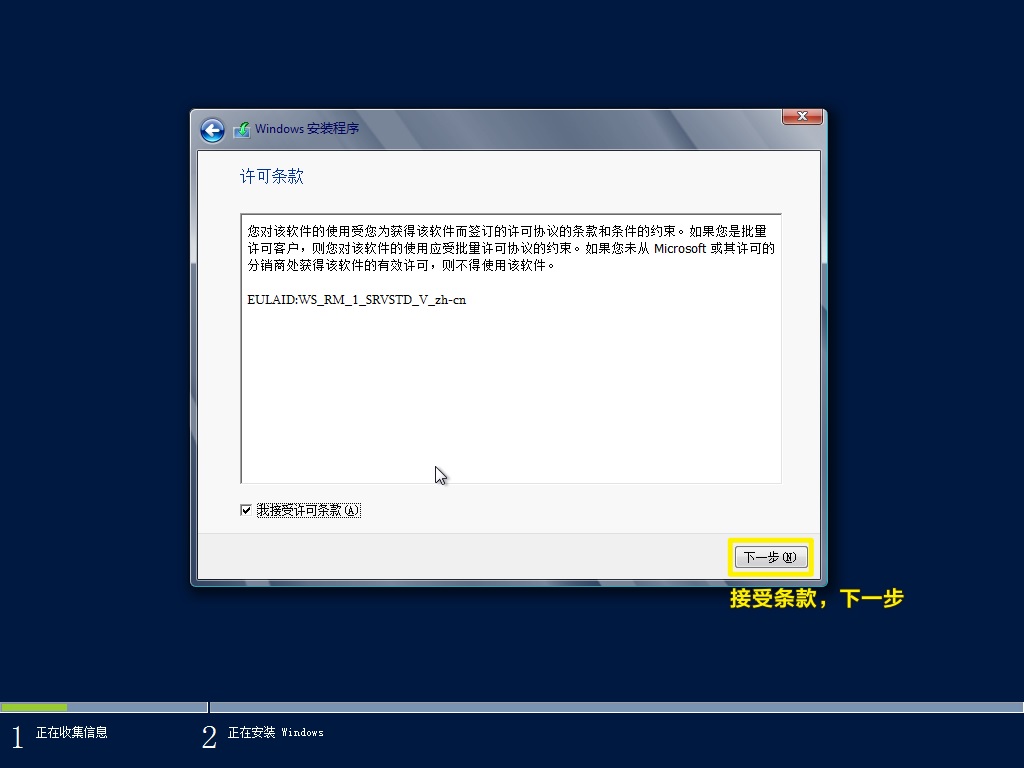
选择第二个:自定义:仅安装Windows(高级)(C)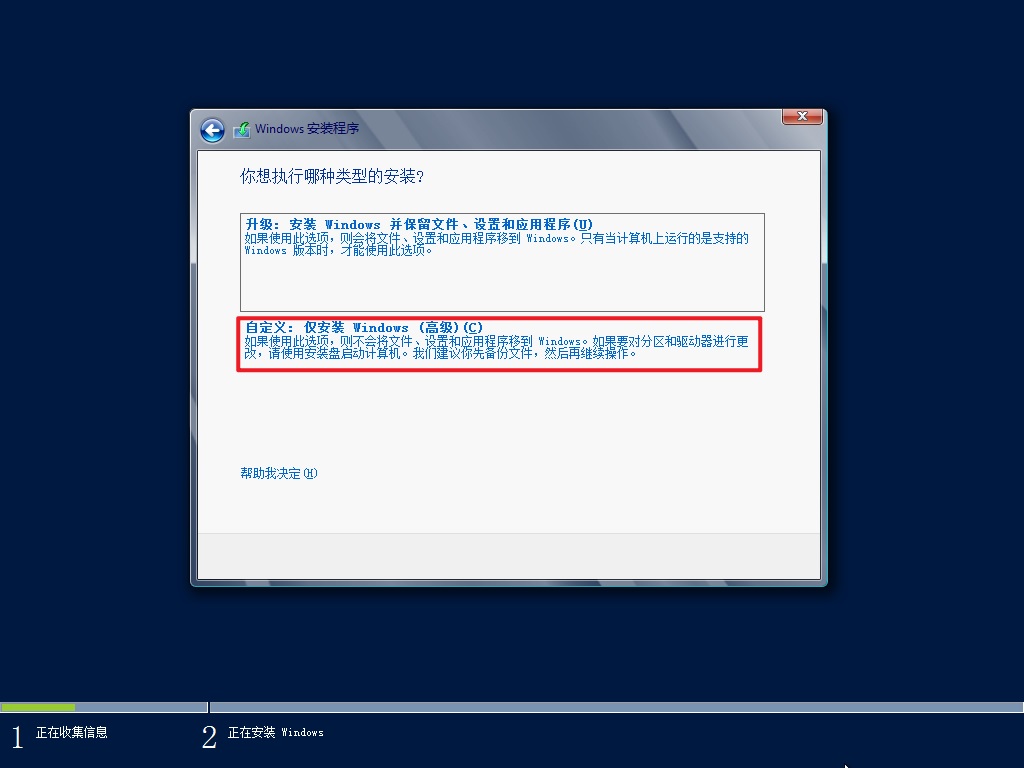
选择要安装系统的硬盘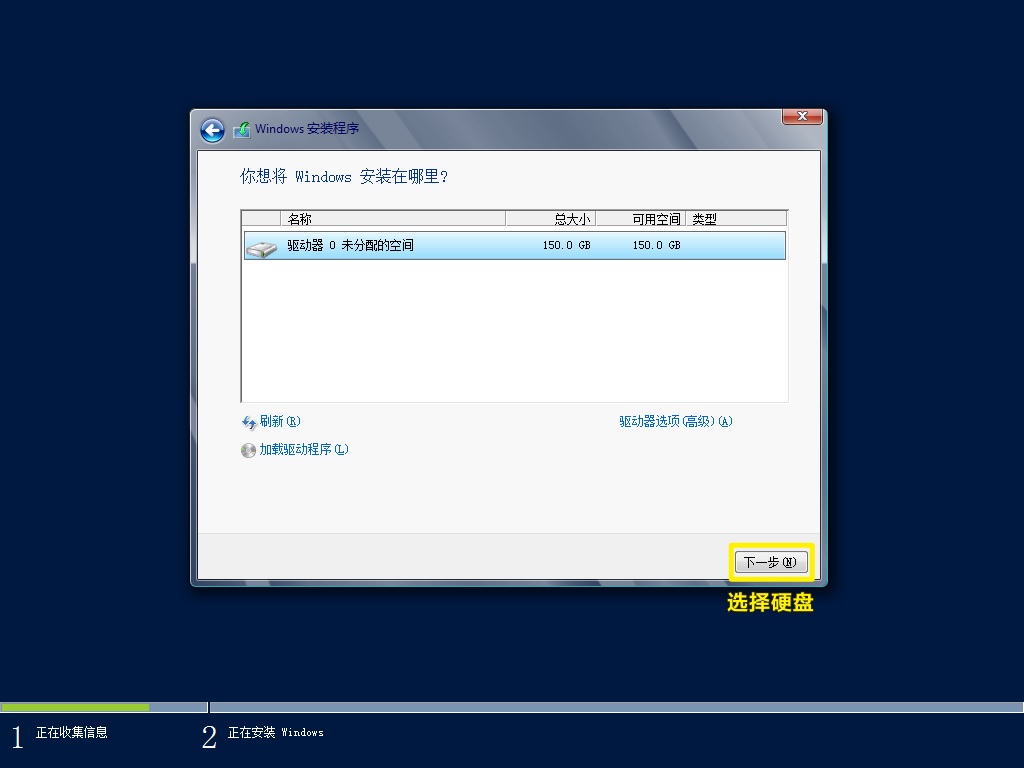
开始跑安装程序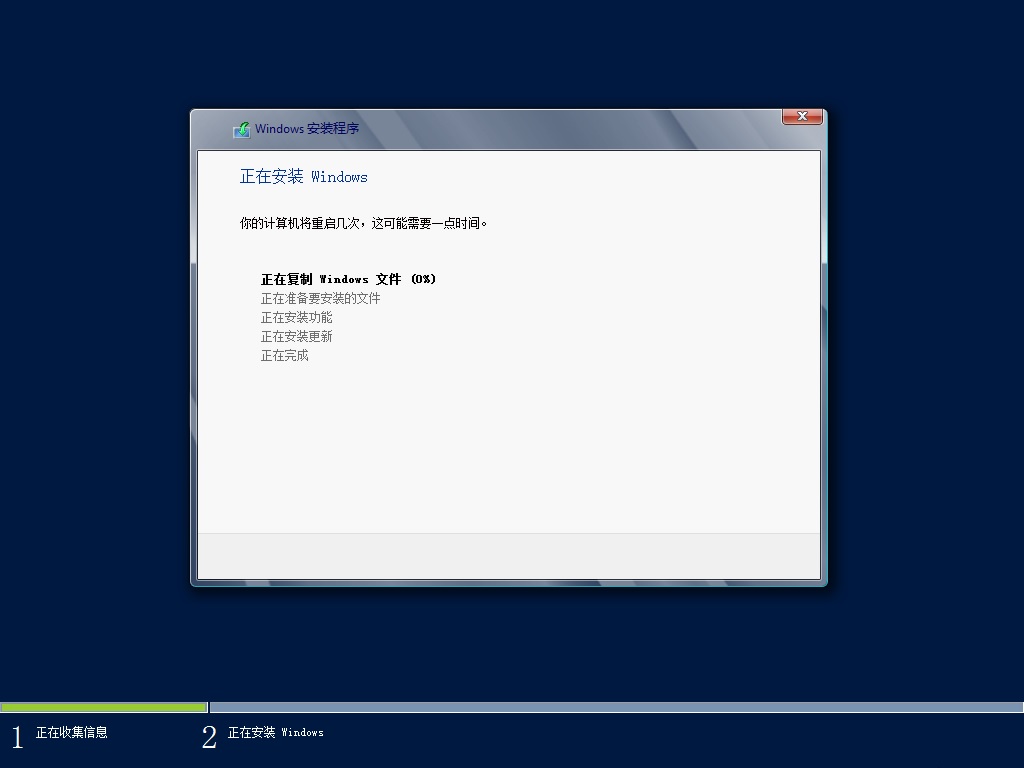
等待系统自动重启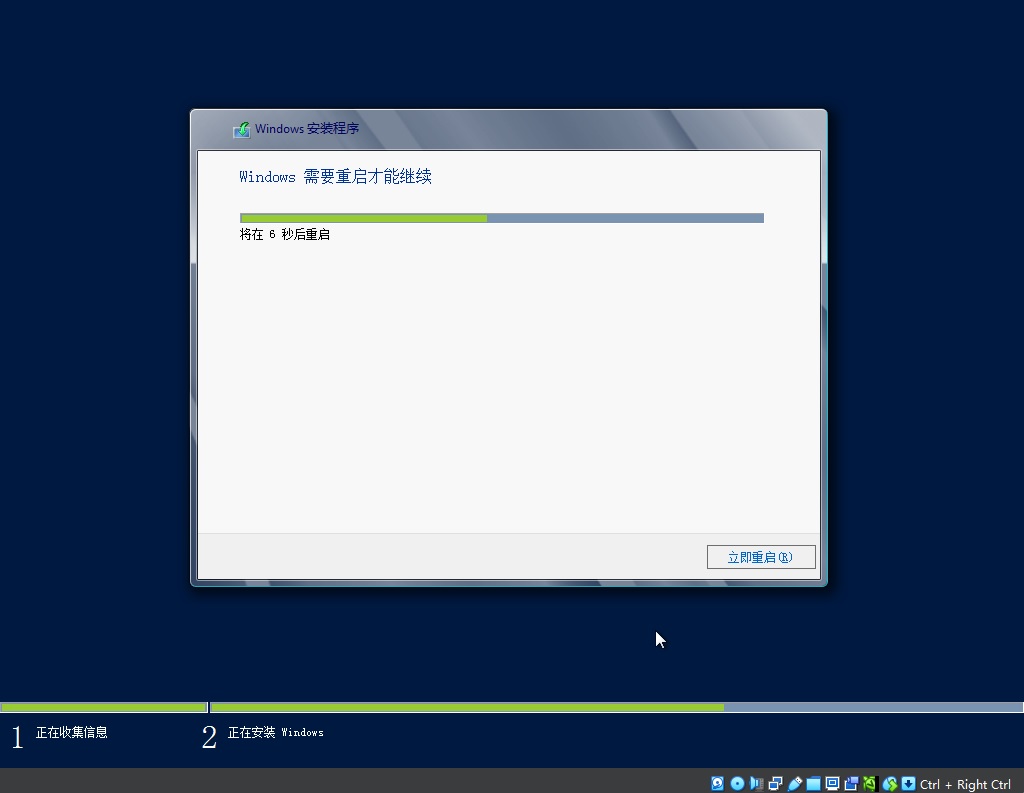
这里不要按回车,让系统自动进去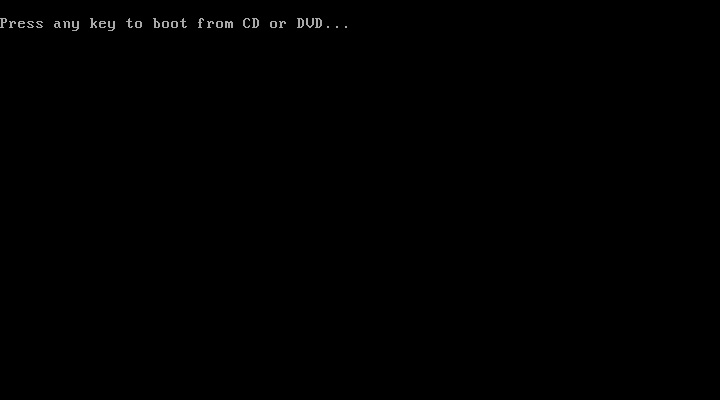
设置一个administrator(超级管理员)的密码,要比较复杂的。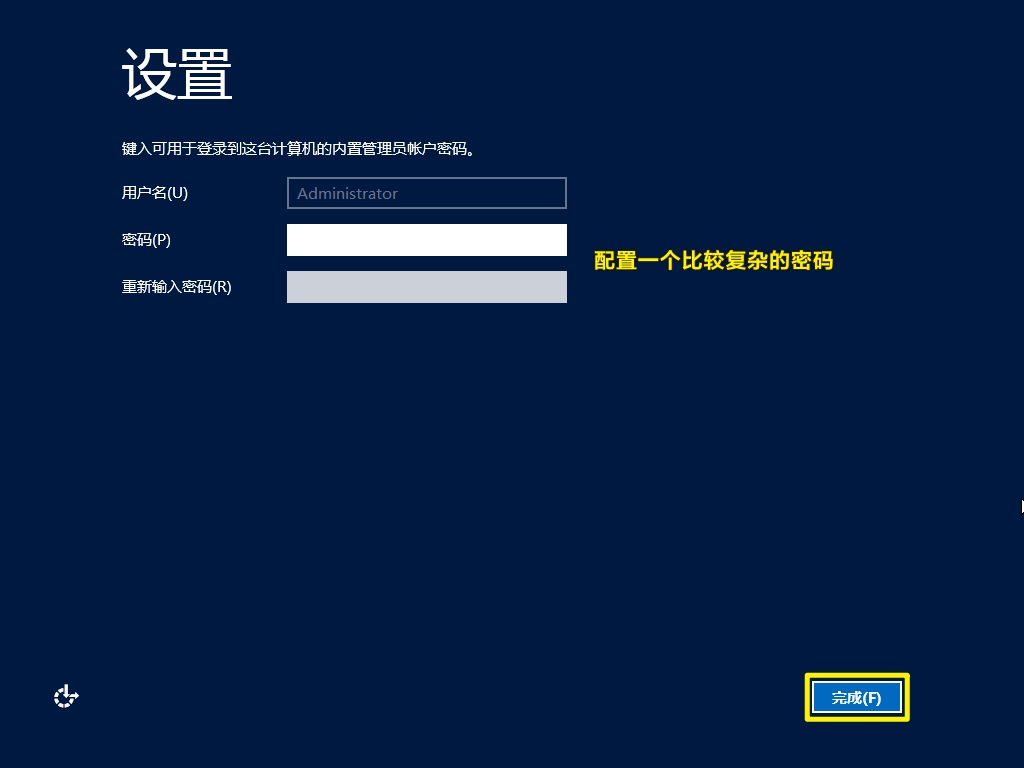
系统跑一下配置
Windows Server登录需要组合键Ctrl + Alt + Del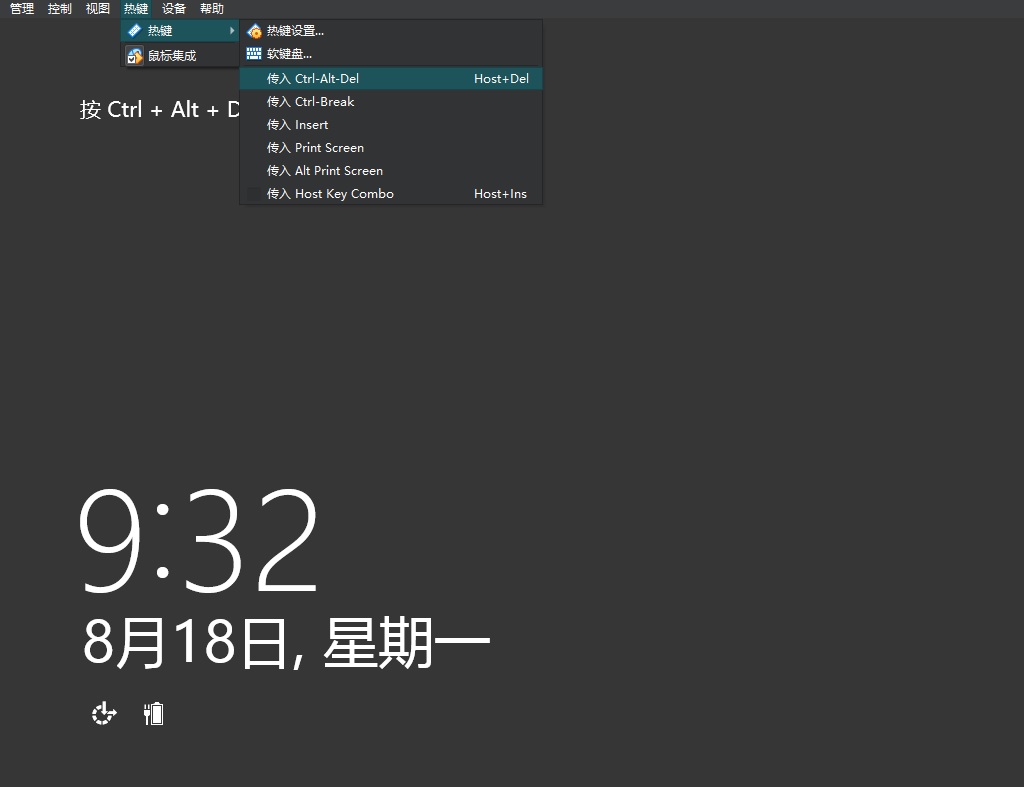
输入你刚刚配置的Administrator的密码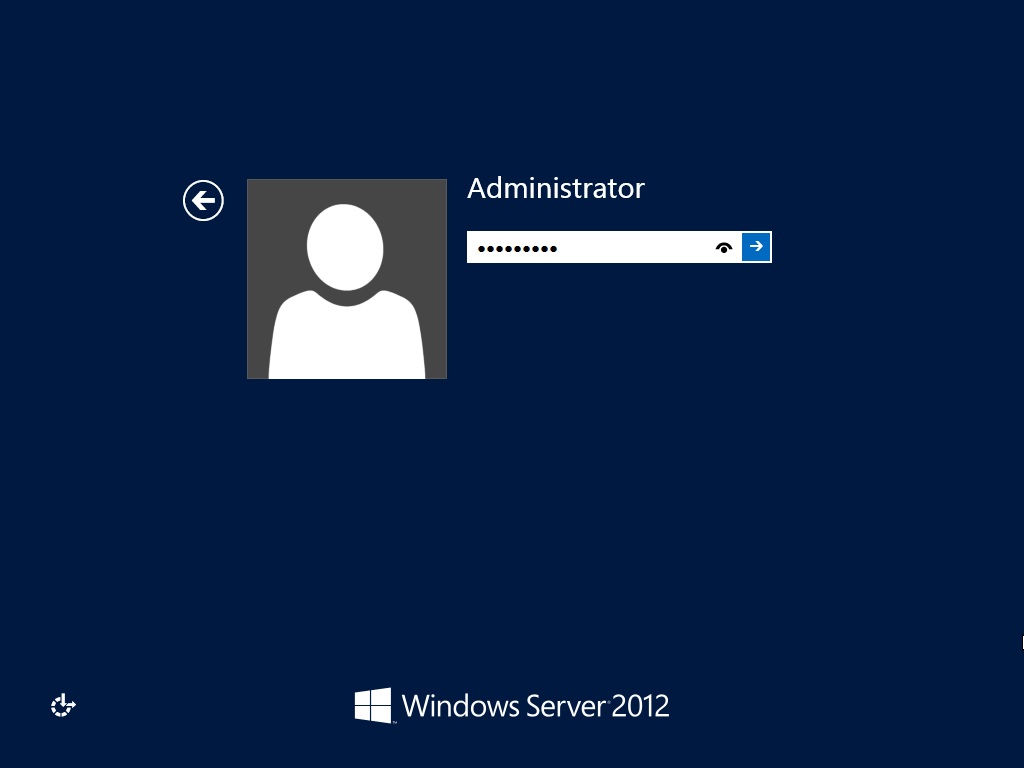
建议马上关闭IE增强的安全配置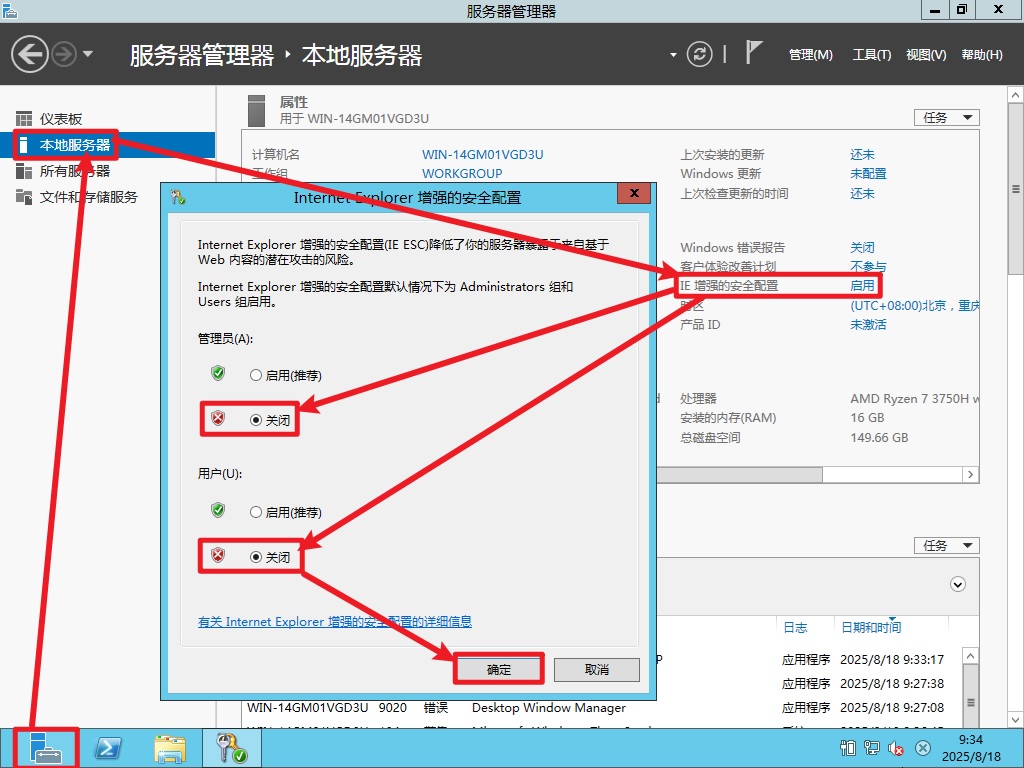
【非必要】如果你跟本渣一样是用OracleVirtualBox虚拟机的,建议安装增强功能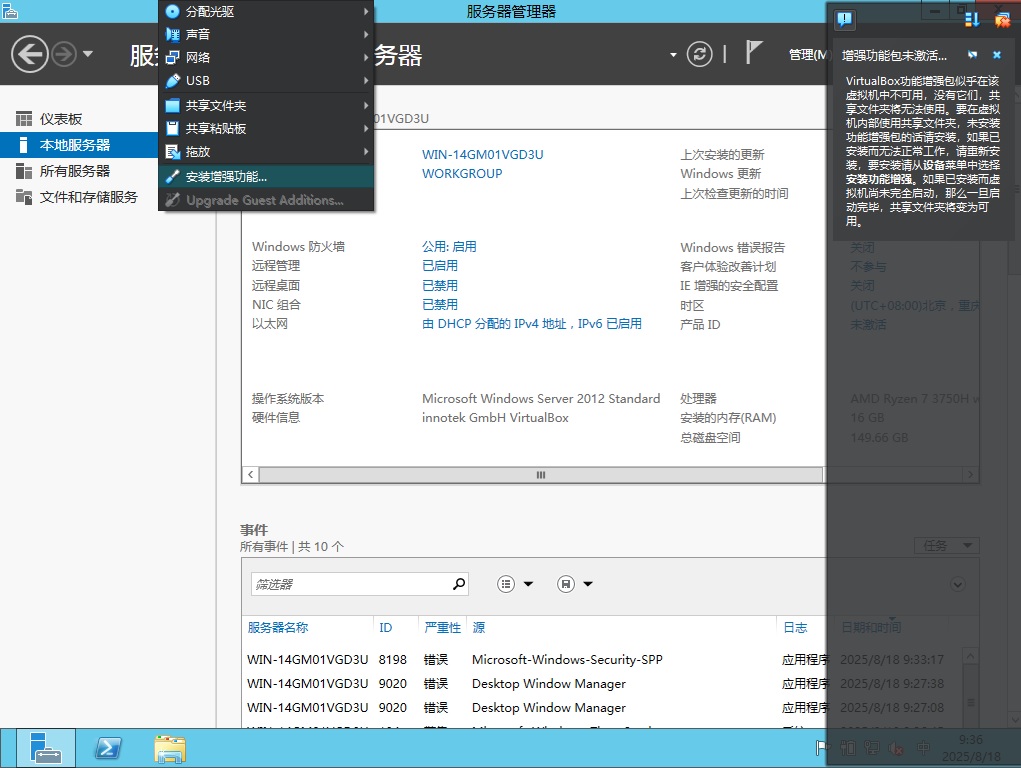
增强功能会占用了CD-ROM,记得后面要改回来,不然后面会安装不上Framework3.5的。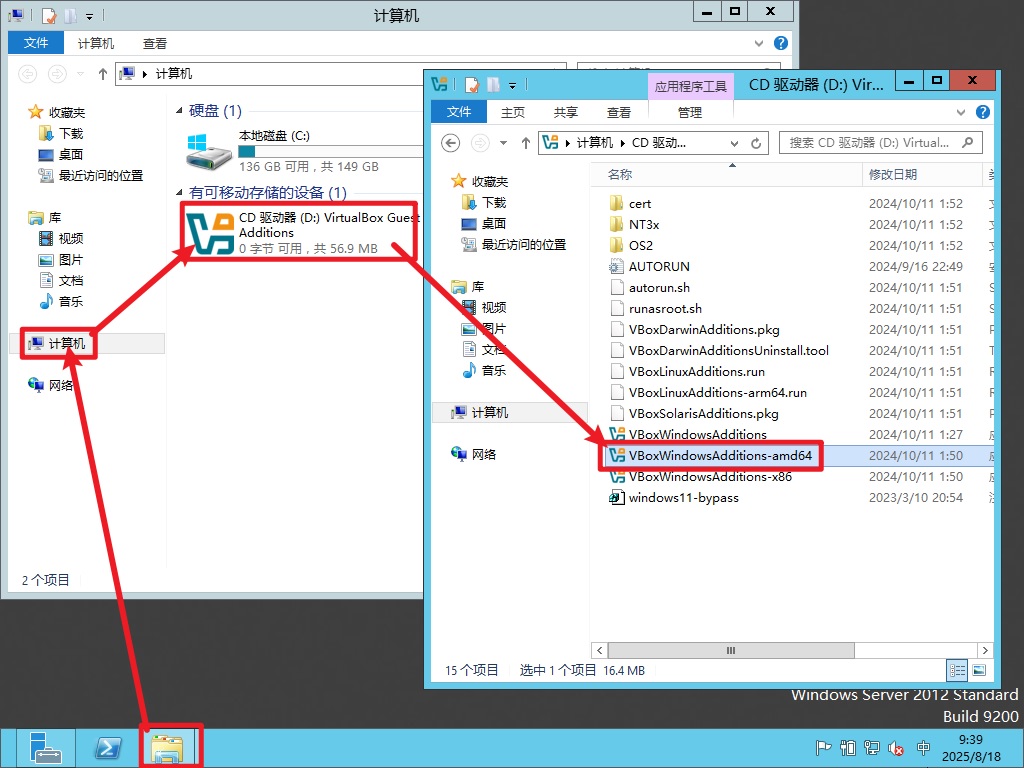
安装增强功能是为了能读取本机电脑的数据,还有做跨虚拟机复制粘贴的操作。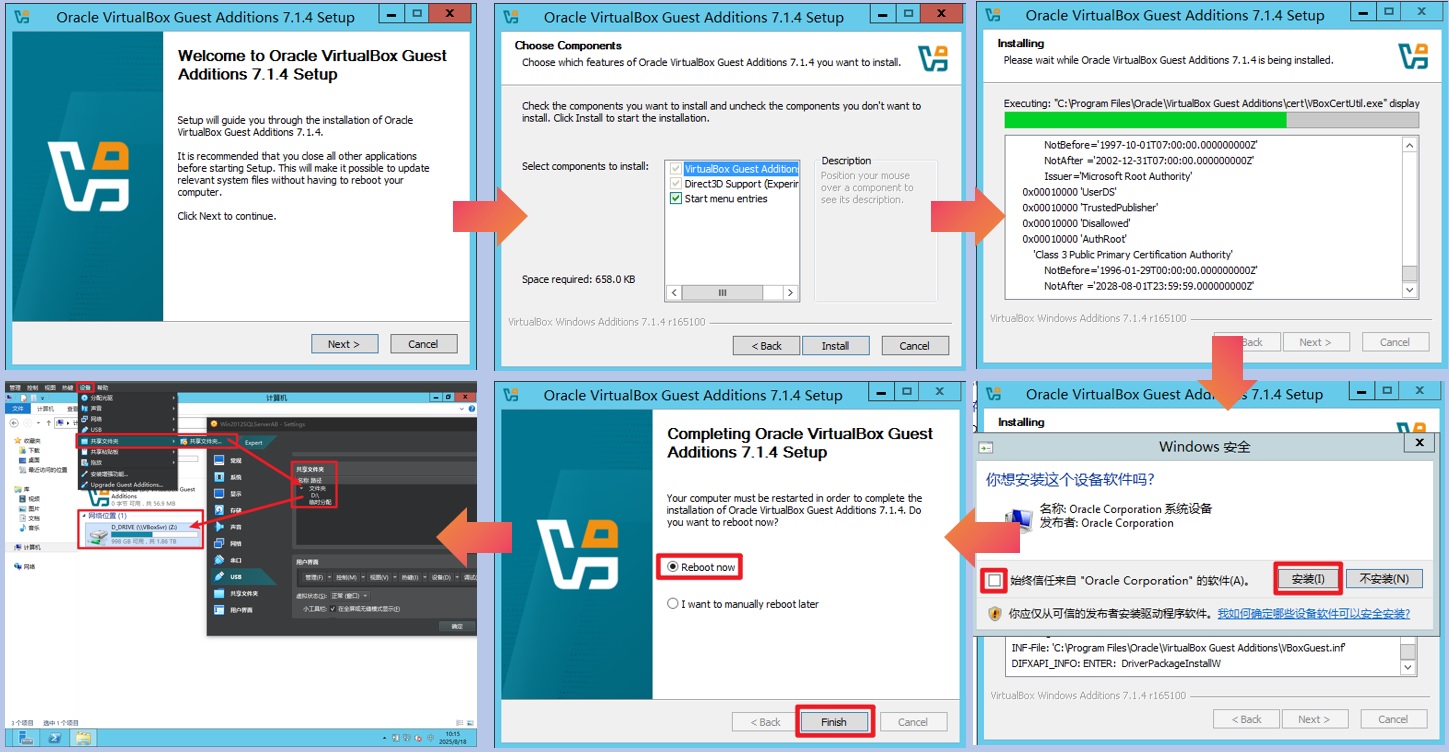
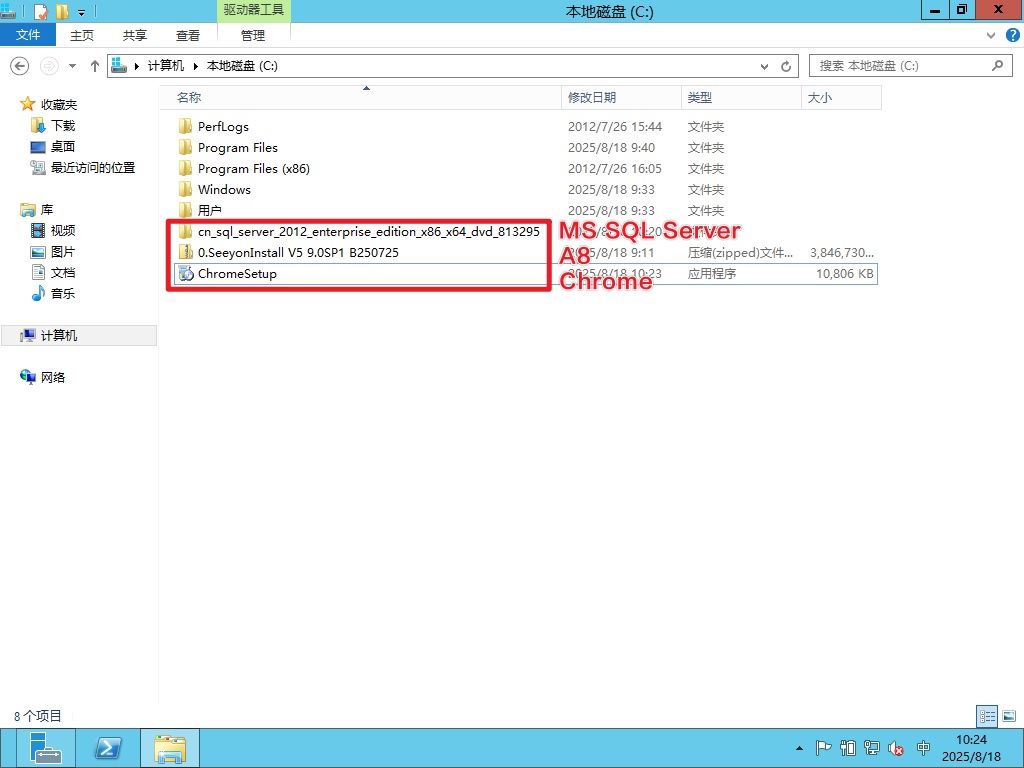
把MSSQLServer、A8、Chrome的安装包都拷贝进来,现在开始逐一安装。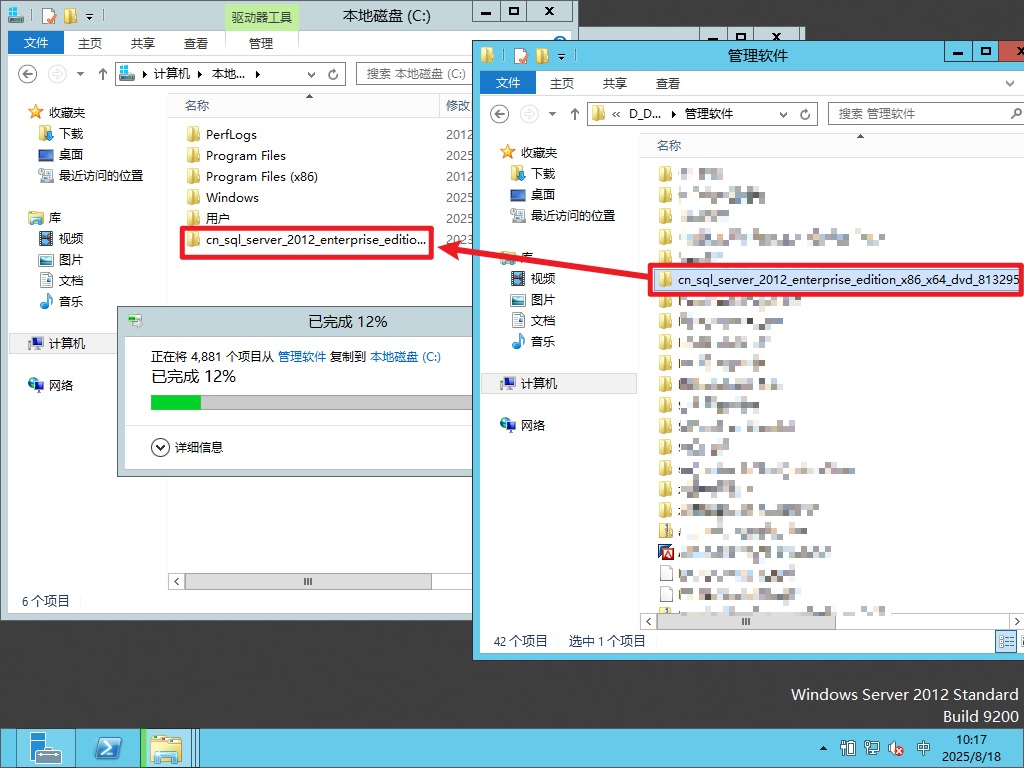
安装MSSQLServer2012
这里安装的是MS SQLServer 2012 SP1 x64 标准版
系统安装包的时候建议用以管理员身份运行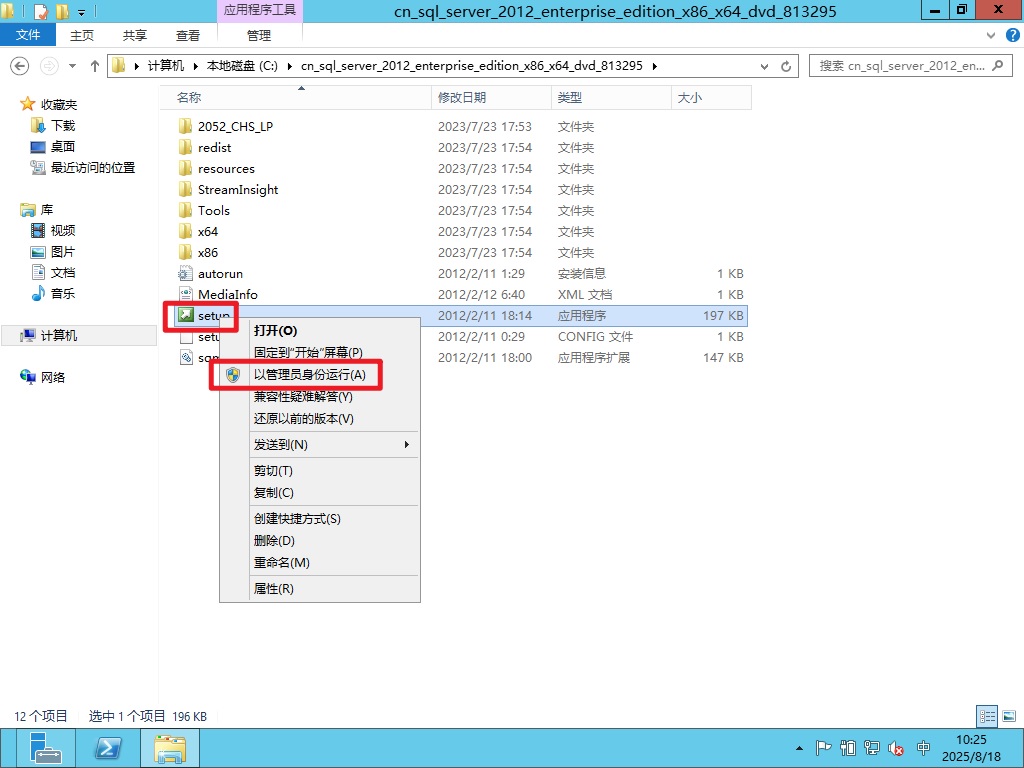
选择【安装】-【全身SQL Server独立安装或向现有安装添加功能】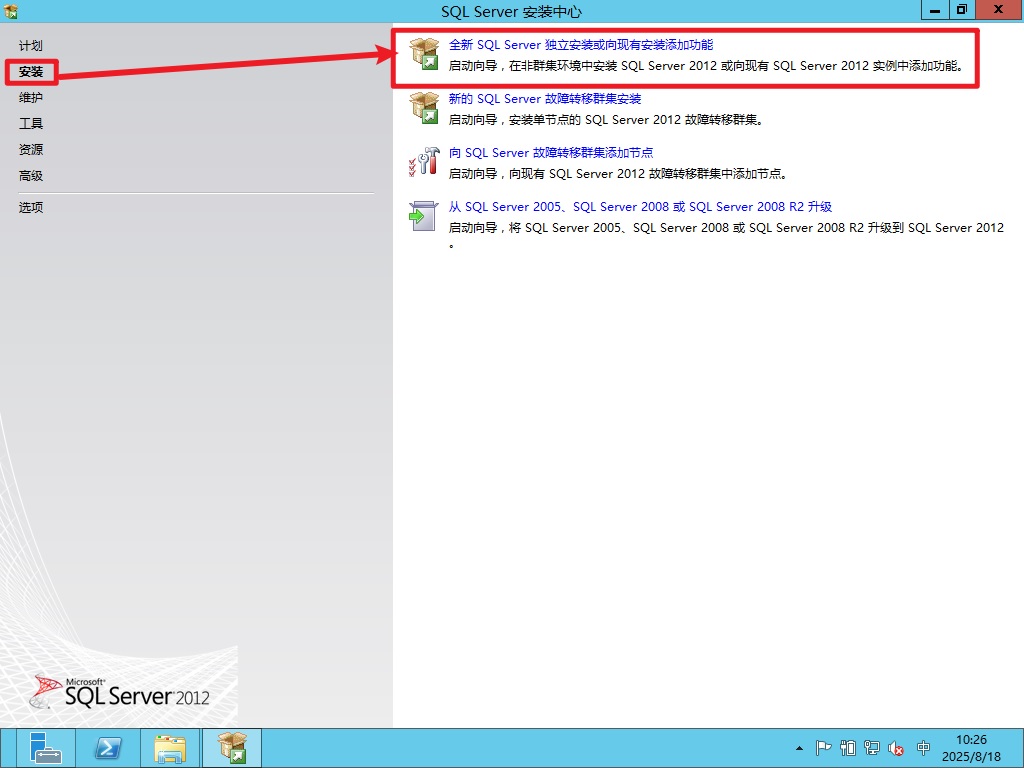
做一个系统检查,如果有报错就要逐一修复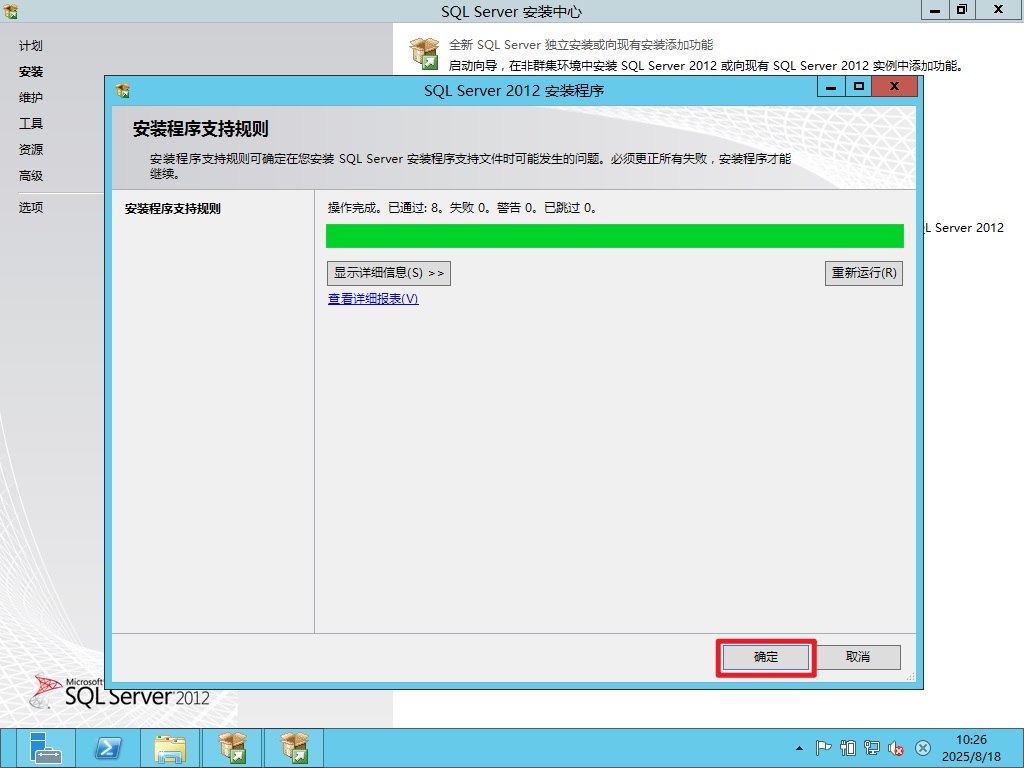
输入秘钥,一般TB都有售。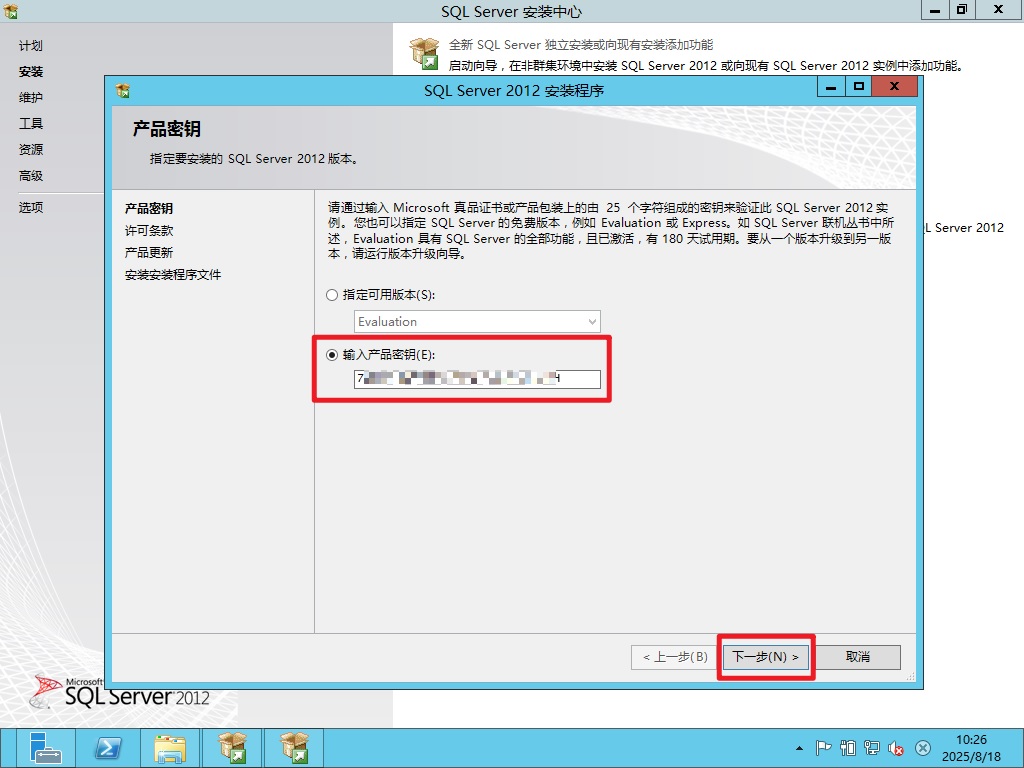
条款是必须要接受的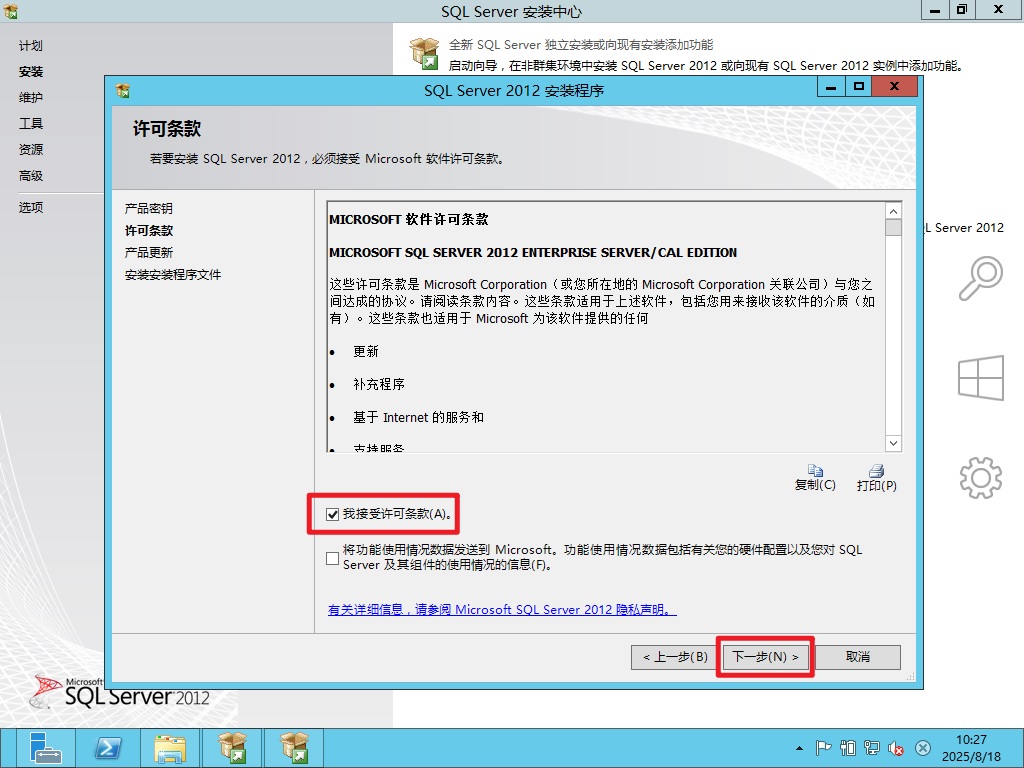
下载一些更新
准备安装程序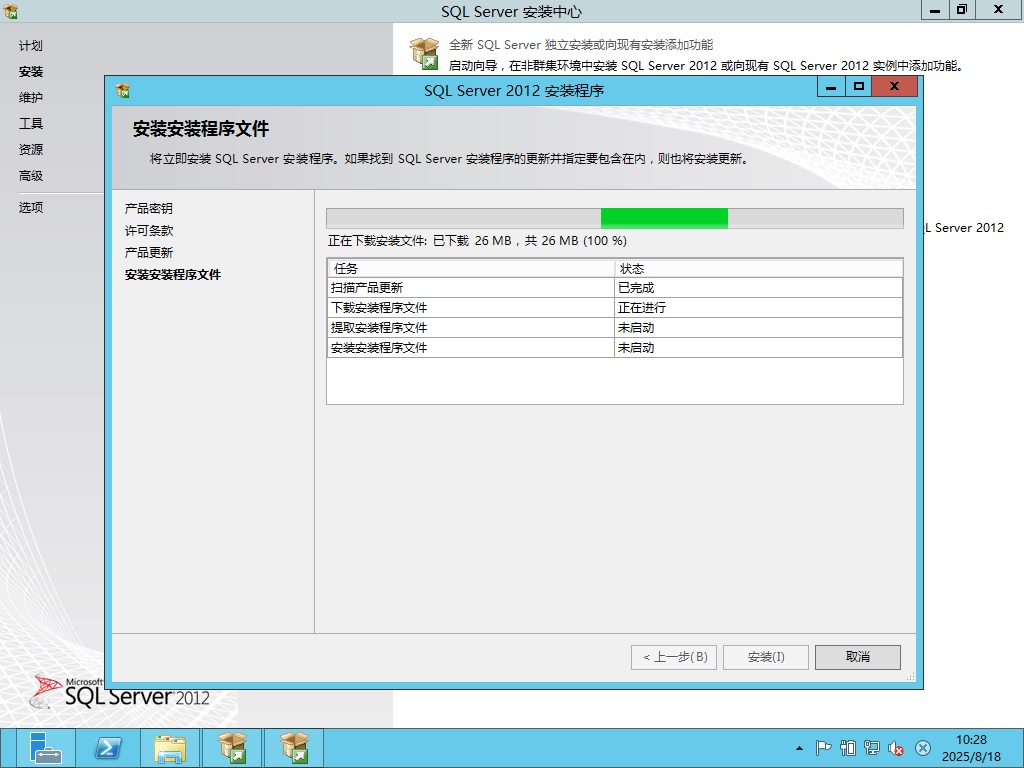
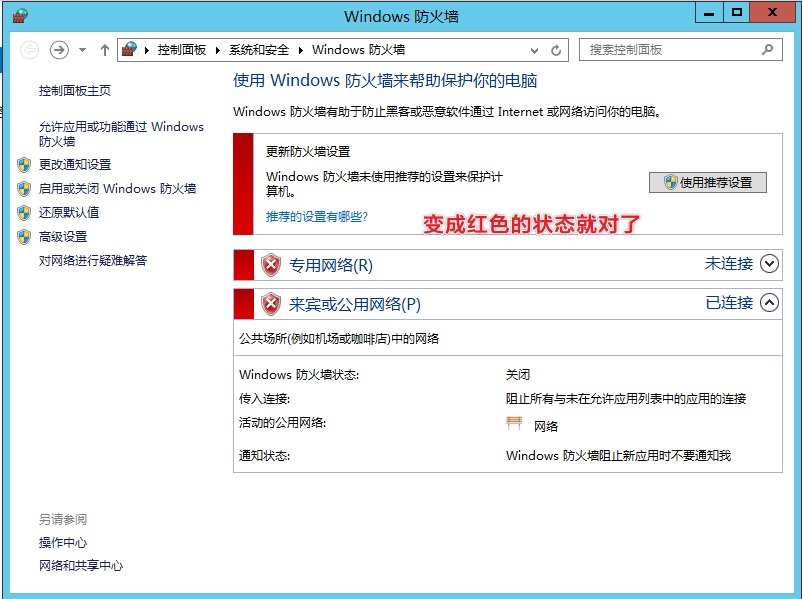
检查系统配置,发现一个错误: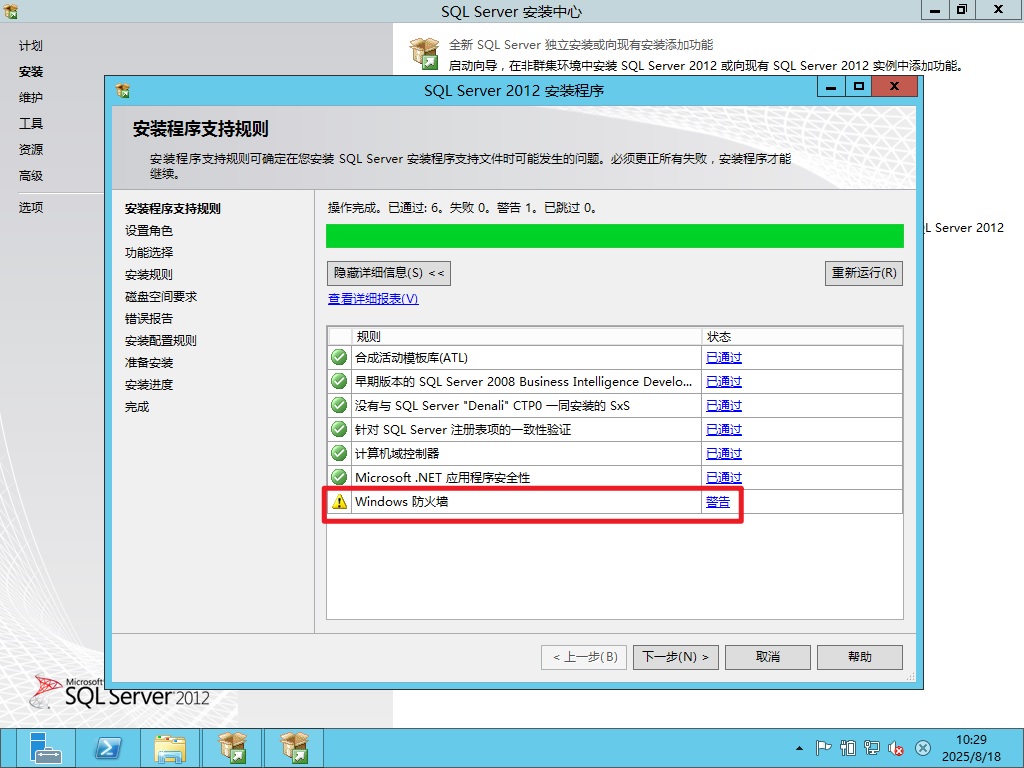
关闭防火墙,修复这个错误。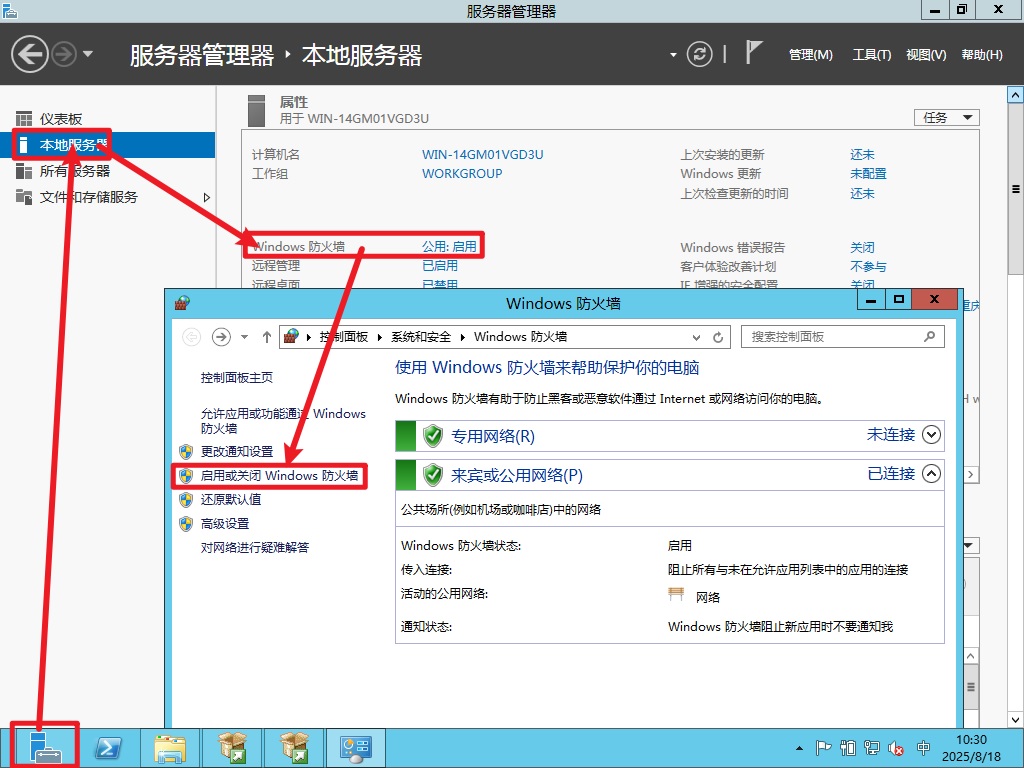
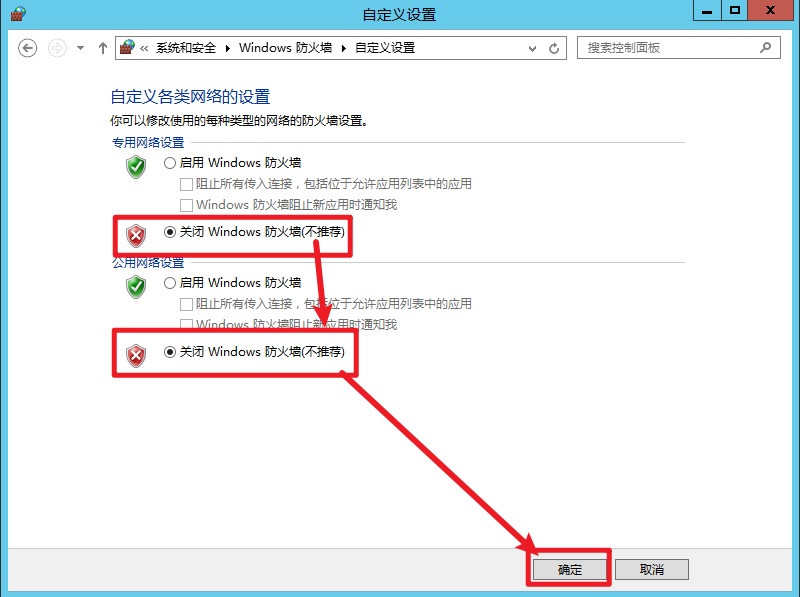
点击一下重新运行,看看⚠️警告消失了没有。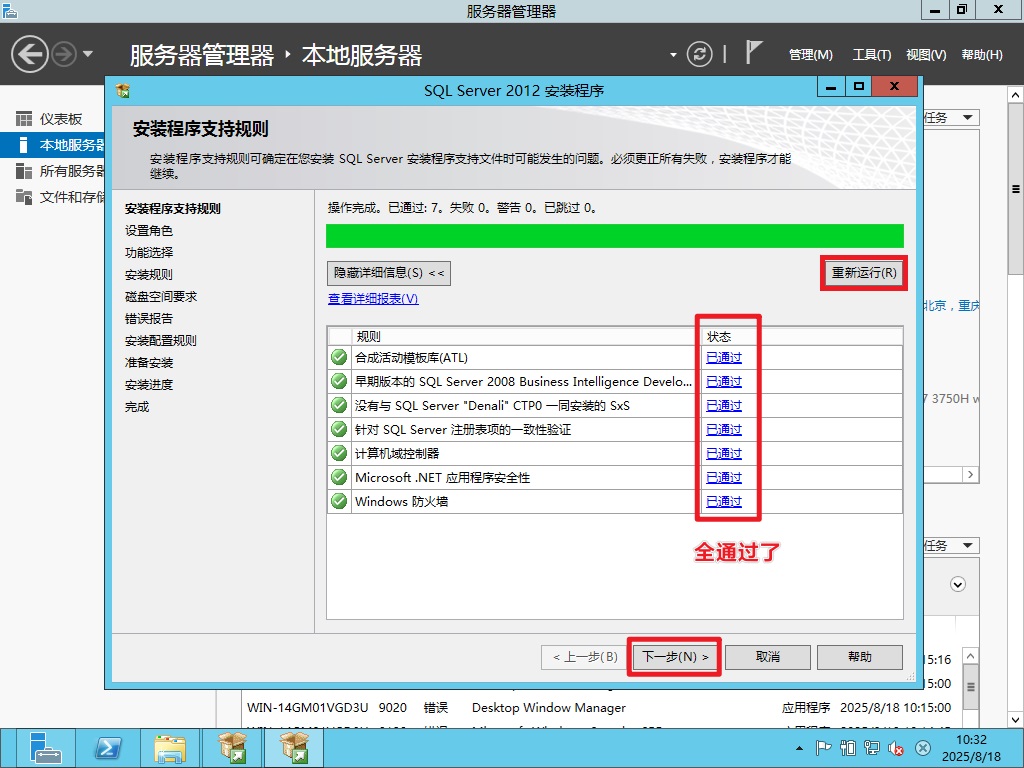
选择第三个,默认安装所有功能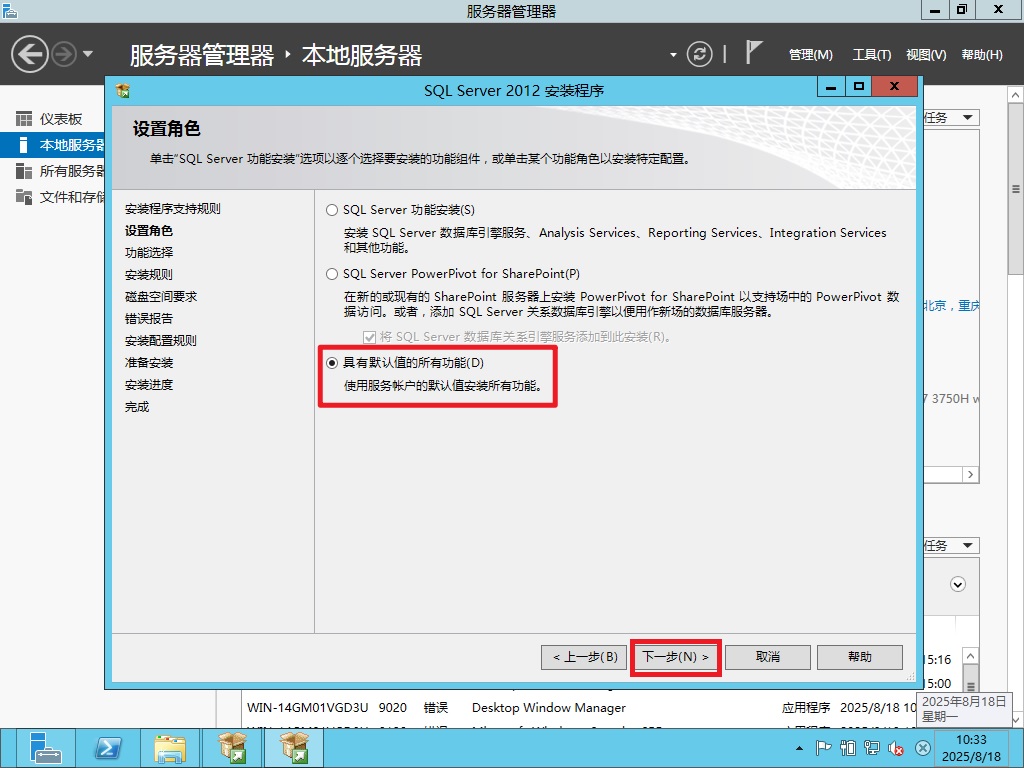
基本上都勾上√了,不用改了,直接下一步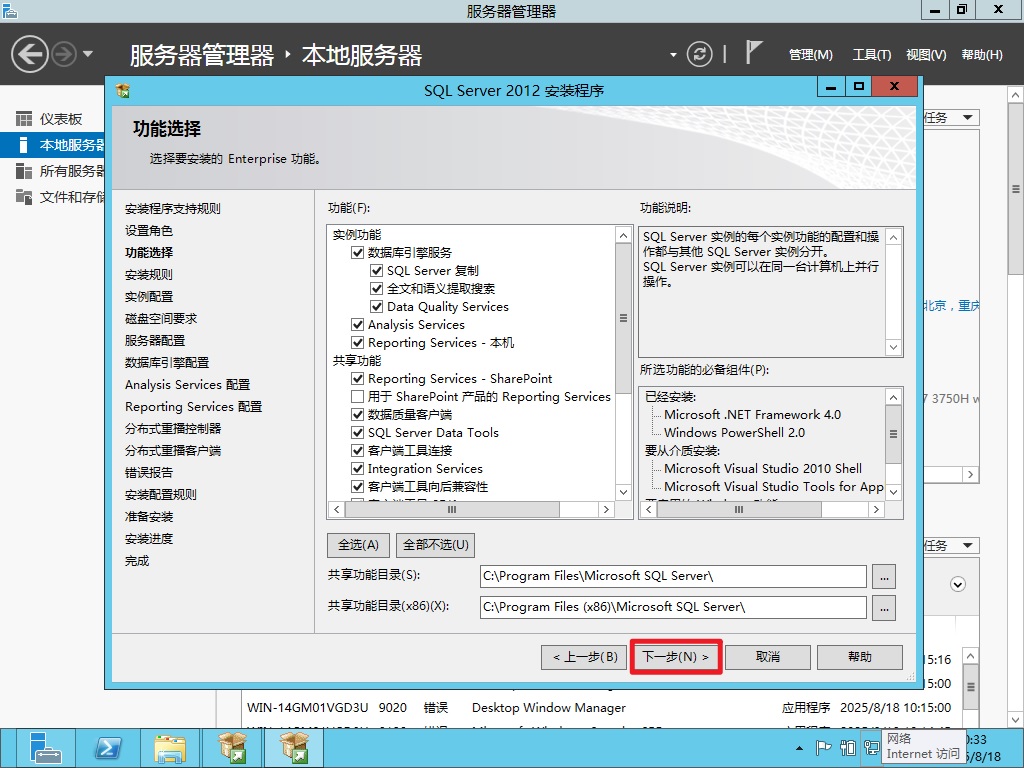
再次做一些自检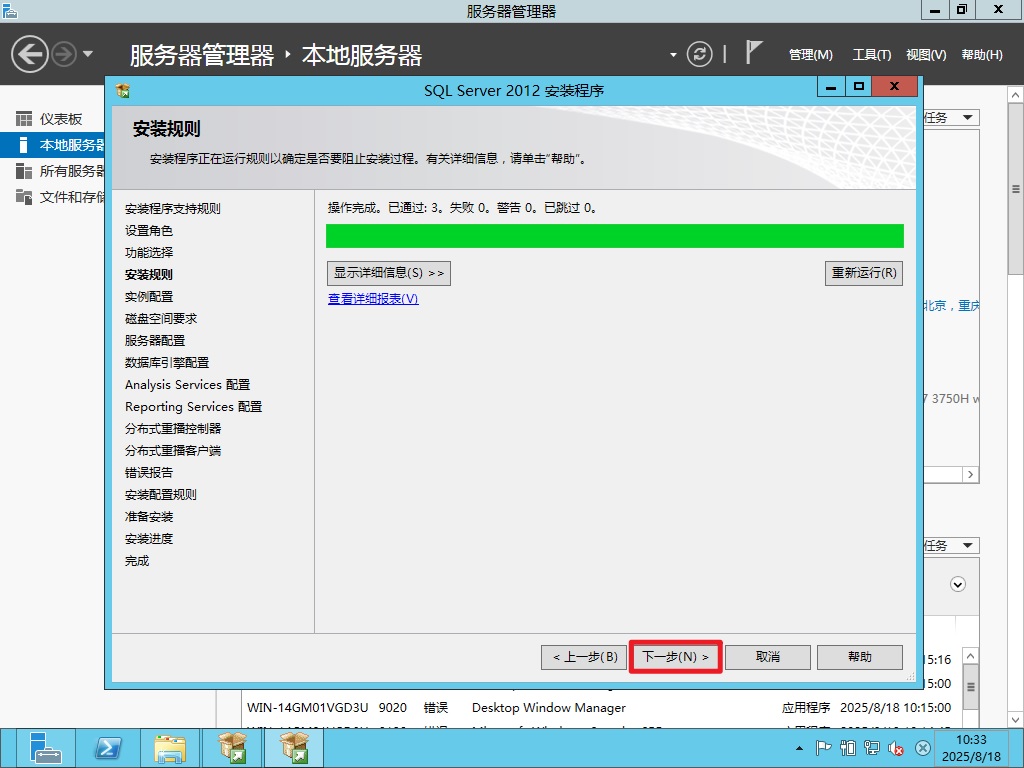
起实例名,建议最好改掉。如果你的网络里面有另外的MSSQL服务器就会有冲突了。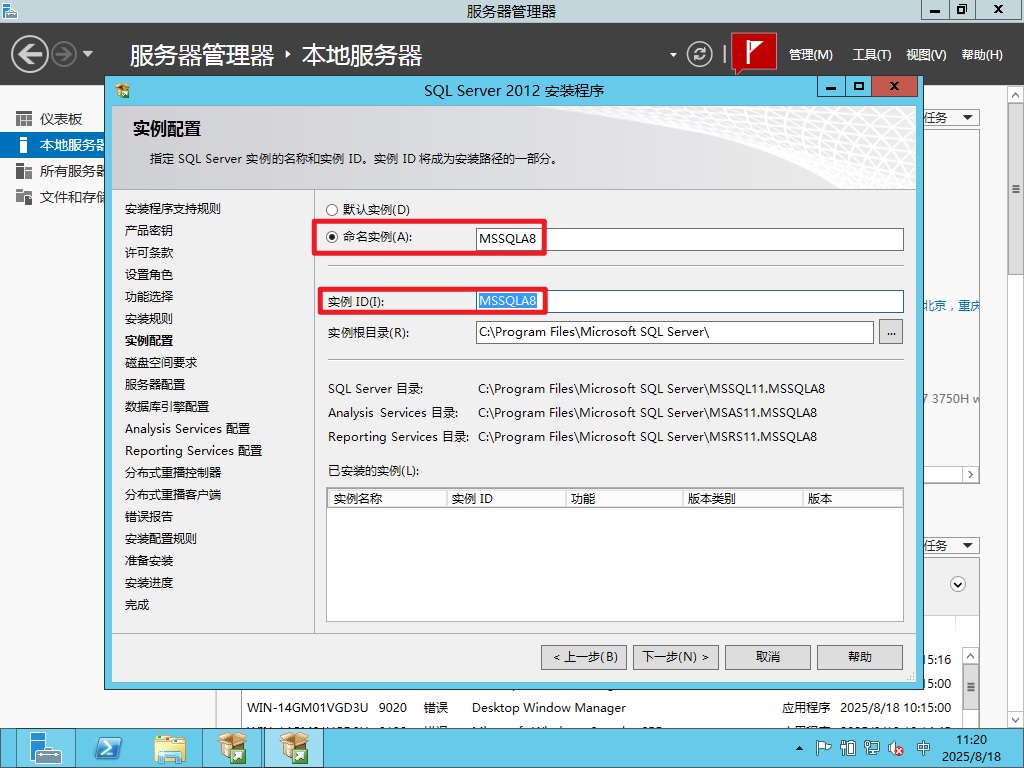
安装需要10个G以上的空间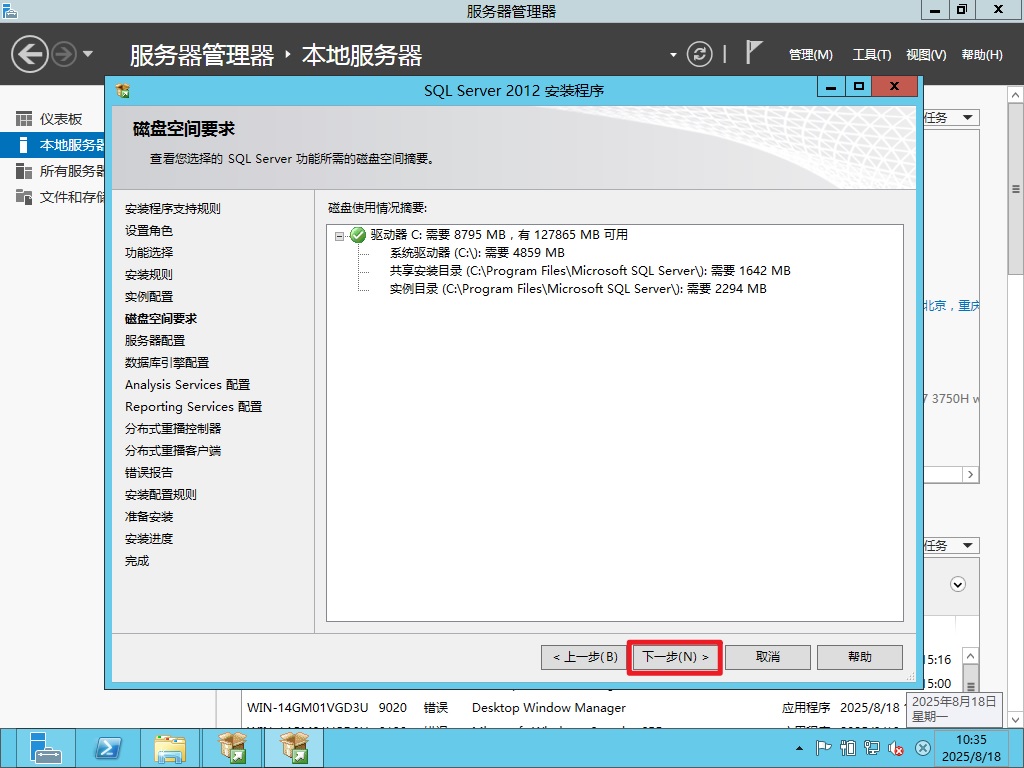
确保SQL Server 数据库引擎是自动启动的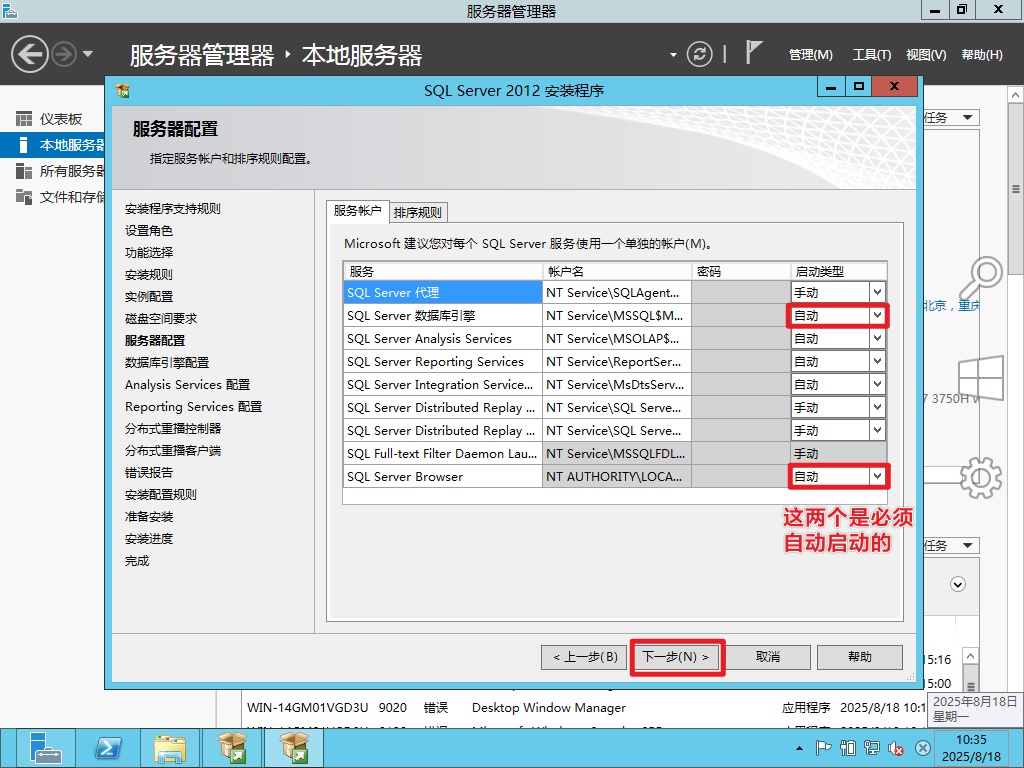
sa的密码必须要设置好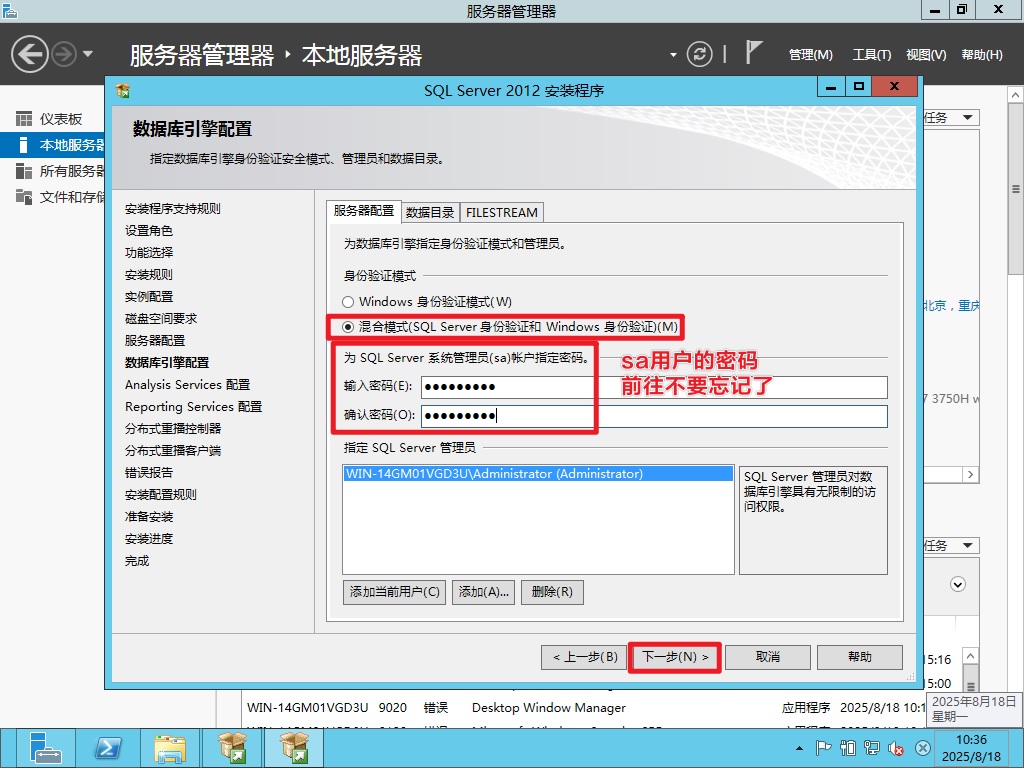
如果你的C盘空间不够,最好换个数据目录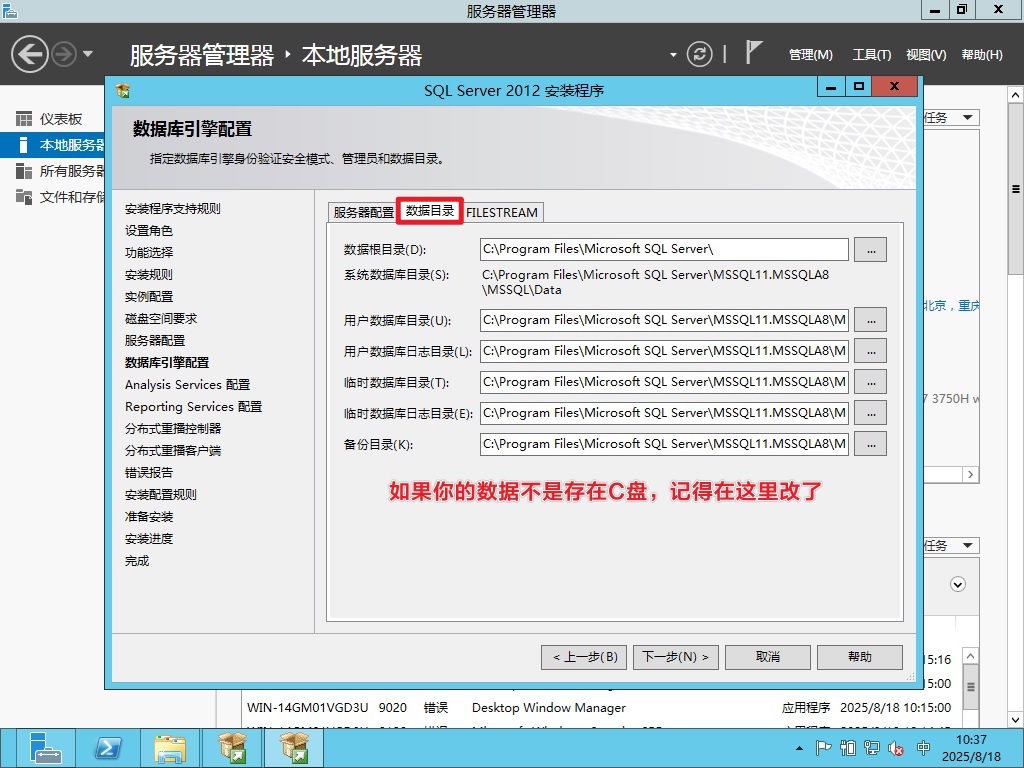
为分析服务配置权限用户,直接点击添加当前用户即可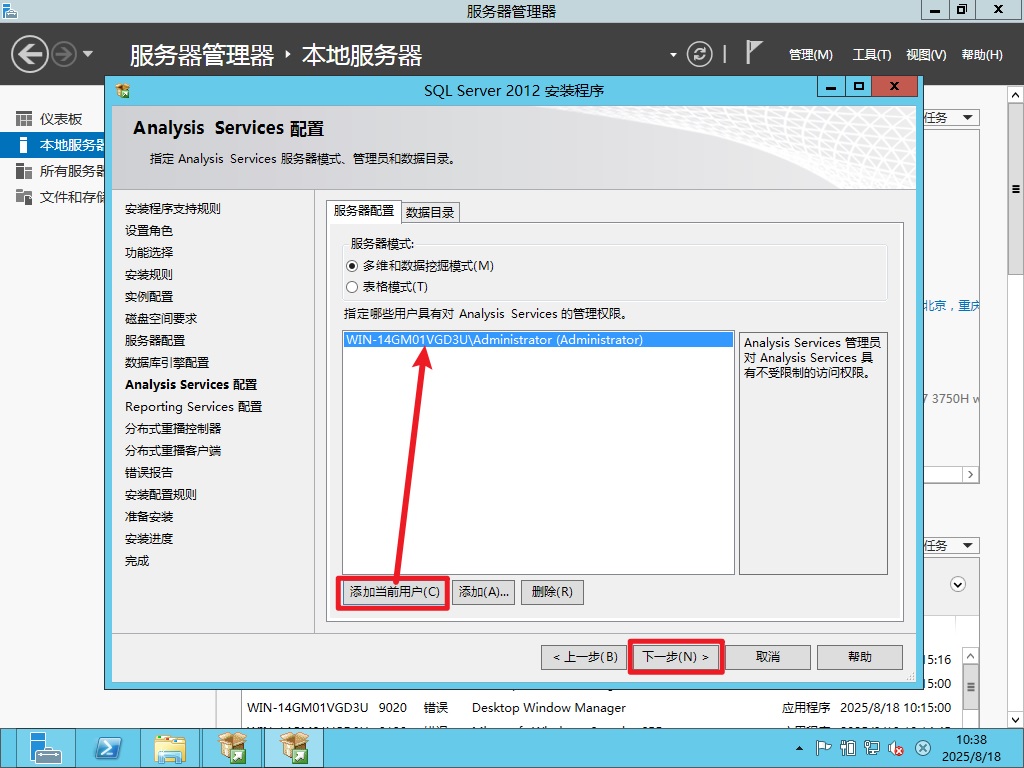
为报表服务配置,默认值即可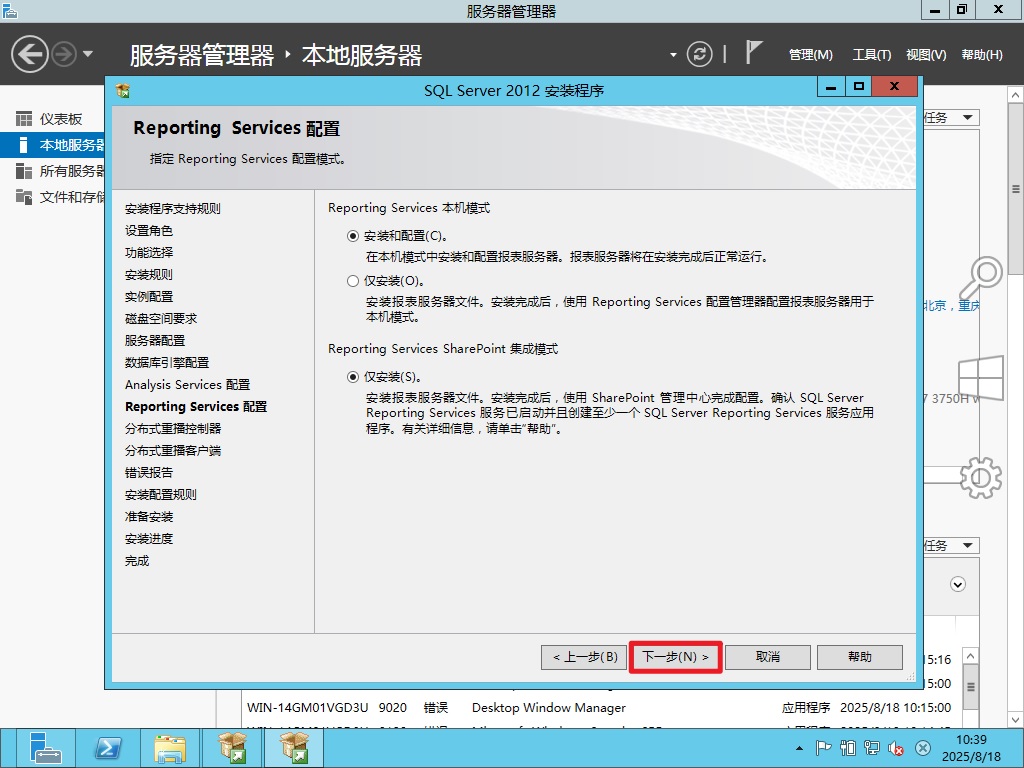
为分布式充包控制器(我也不知道是啥)配置权限用户,直接点击添加当前用户即可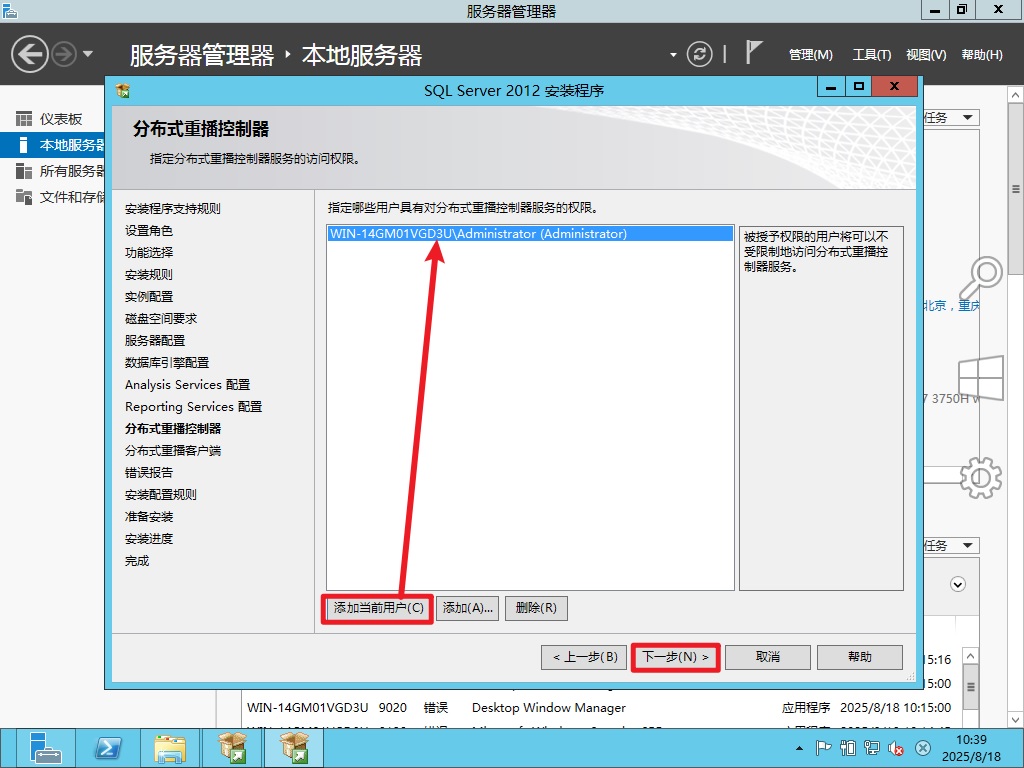
名称目录都是默认值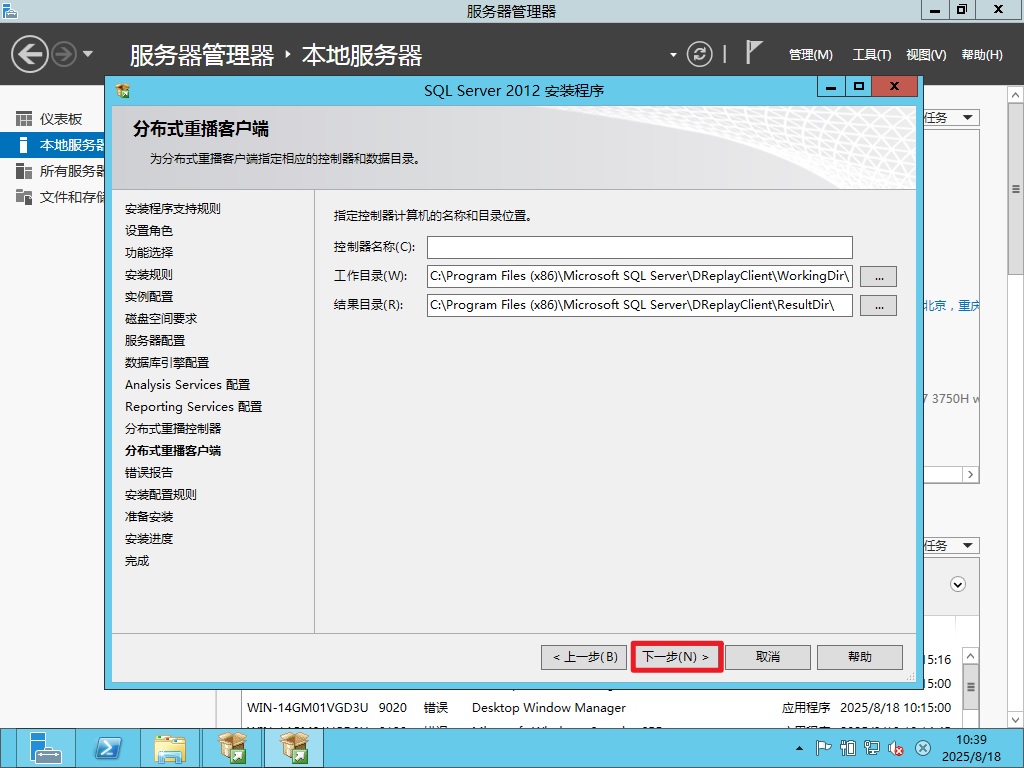
错误报告,不勾选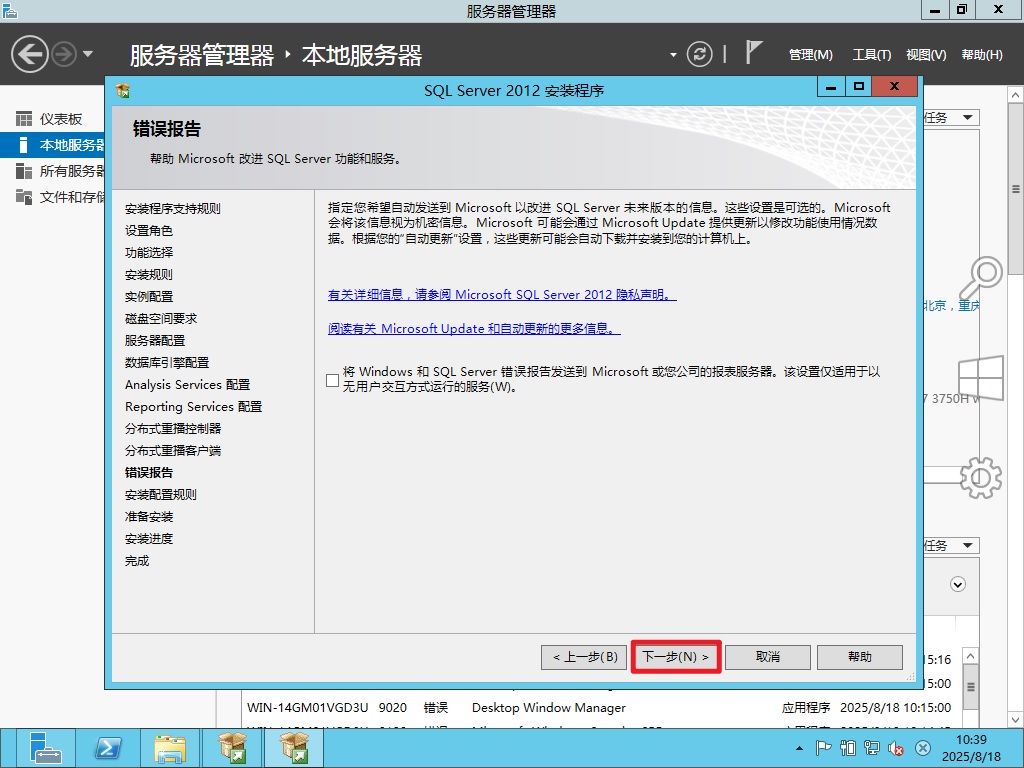
再一次自检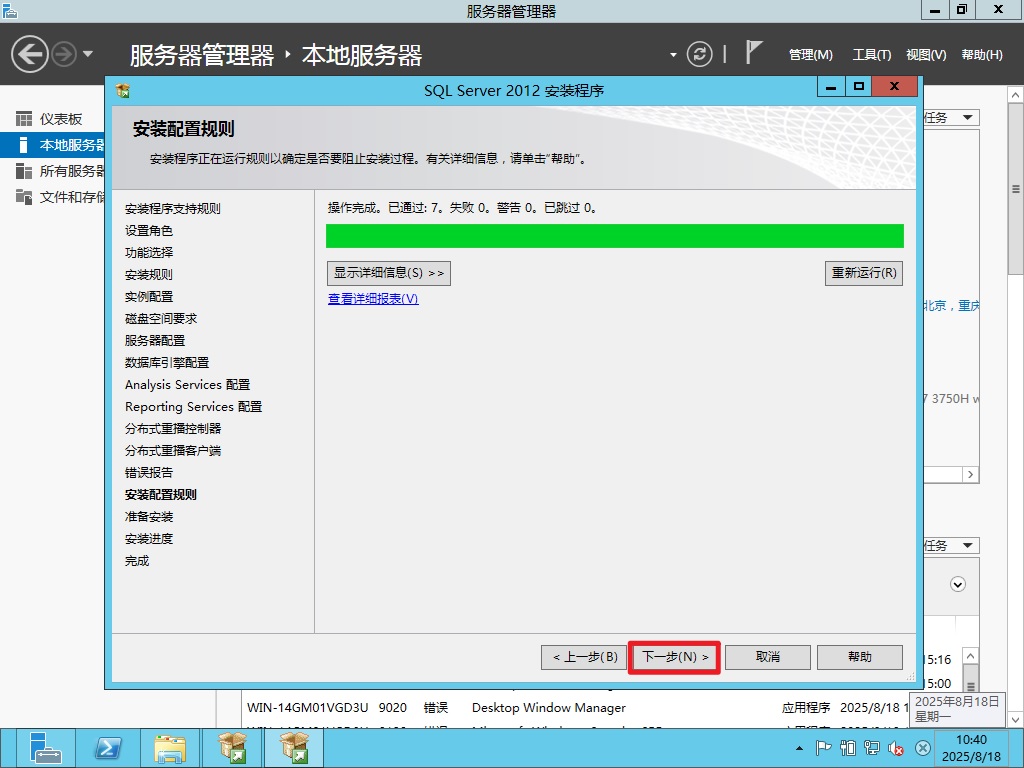
检查一下安装的配置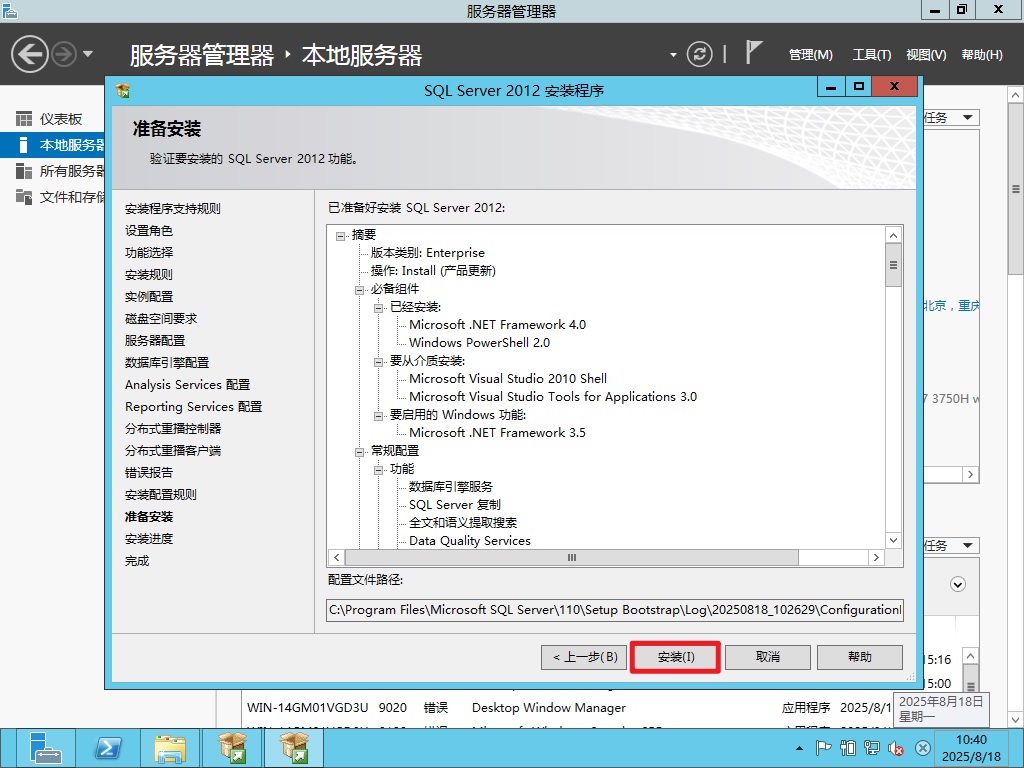
⚠️如果有NetFx3报错,需要安装Framework3.5来解决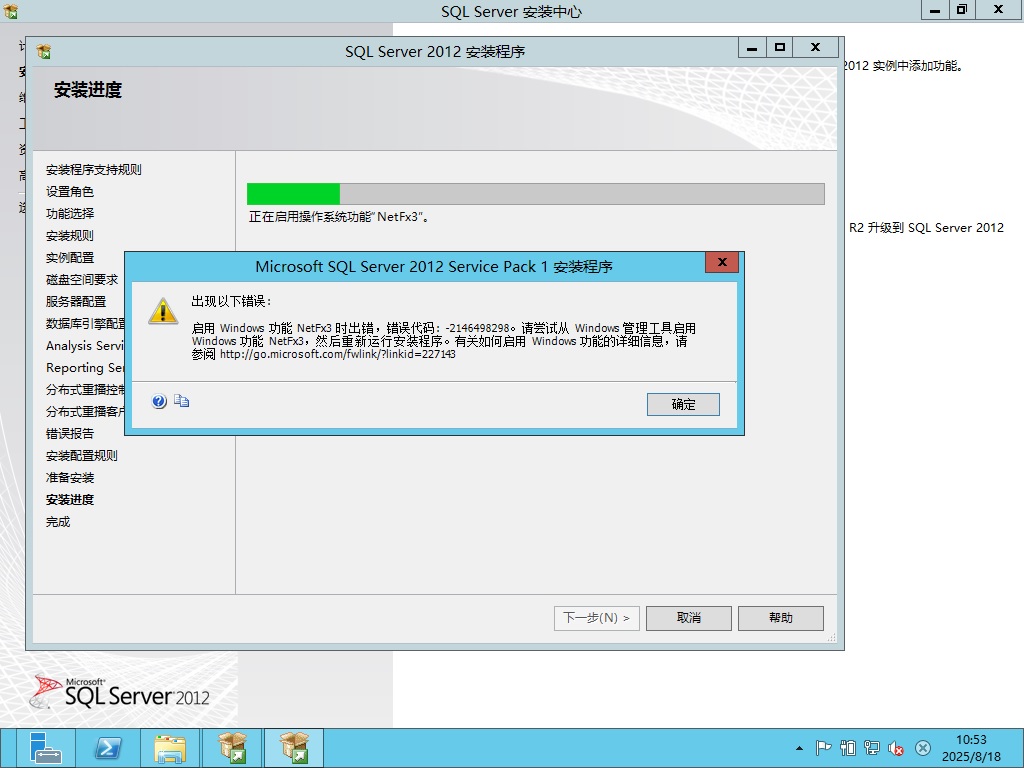
确保Windows2012的安装盘是在的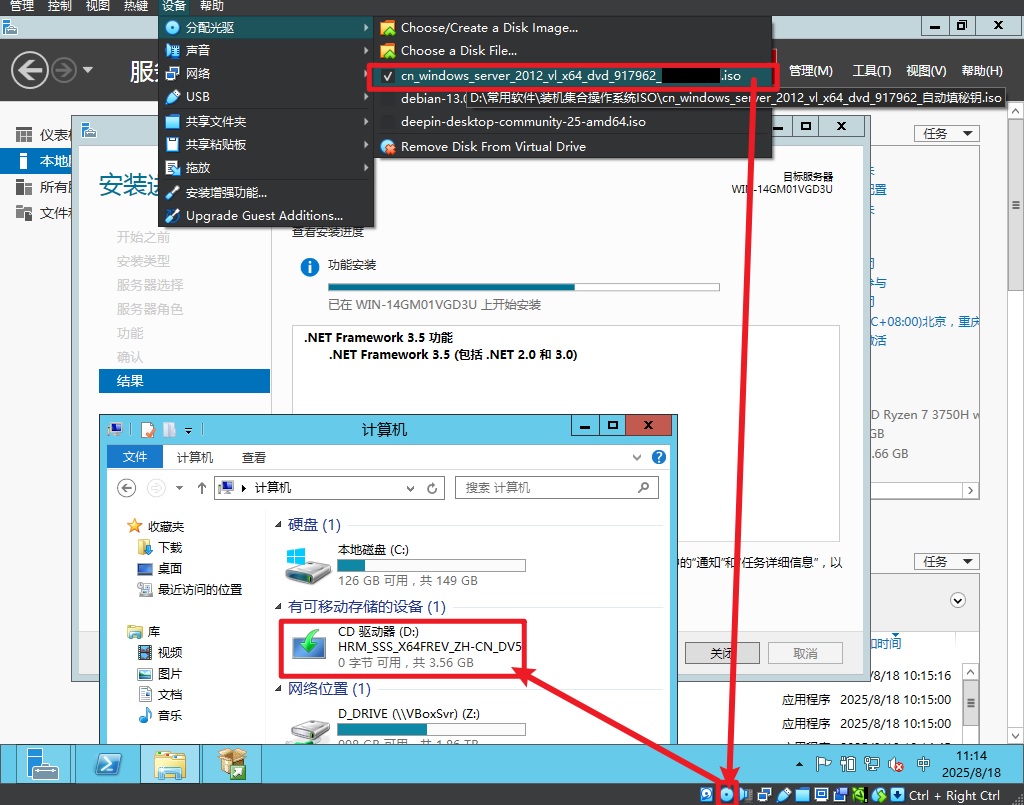
在服务器管理器里面添加角色和功能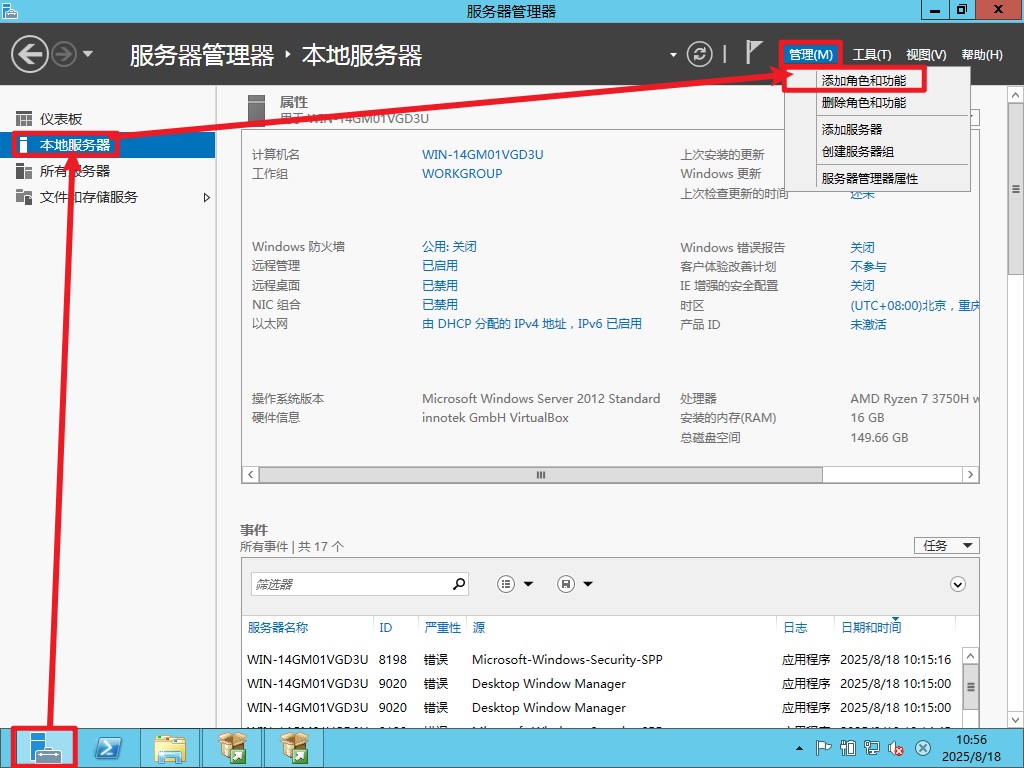
勾选安装Framework3.5,其他步骤都是默认值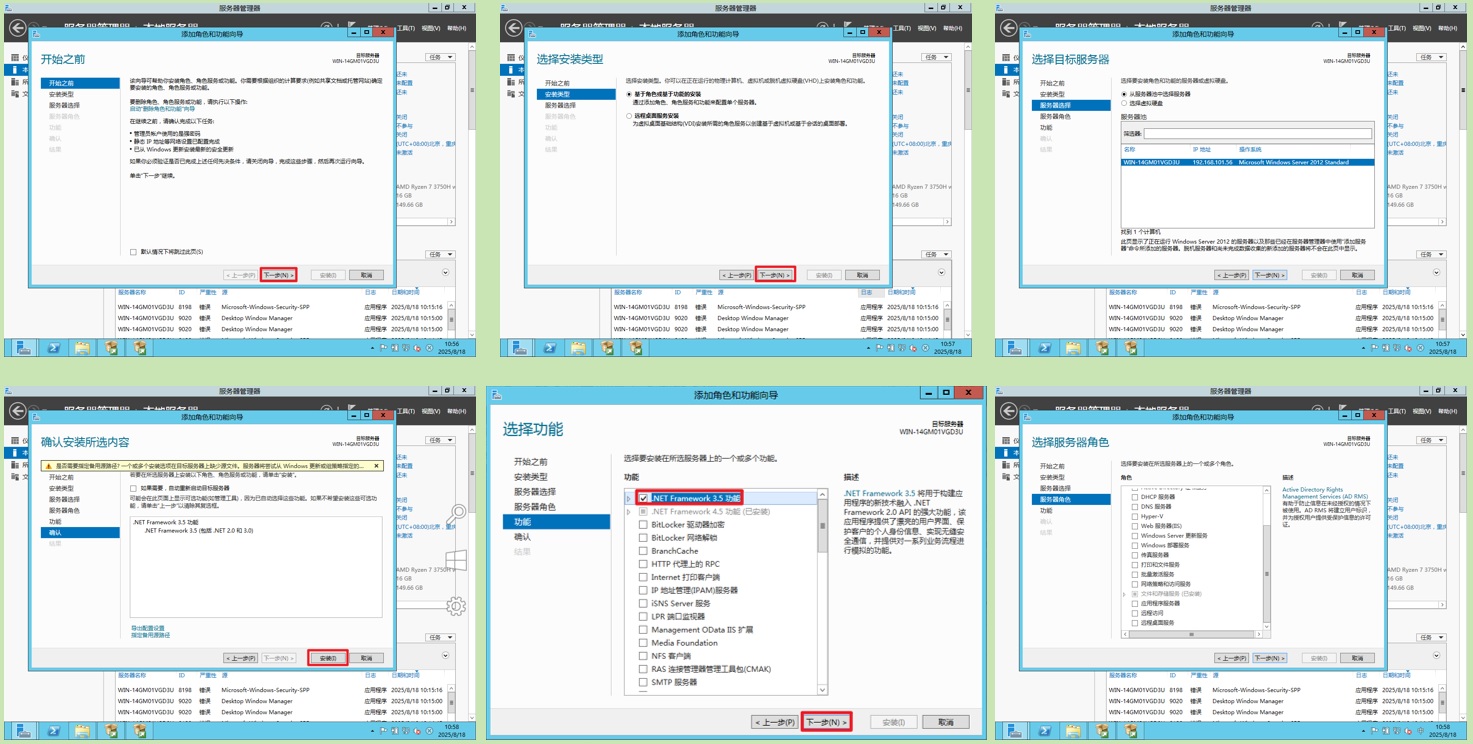
安装成功就把前面的MSSQL的步骤再执行一次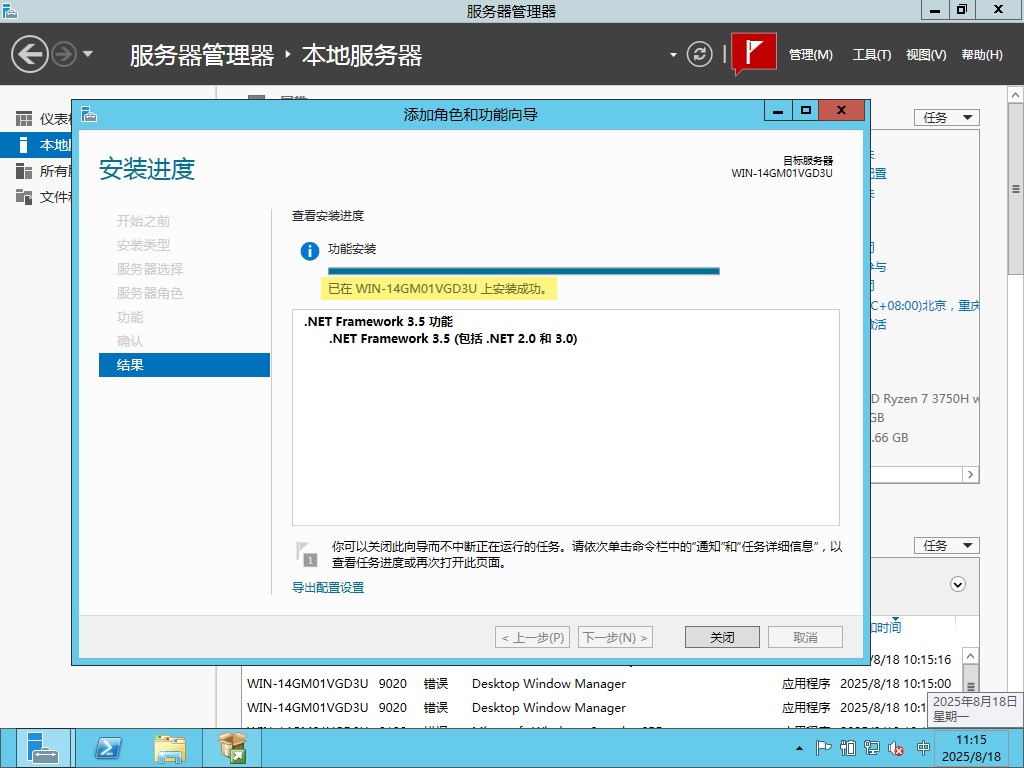
这次没有报错了,安装成功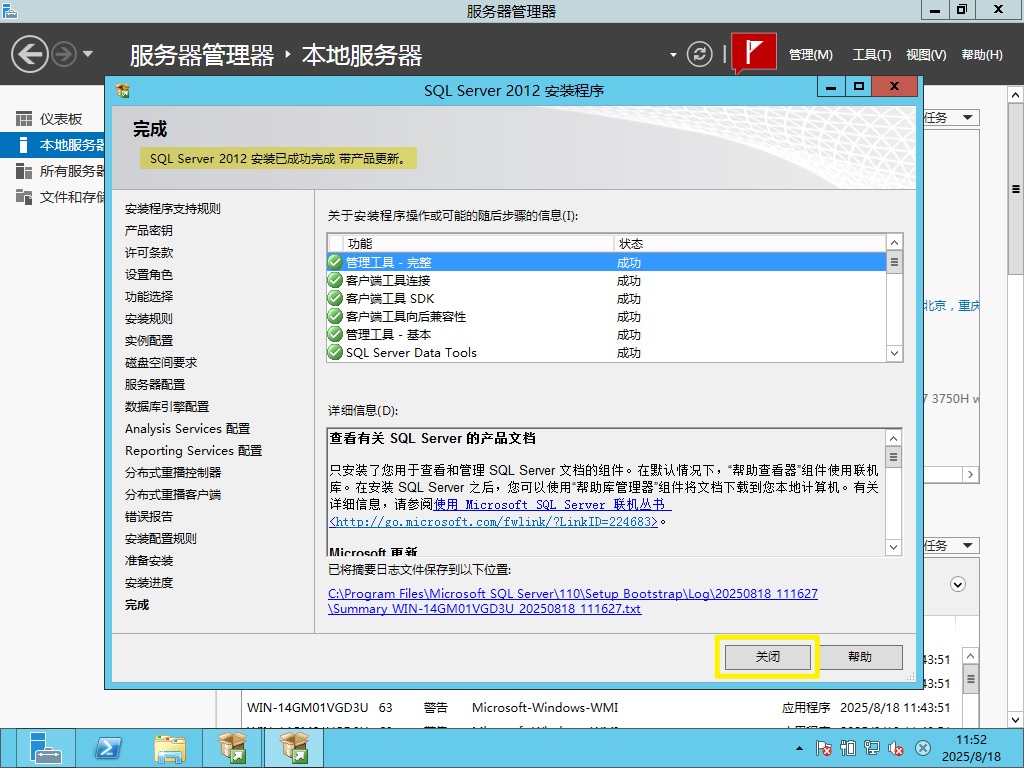
点击Windows键,打开菜单,点击SQL Server Management Studio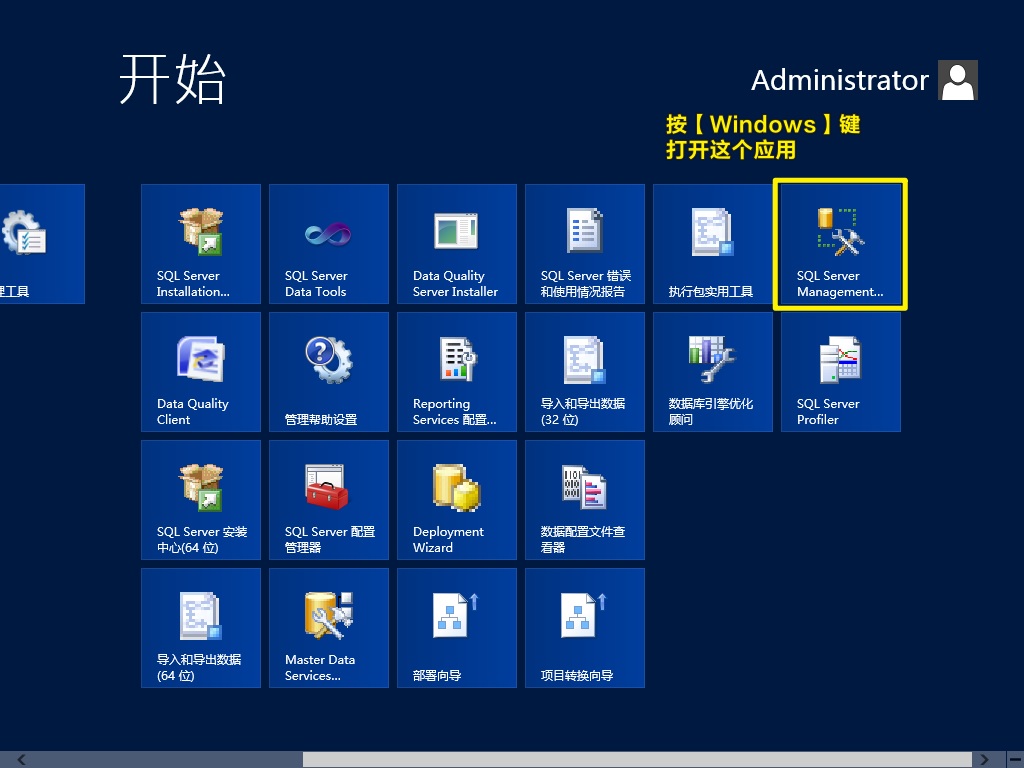
选择SQLServer身份验证输入【sa】账号和密码来尝试登录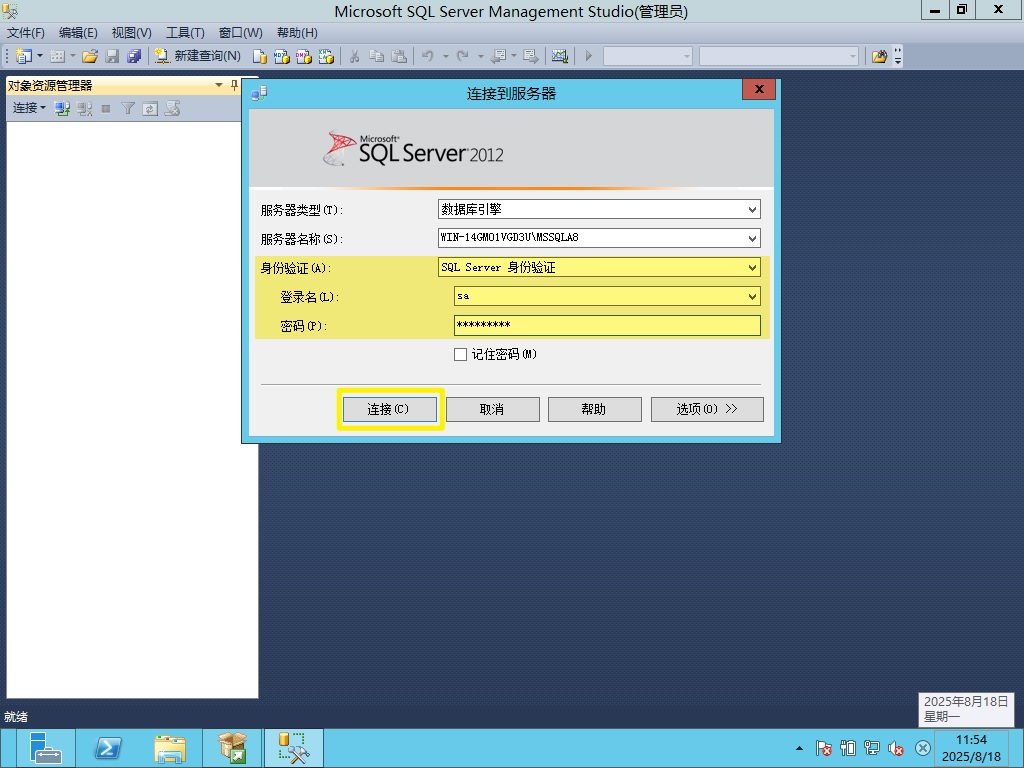
登录成功后是这样的效果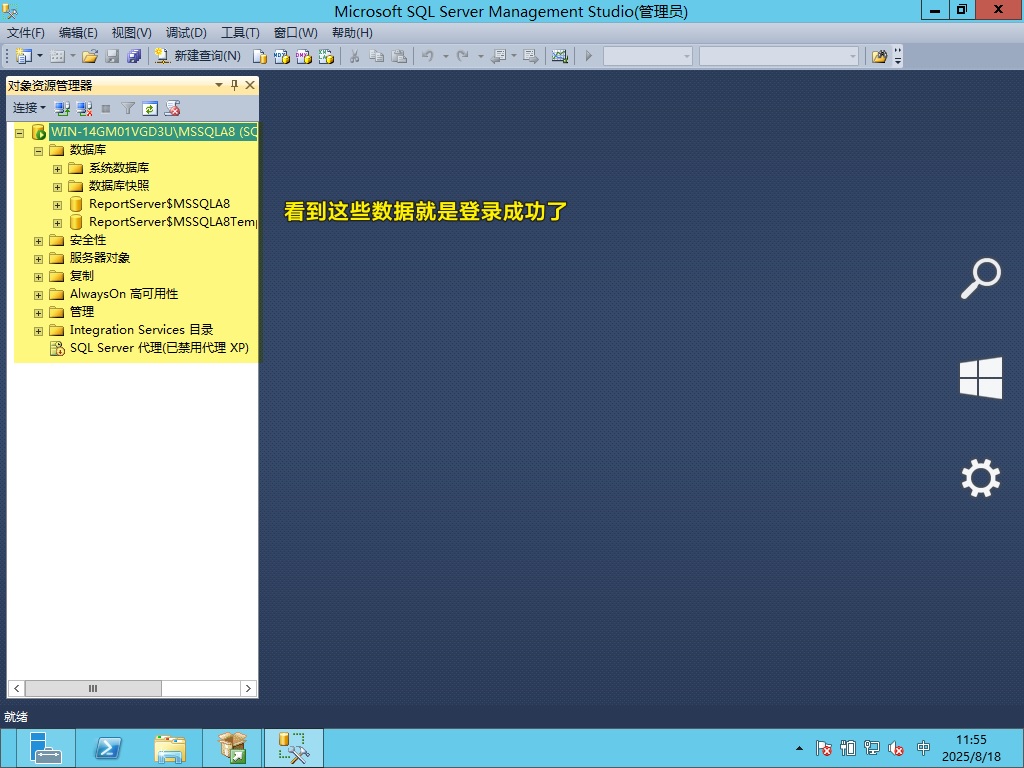
确保SQL Server这个服务是自动运行的,因为如果手工启动,很可能Windows会很难把它启动起来。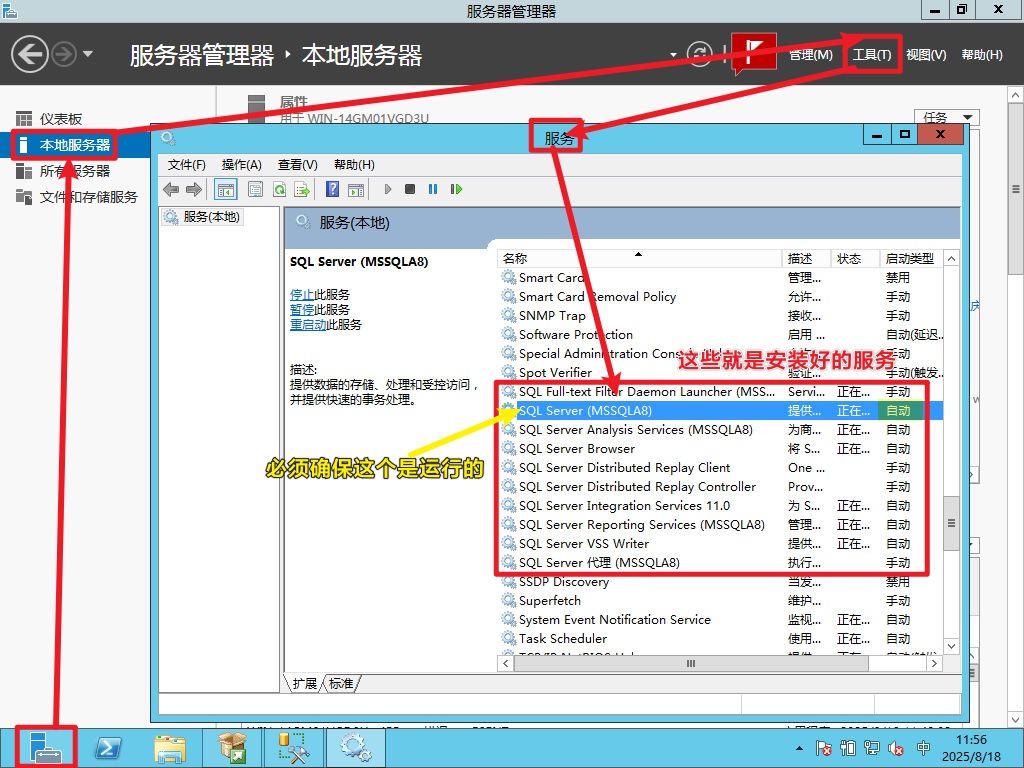
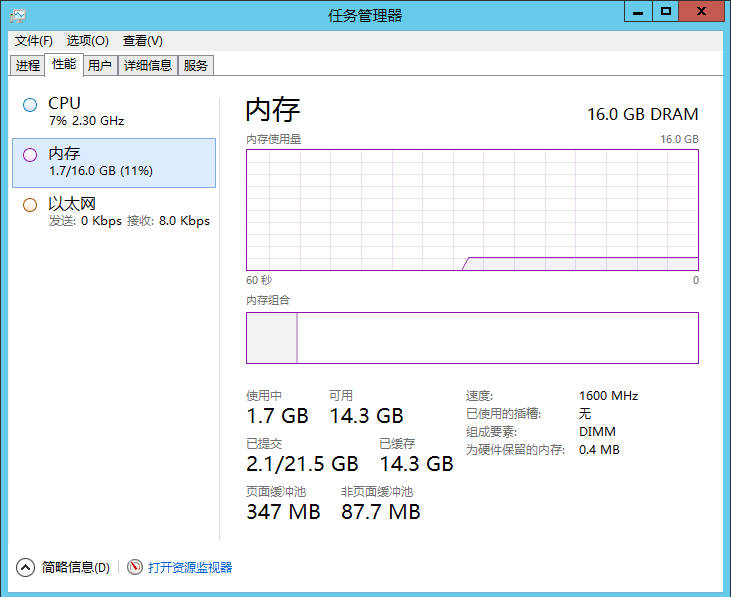
检查一下安装好SQL Server后的系统性能还够不够。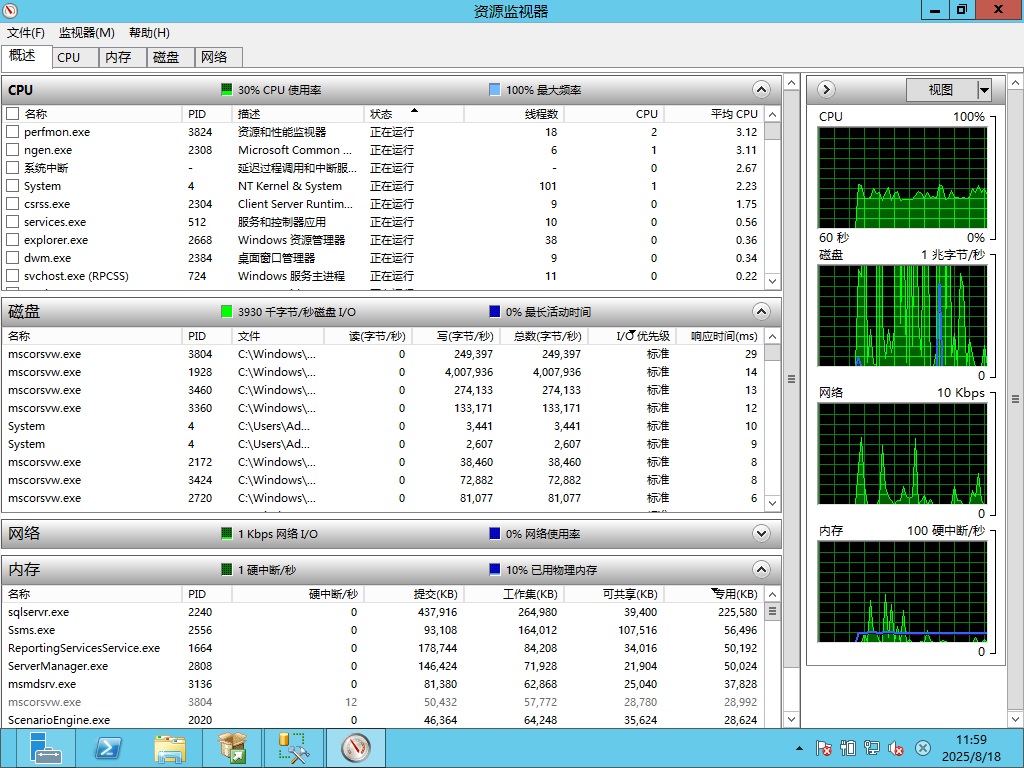
安装 MySQL 8.0
用百度打开bing,搜索mysql,记得下载社区版
具体下载链接:https://downloads.mysql.com/archives/installer/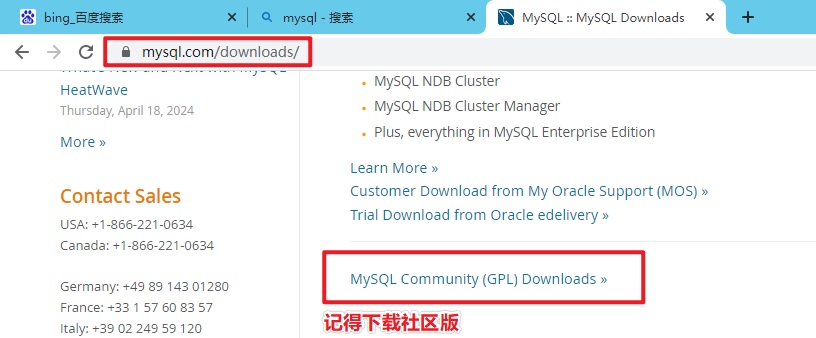
要下载这个完整的安装包8.0.xx,有288.6M大小。不要下载那个2.1M大小的。小版本最新的就行。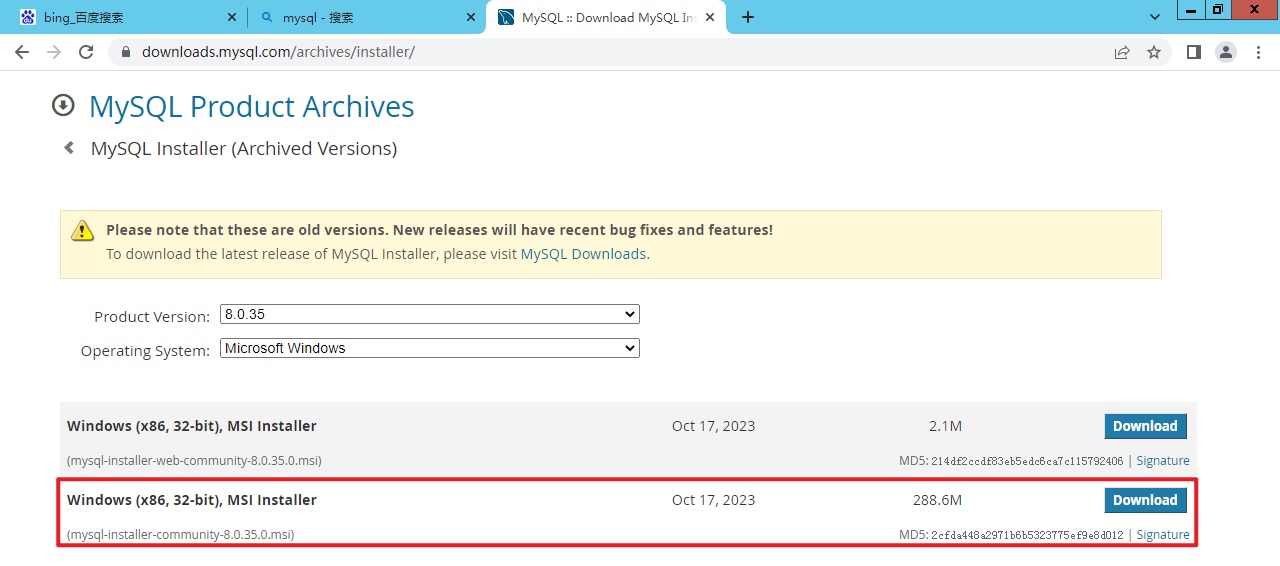
下载完打开安装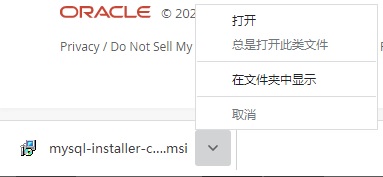
遇到第一个错误,要安装.net fw 4.5.2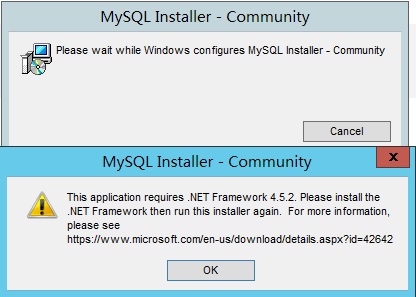
在bing中搜索就能下载到安装包
下载完就执行安装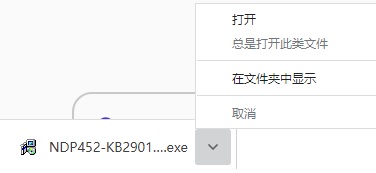
总是下一步就能安装完成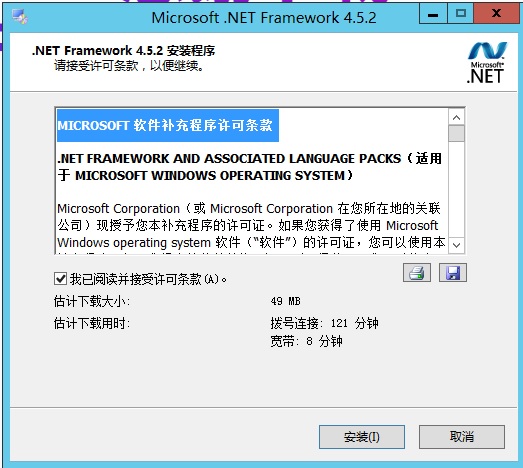
安装完要重启系统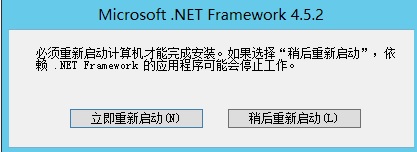
重启完继续安装MySQL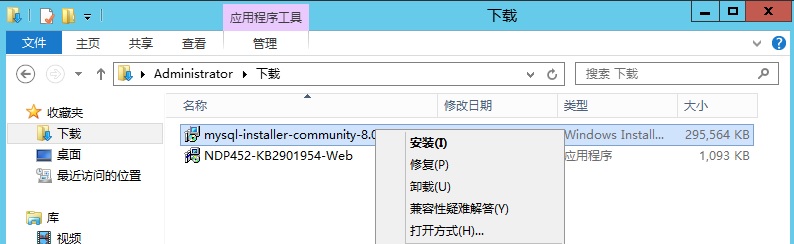
选Full,啥都不懂就全选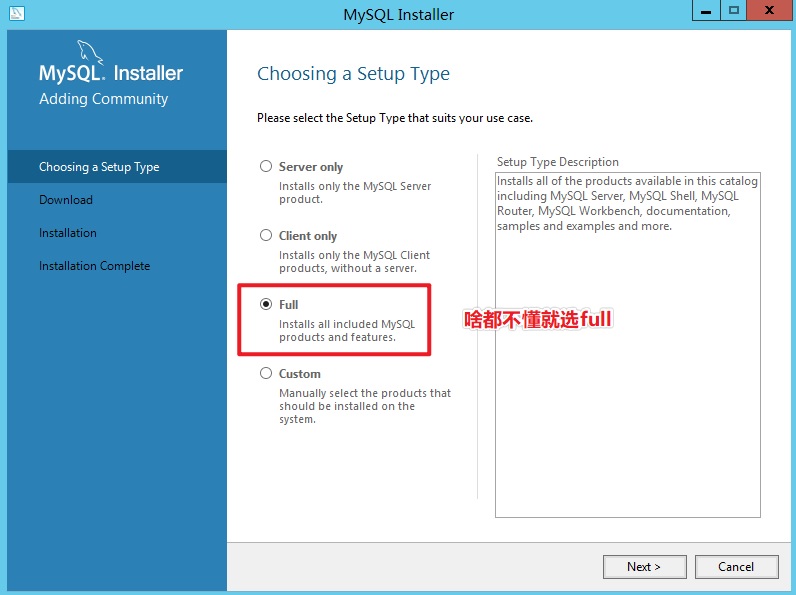
好像要安装确实的支持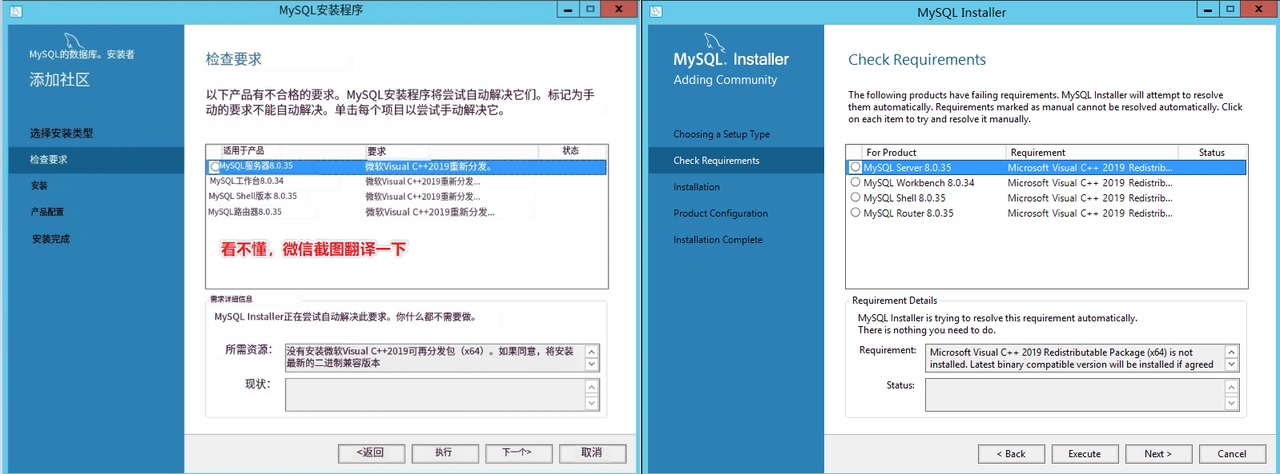
系统会自动安装一些支持程序
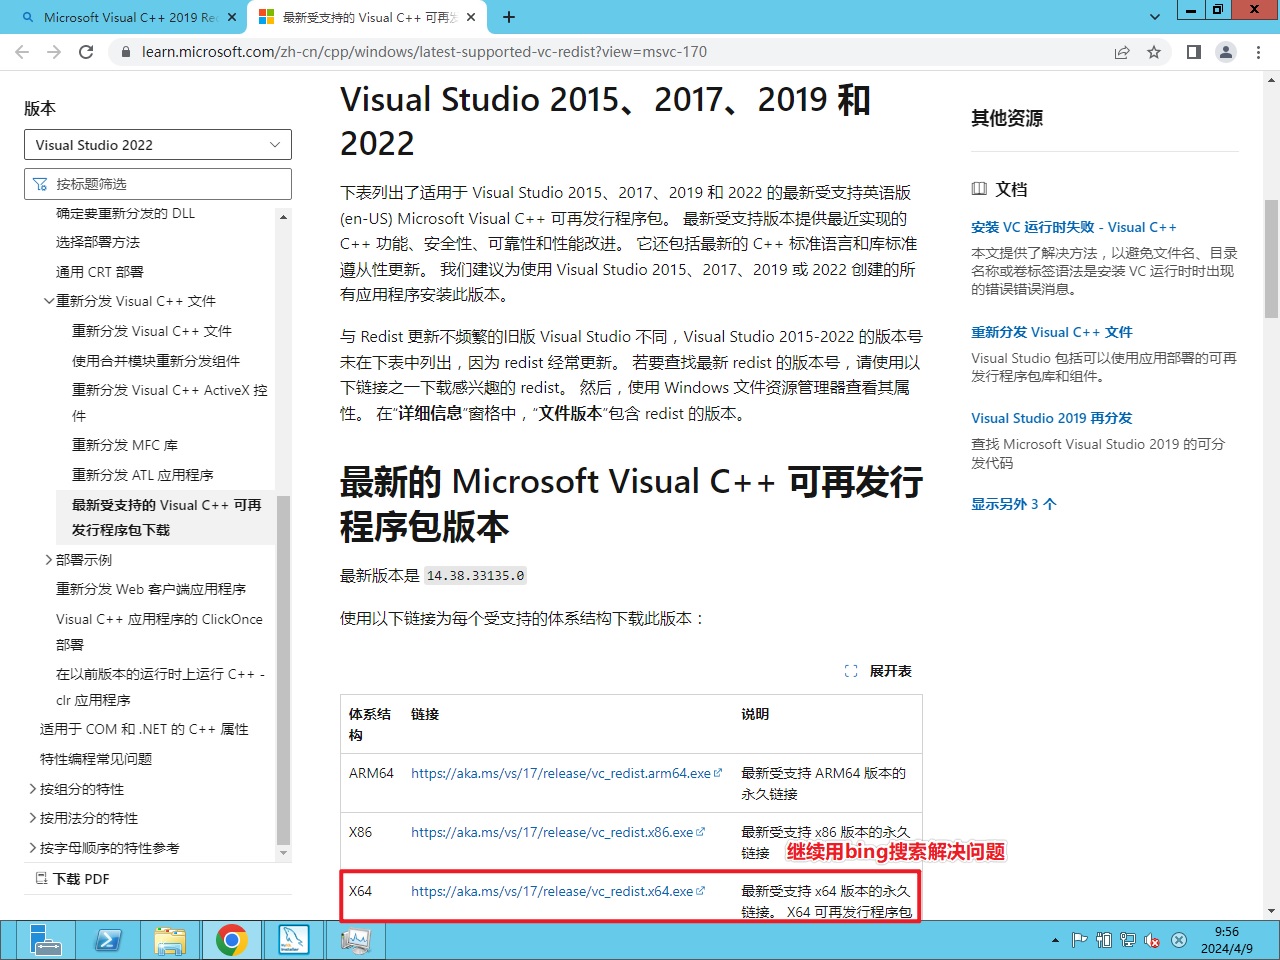
Microsoft Visual C++ 2019 Redistributable Package (x64)没有安装上,去bing查找解决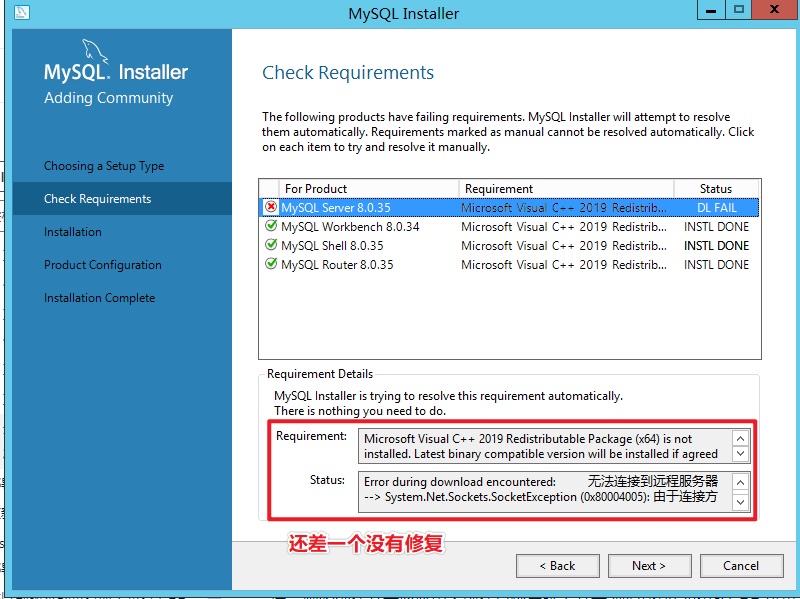
下载安装完,就可以下一步继续执行(Execute)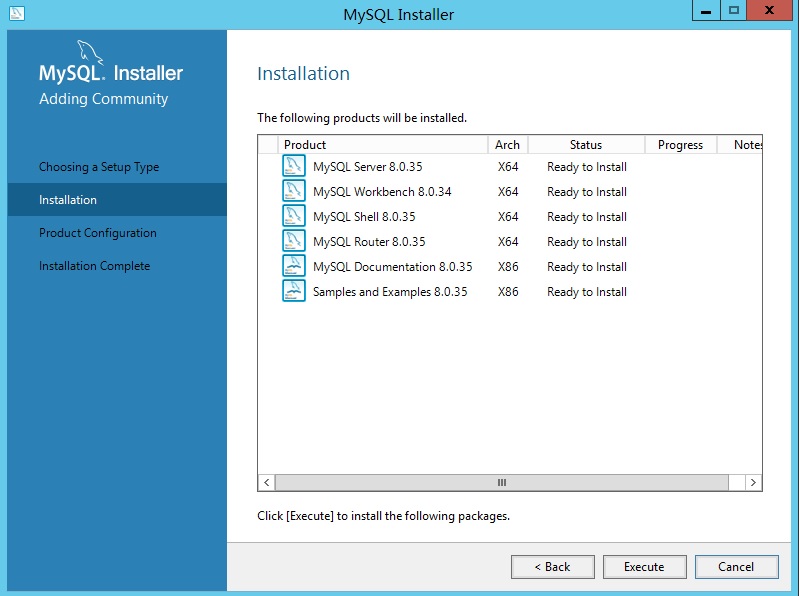
两三分钟就安装完了,下一步是配置
啥都不懂,直接默认选下一步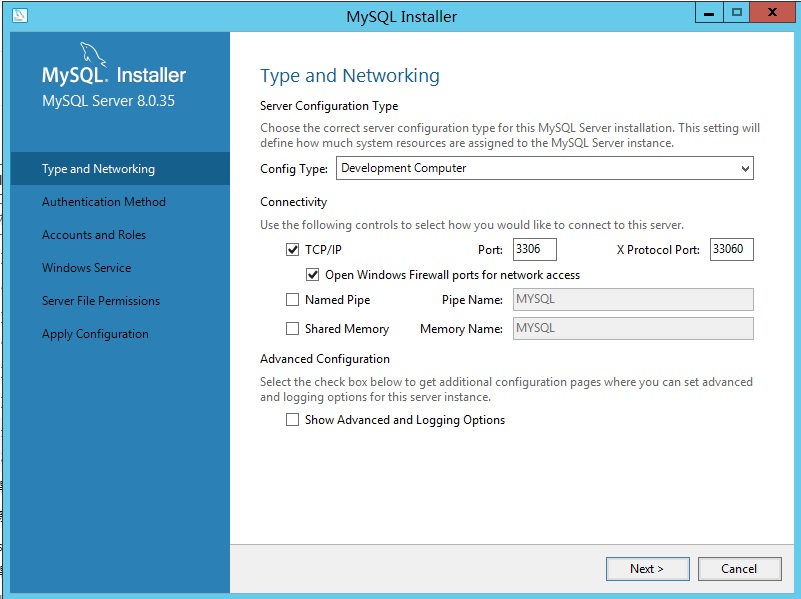
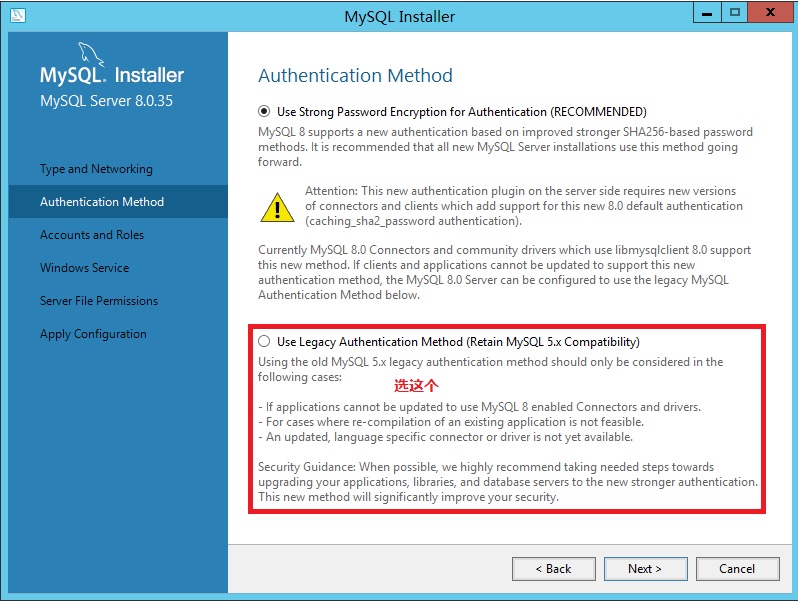
使用强密码模式,继续默认下一步
这里建议选择第二个(旧方式),后面连接数据库会少一个错误。
配置root用户,新建一个应用使用的用户,这里的密码千万不要忘记。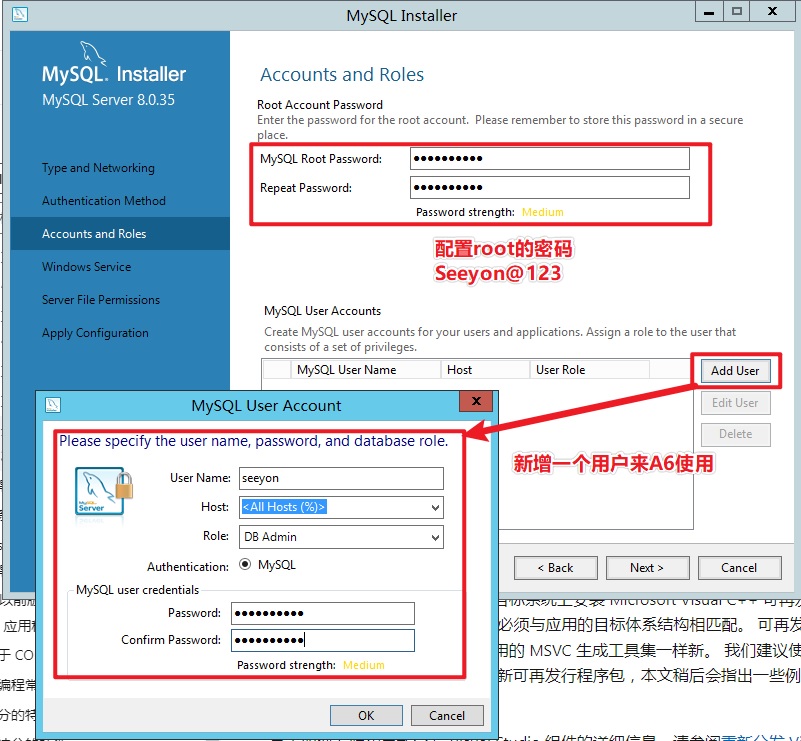
起一个不会重复的名,作为服务器的名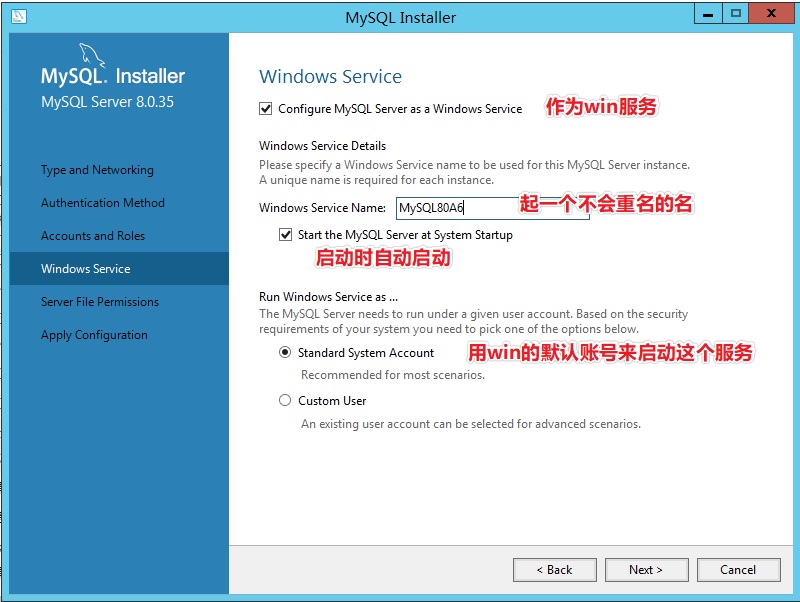
文件存放目录,如果你不想放在C盘,记得要换。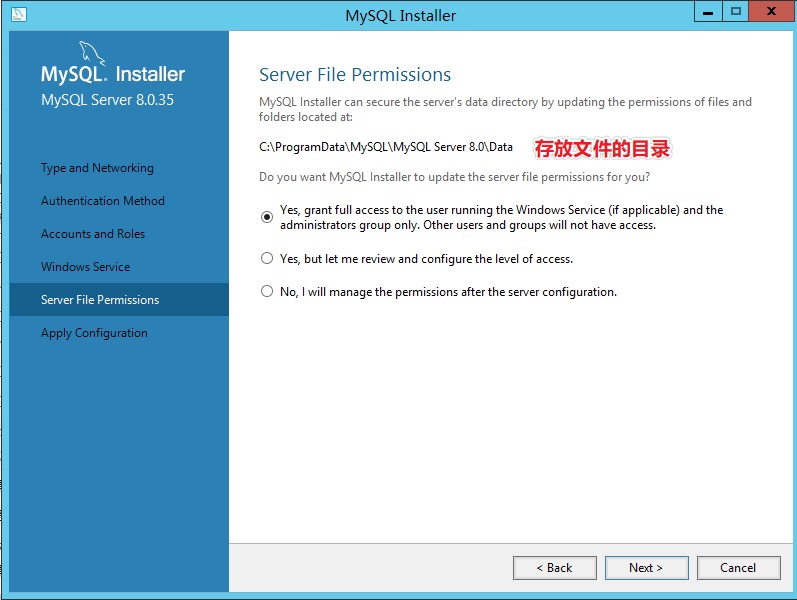
开始配置初始化MySQL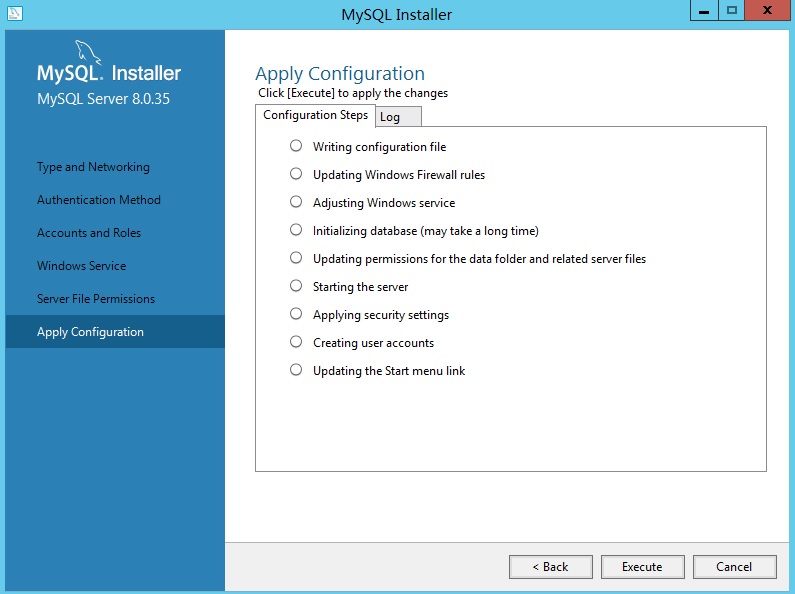
成功了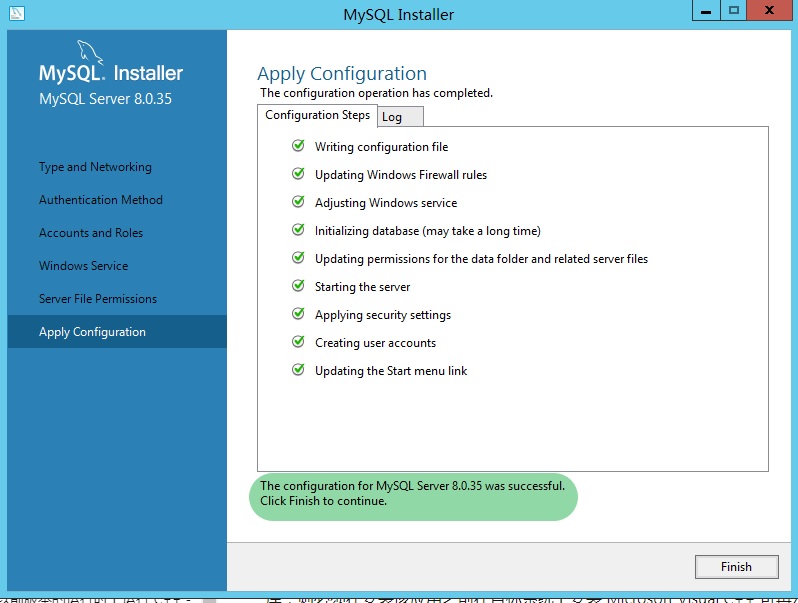
下一个配置,Router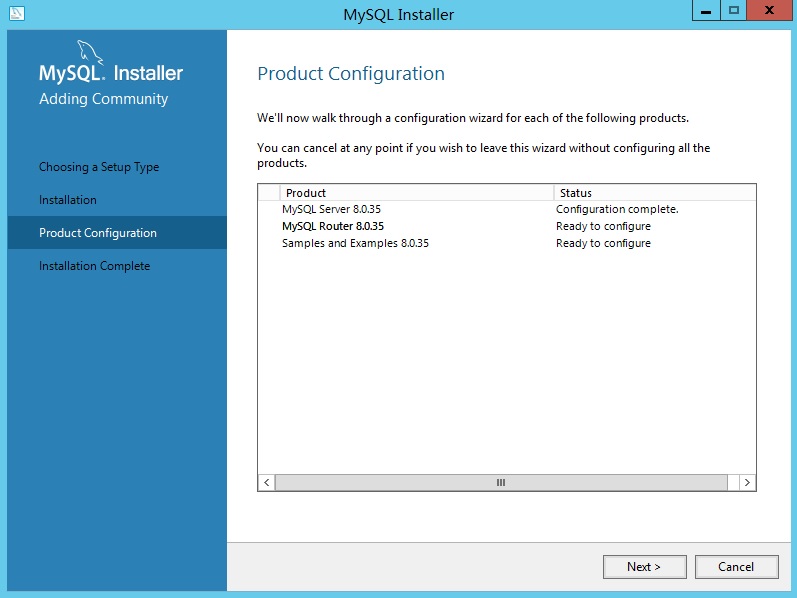
不知道在配置啥,反正就是finish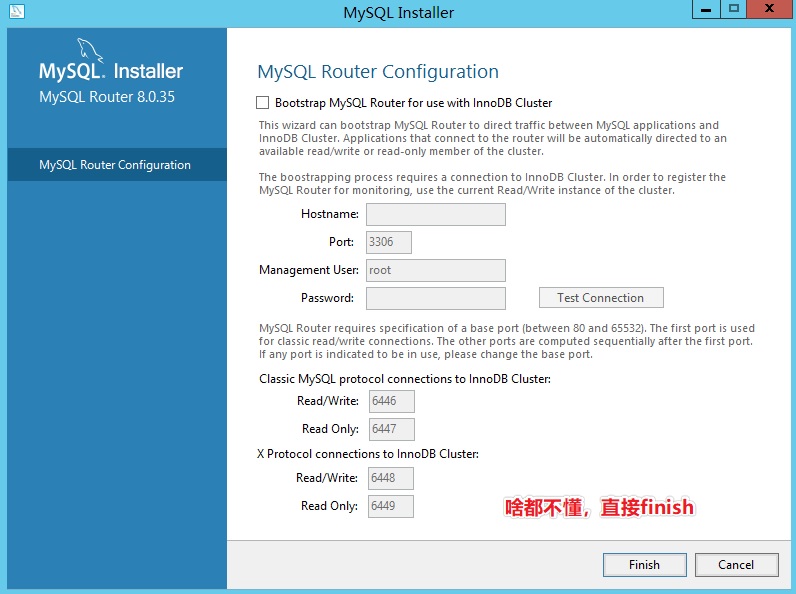
最后一个配置 sample 和 example
输入一下root的密码check一下就下一步。就是上面配置的root密码,是MySQL的密码。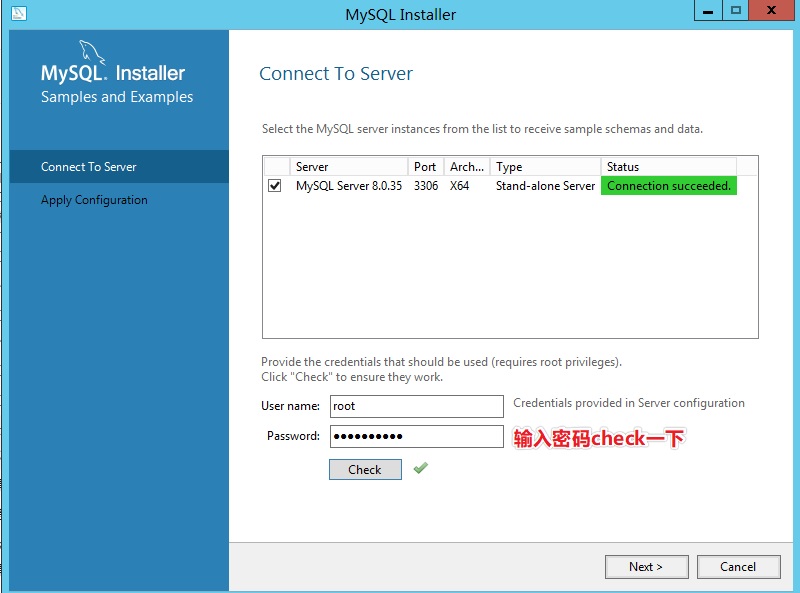
继续执行配置
好了?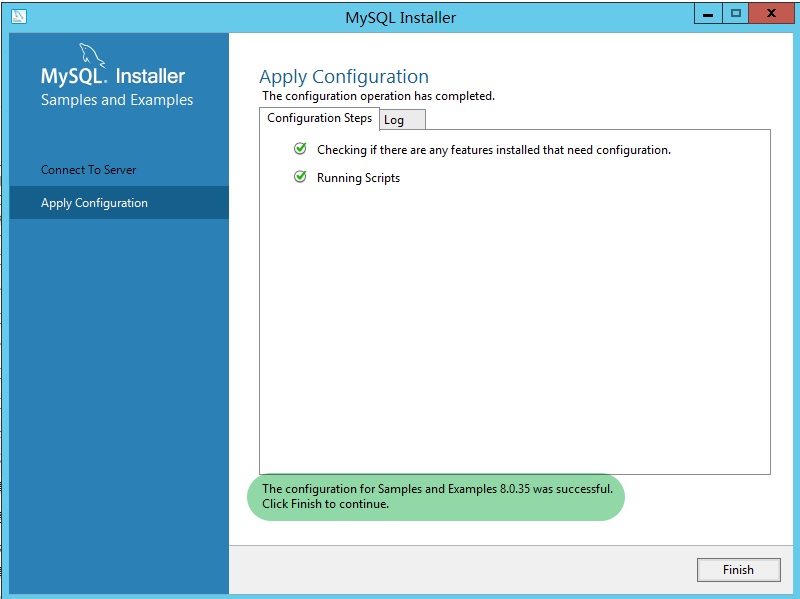
安装完成了?
还有两个玩意要启动,感觉没啥用,建议去掉这两个勾,然后finish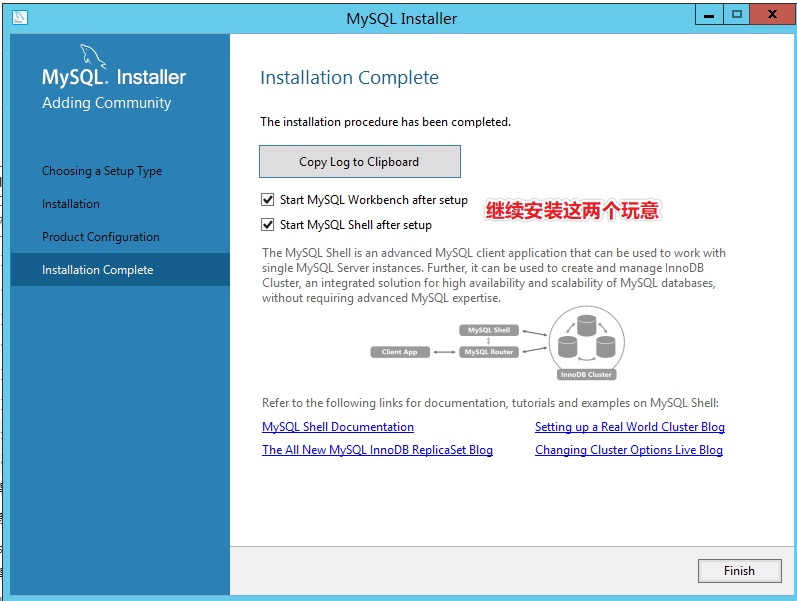
打开了shell和workbench的东西,不用管,关了他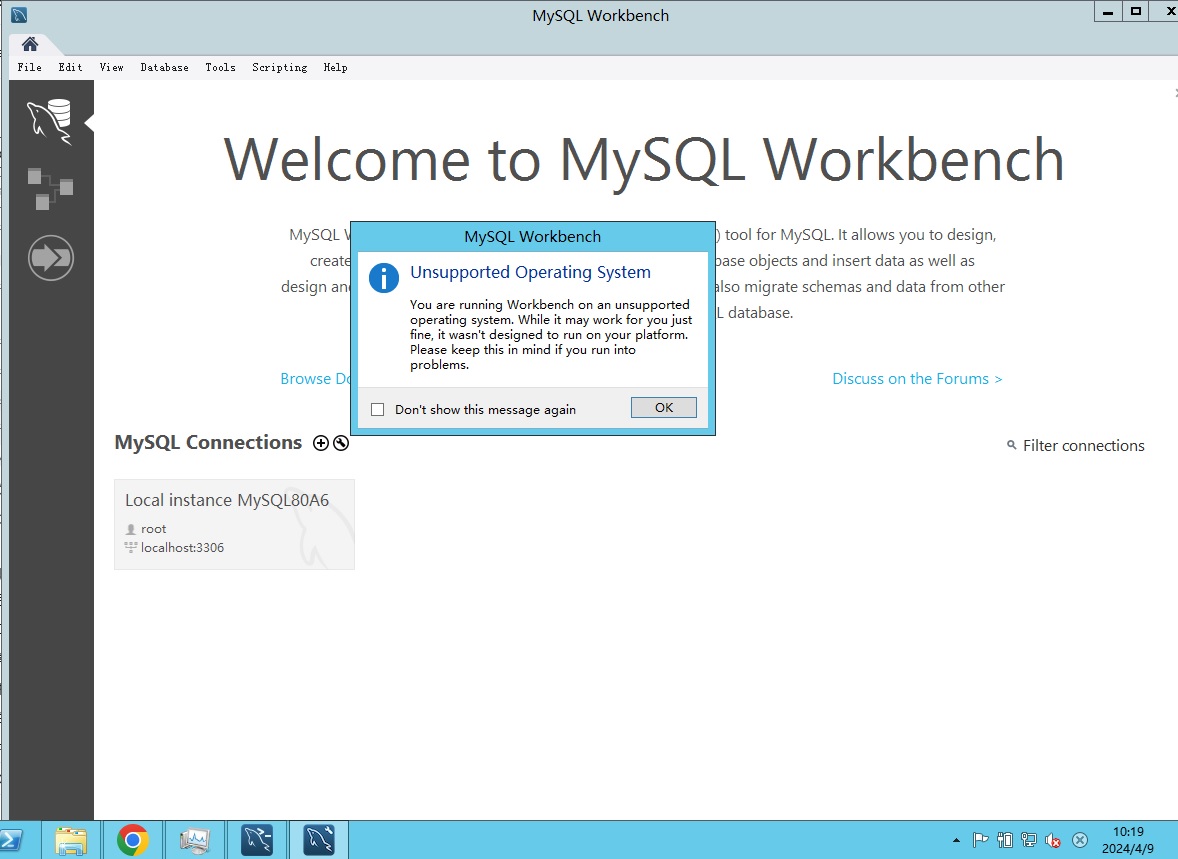
在菜单里面安装了三样东西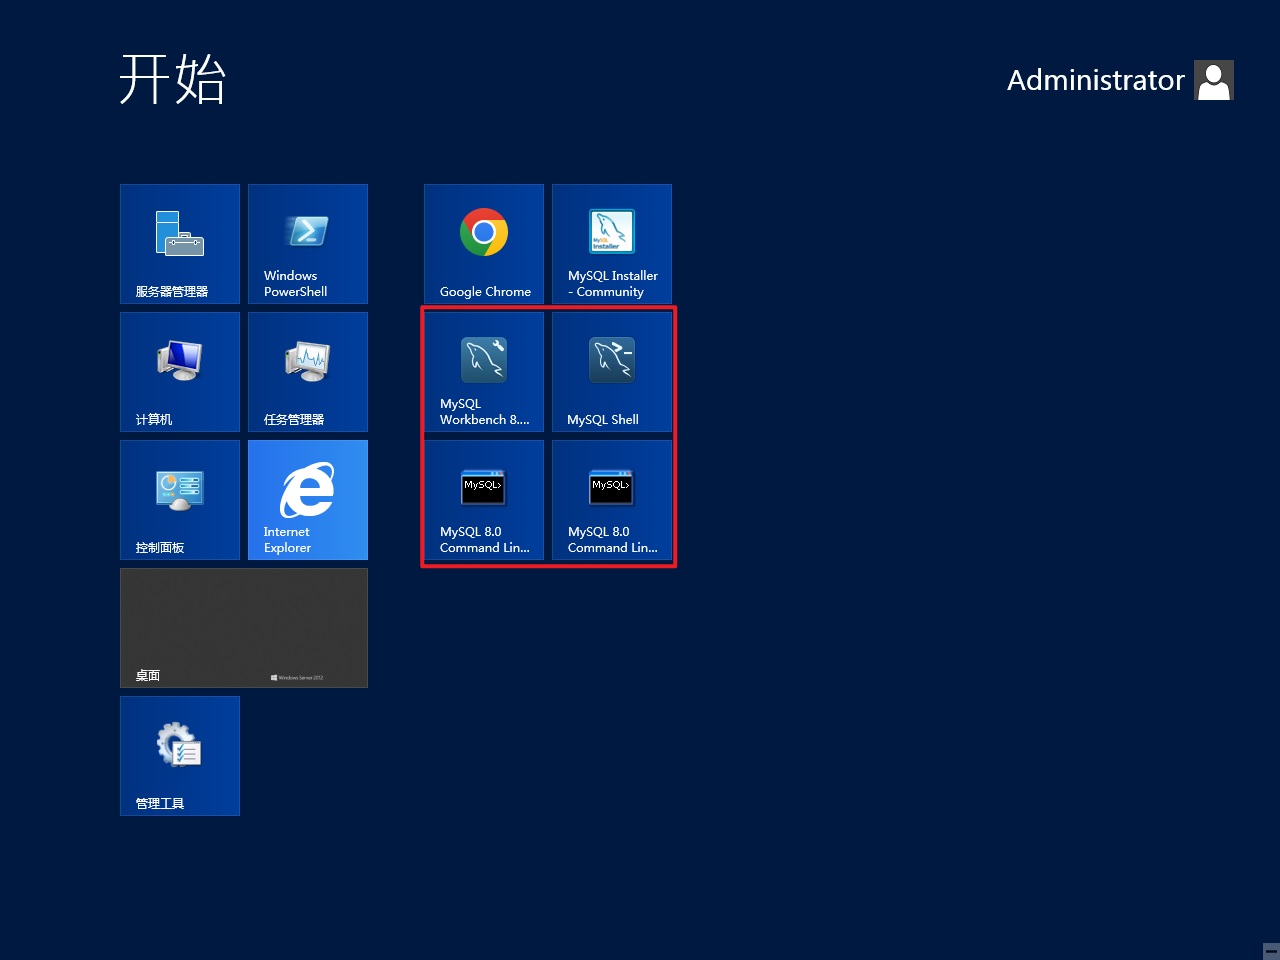
看看服务,应该是安装成功,并运行成功了。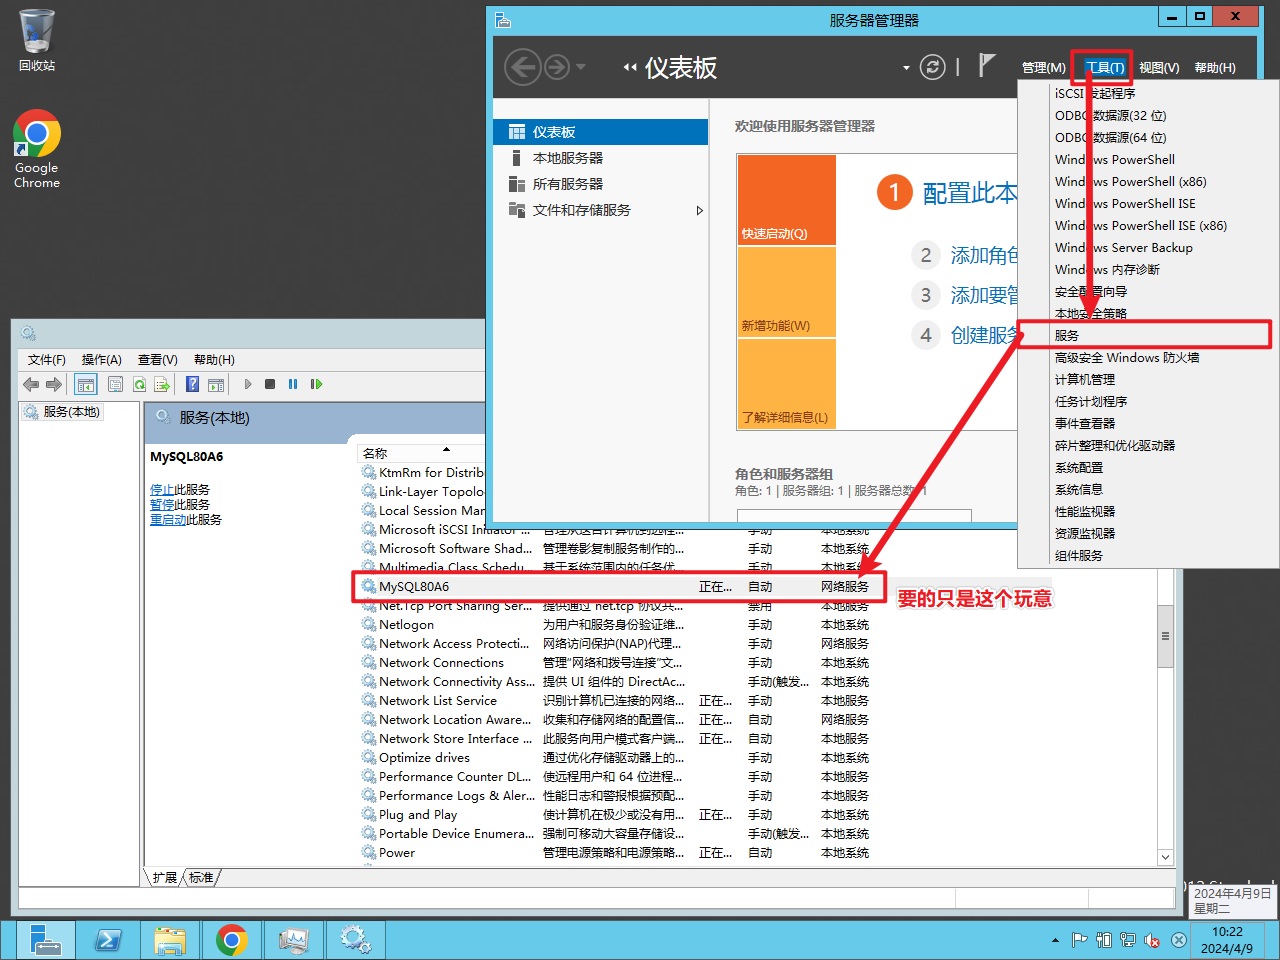
Navicat(客户端)
安装Navicat来尝试连接MySQL。这个软件是可以个人免费试用的。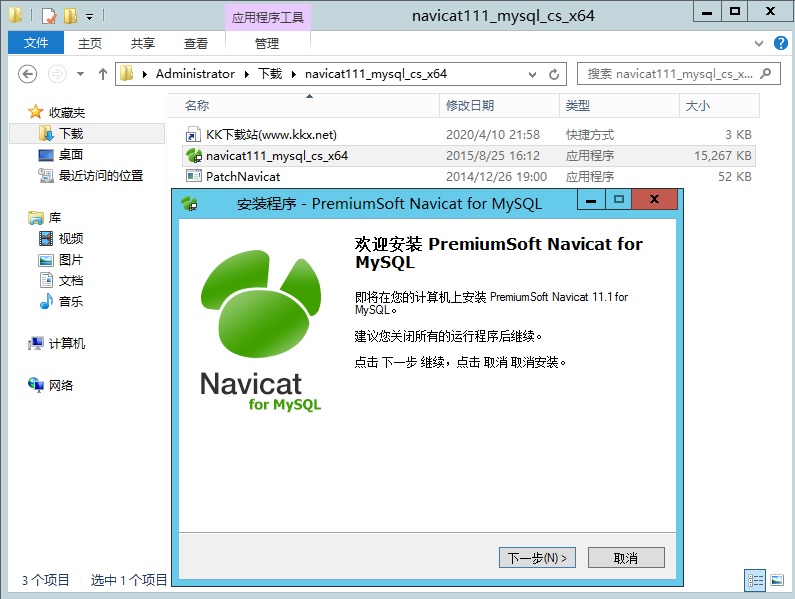
如果连接时候发生这个错误,按下面方法去修改
1 | ALTER USER 'root'@'localhost' IDENTIFIED BY 'password' PASSWORD EXPIRE NEVER; |
在cmd要进入到C:\Program Files\MySQL\MySQL Server 8.0\bin里面执行mysql -u root -p来登录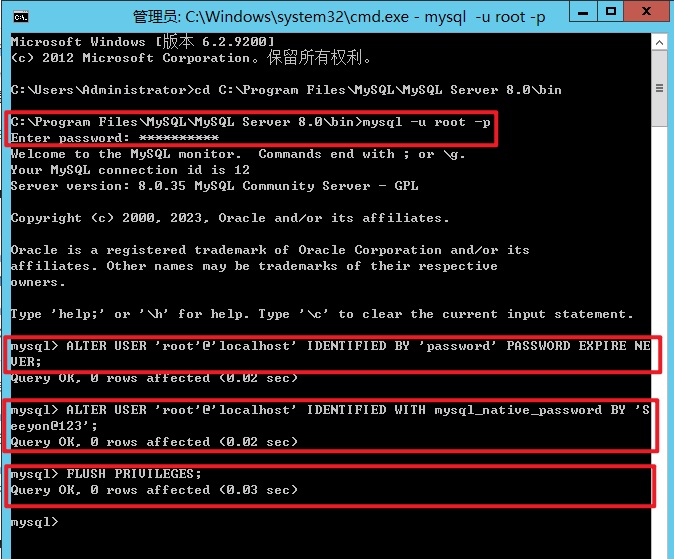
成功登录Navicat了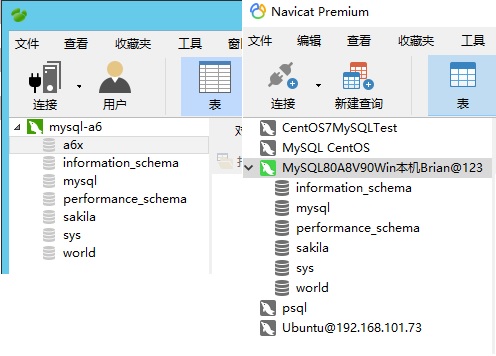
Dbeaver(客户端)
你也可以利用Dbeaver来测试登录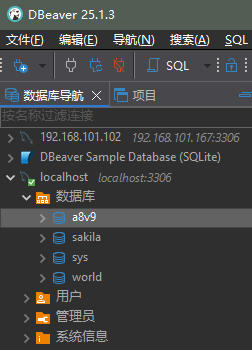
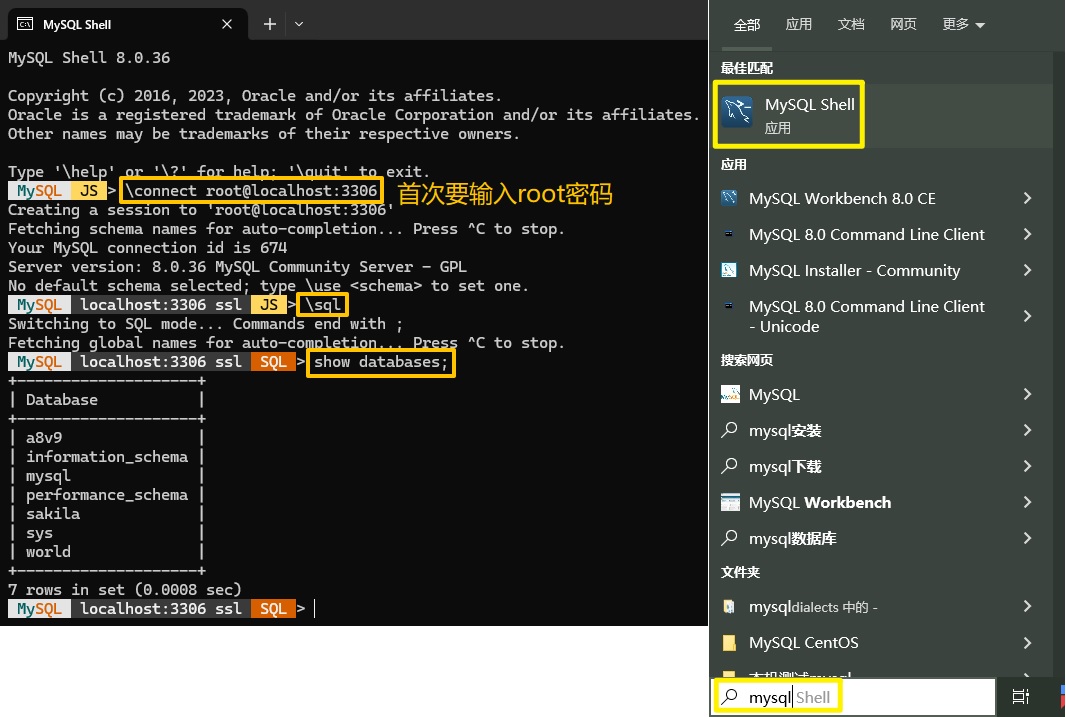
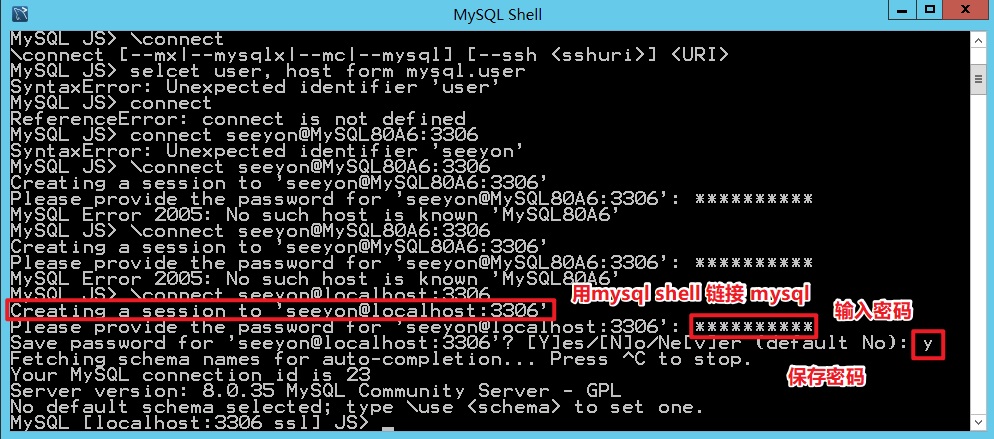
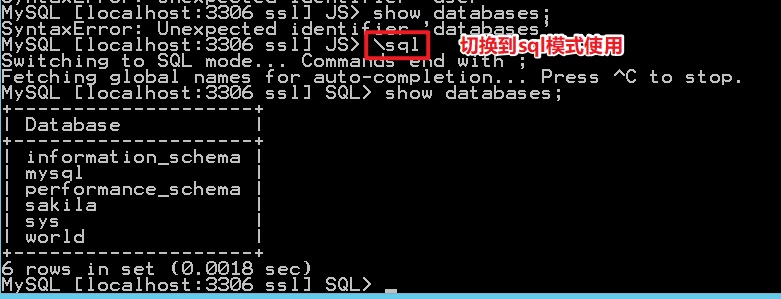
MySQL Shell(命令行)
使用mysql shell来连接mysqlexi
1 | --用mysql sheel连接mysql |
安装A8(基于MySQL)
现在开始安装A8,先把安装包(ZIP)提取(解压)出来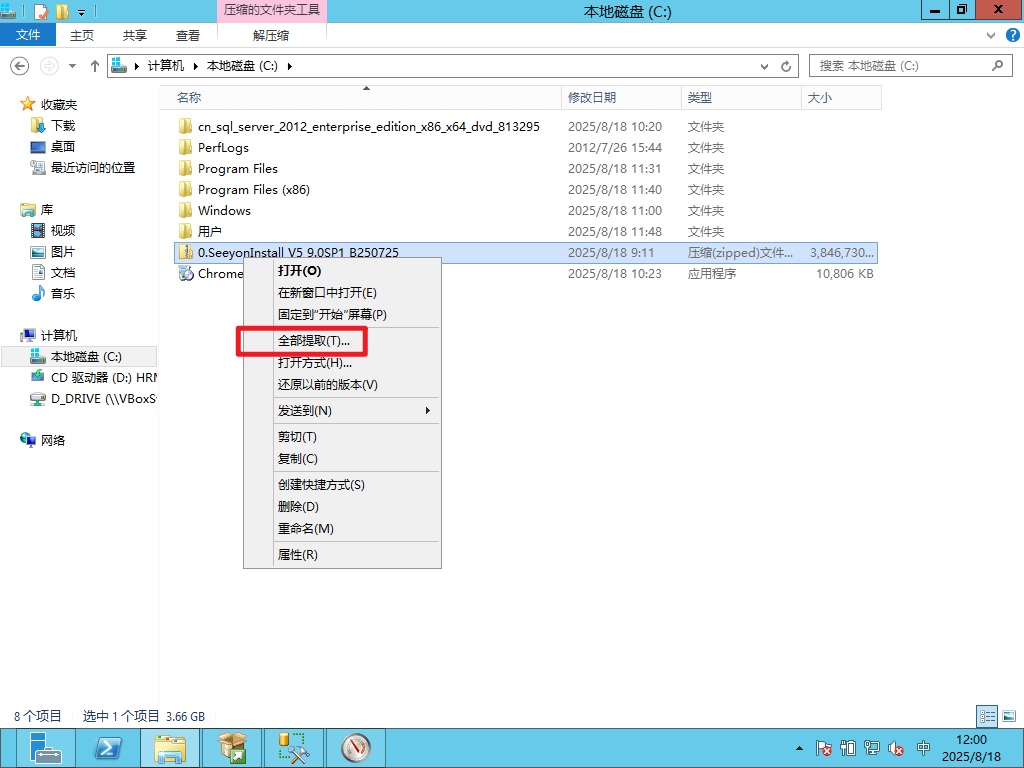
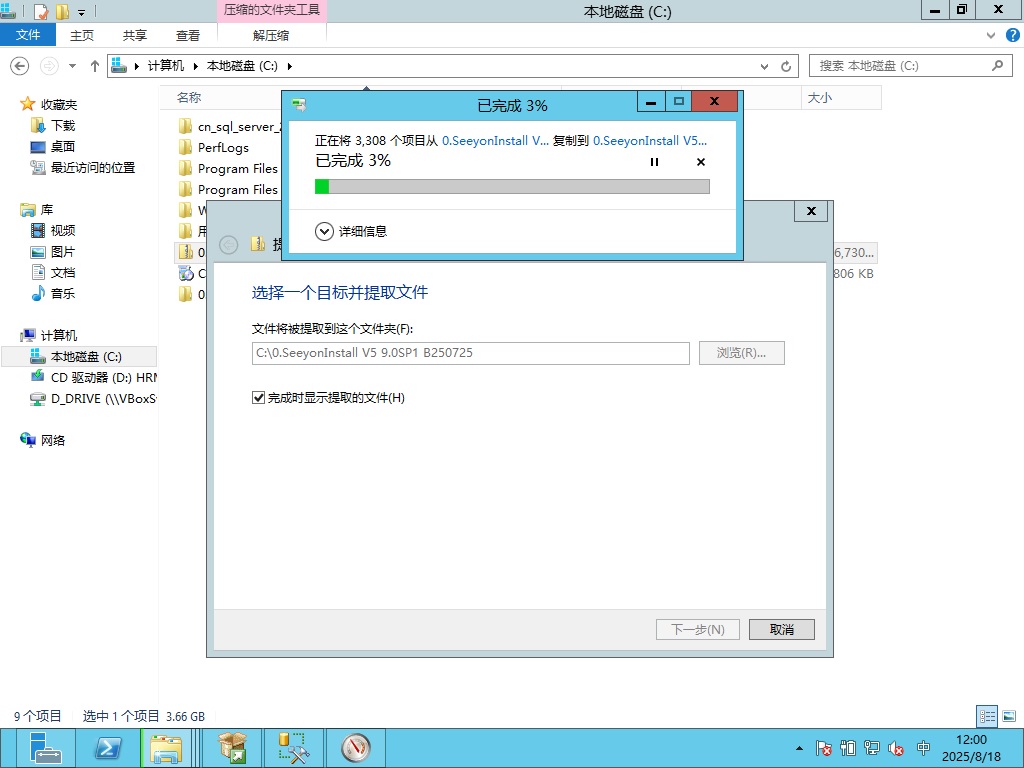
解压出来后在目录C:\0.SeeyonInstall V5 9.0SP1 B250725\0.SeeyonInstall中找到SeeyonA8-2Install右键点击以管理员身份运行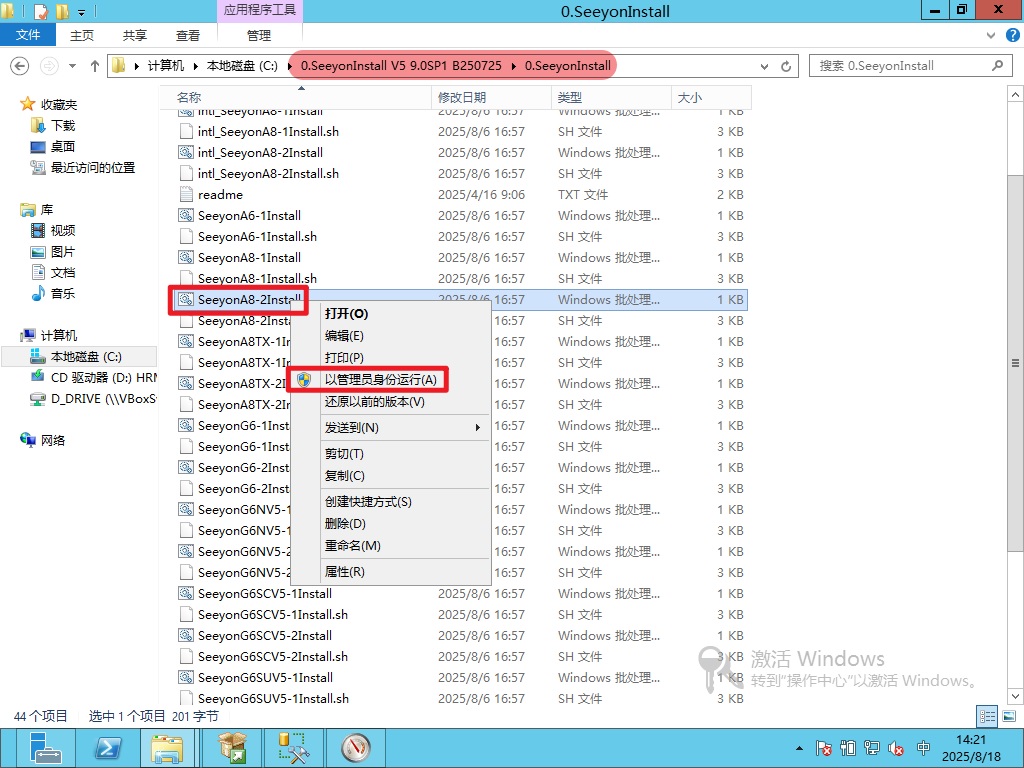
会有一个系统环境检查,如果通不过,就需要调整操作系统,或增加服务器资源。然后重新运行SeeyonA8-2Install`程序。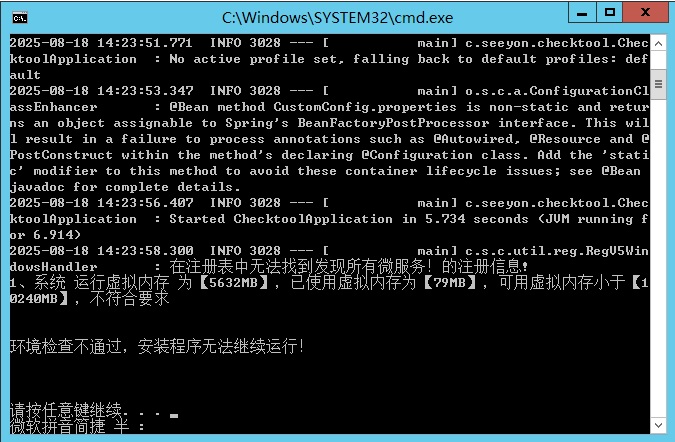
协议是只能接受的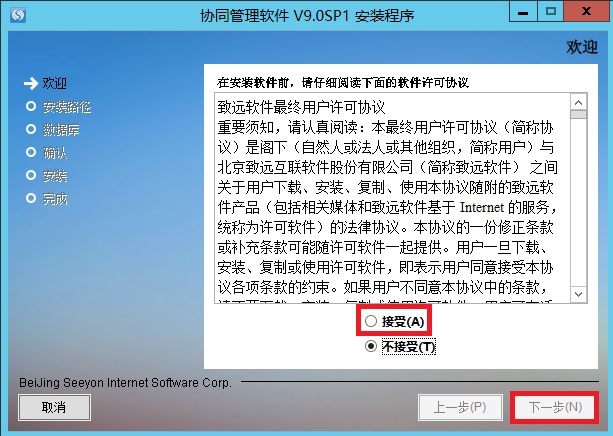
安装目录需要修改的话在这里修改,最好只修改盘符,如放去D盘,其他的目录不要修改。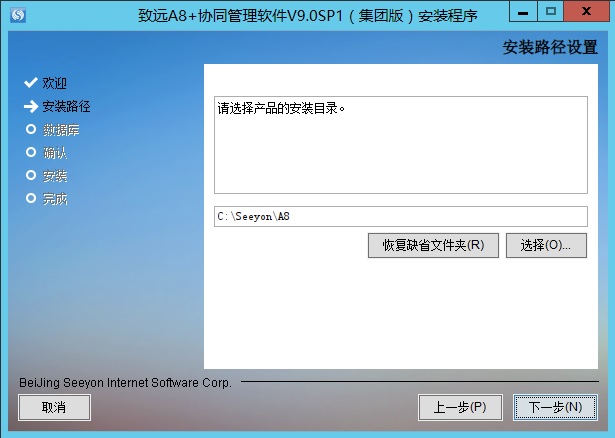
链接MySQL
这个时候大概率会报错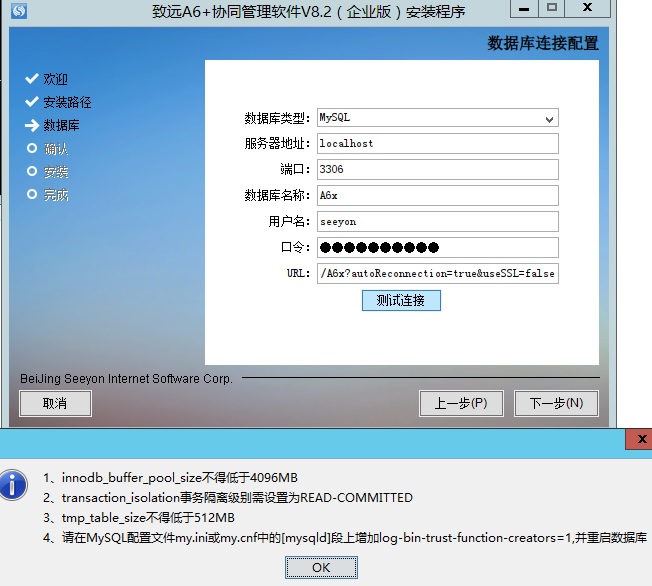
MySQL链接错误1解决,修改my.ini文件解决
修改my.ini文件,这个文件要搜索才能出来C:\ProgramData\MySQL\MySQL Server 8.0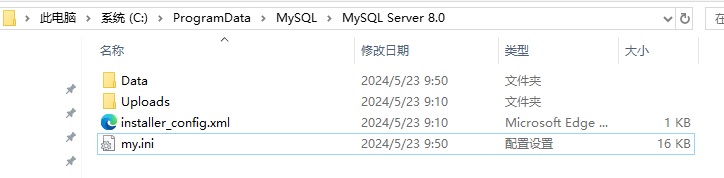

为了省时间,建议之间用我这里的代码替换
1 | # Other default tuning values |
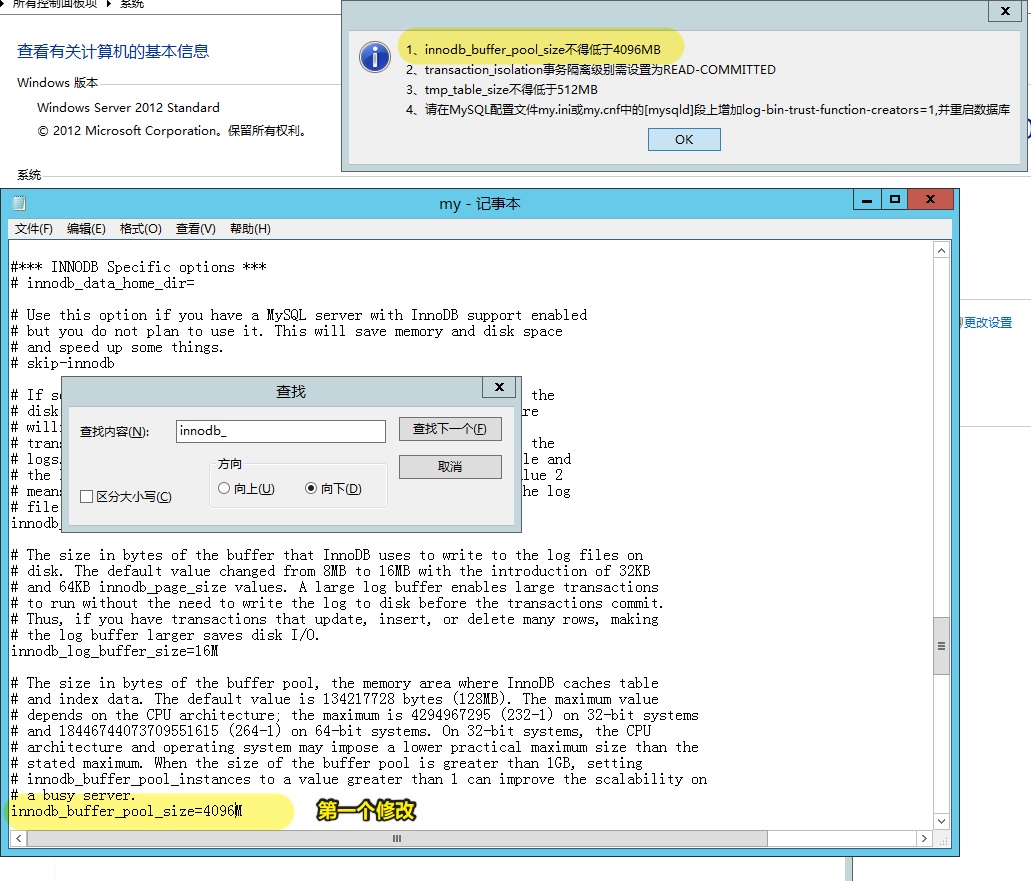
你也可以一个个错误的修改,如下图:
修改第1个错误(my.ini配置)
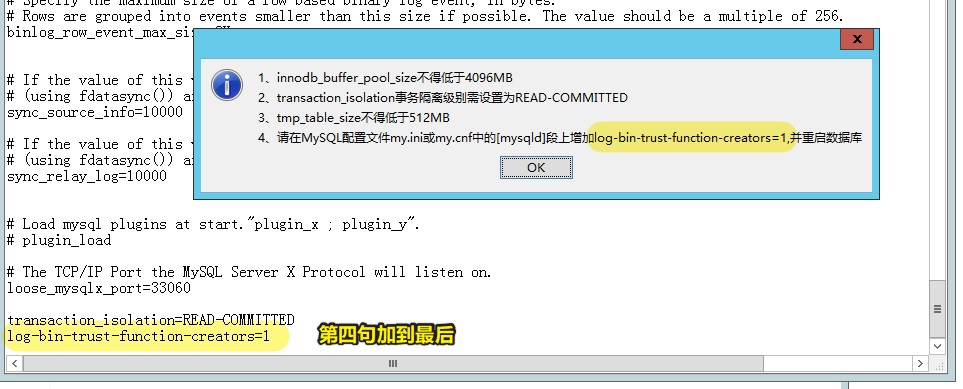
修改第2个错误(my.ini配置)

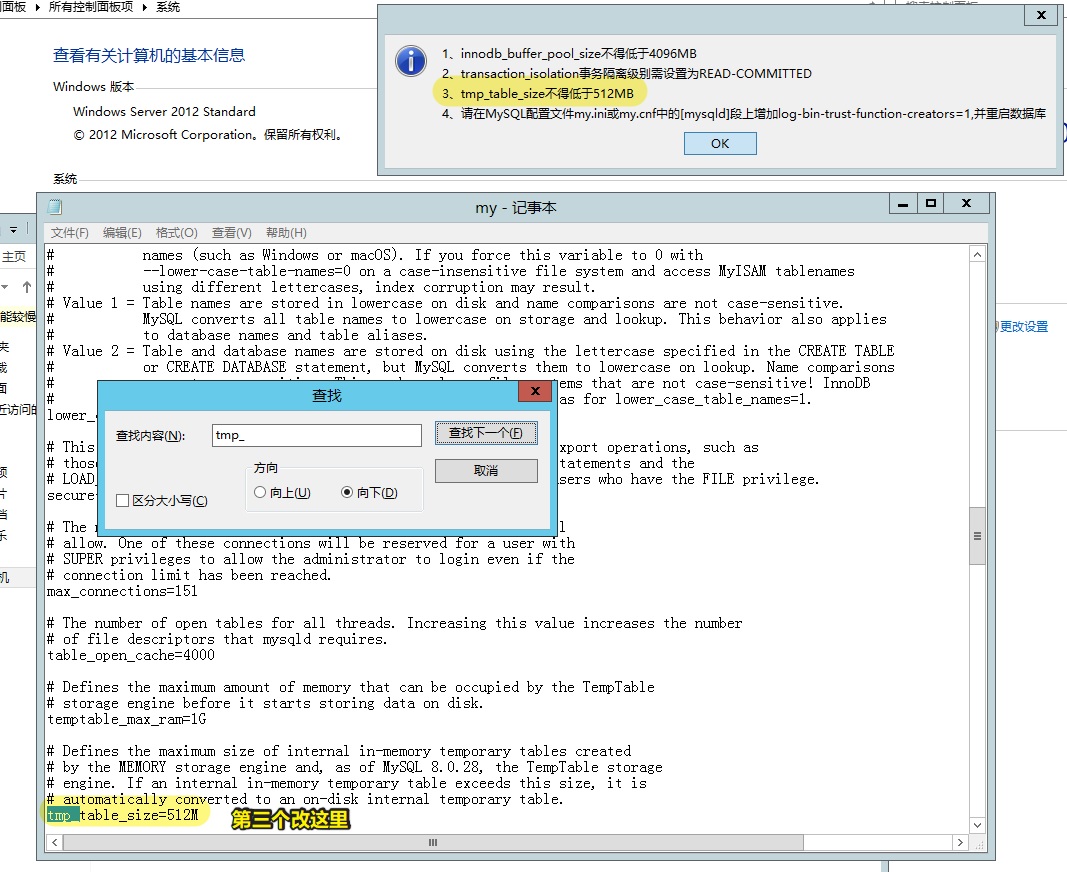
修改第3个错误(my.ini配置)
修改第4个错误(my.ini配置)
第5个错误(重启失败)
重启MySQL
MySQL重启失败错误解决,ANSI的my.ini编码问题
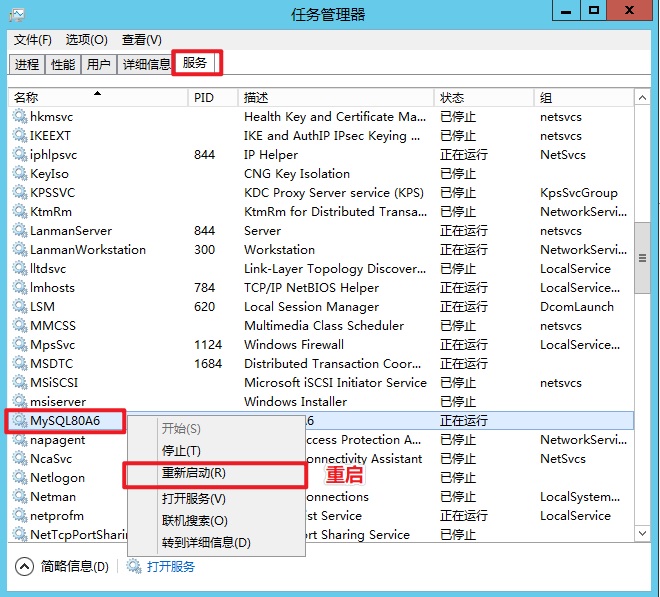
如果重启的时候出现【本地计算机 上的 MySQL80A6 服务启动后停止。某些服务在未由基他服务或程序使用时将自动停止】这样的错误。就是需要解决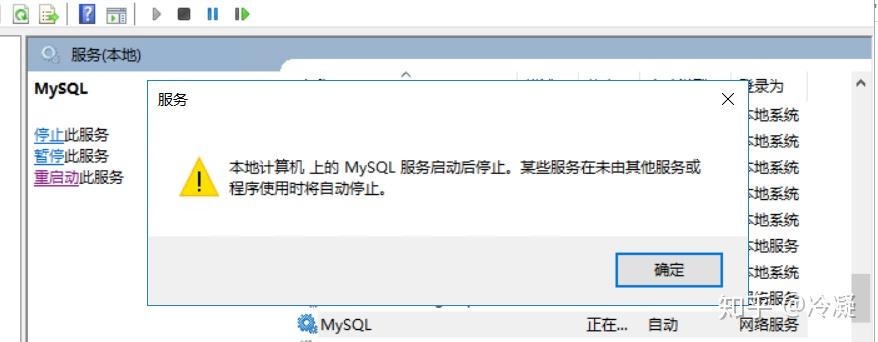
就要把my.ini的文件编码改回来ANSI,用notepad++来改。并且上面的my.ini修改的地方有错误也会出错,如果用了ANSI格式还是报错,就逐条检查修改了的配置有没有写错。或者txt修改时候选择ANSI编码。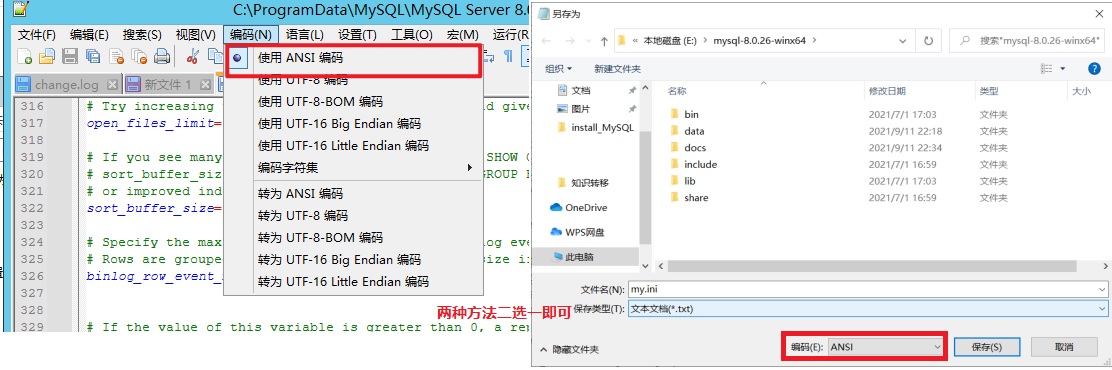
第6个错误(安全模式)
如果出现这个错误,就是前面安装MySQL的时候,选错了登录验证的模式。需要换回旧模式。
用cmd登录MySQL
1 | cd C:\Program Files\MySQL\MySQL Server 8.0\bin |
接着要创建一个新用户和数据库
1 | --新建一个用户叫seeyon,密码是Newpwd123456 |
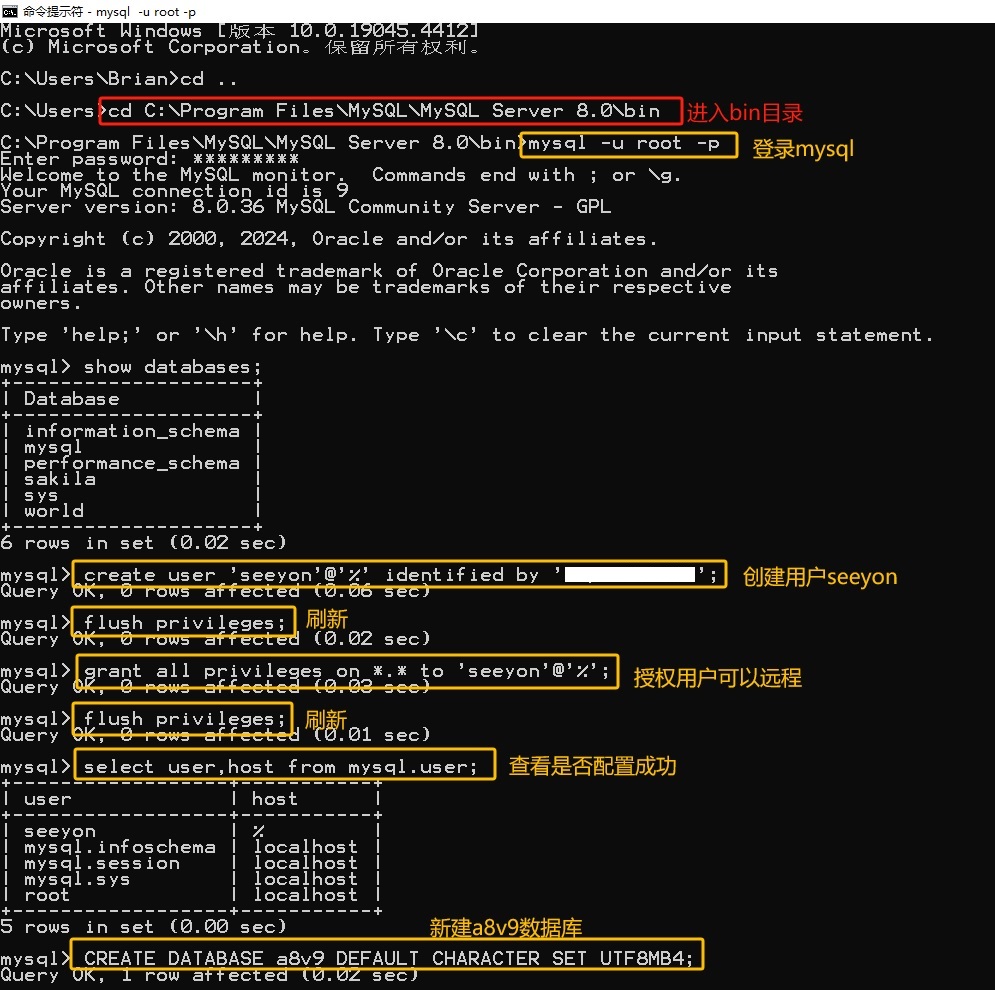
继续执行下面三个语句
1 | ALTER USER 'seeyon'@'%' IDENTIFIED BY 'password' PASSWORD EXPIRE NEVER; |
终于连上了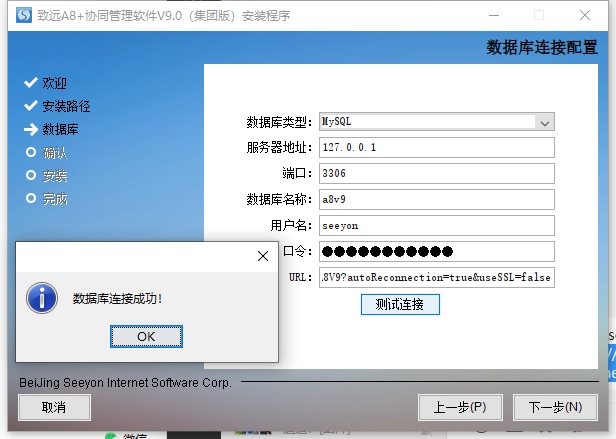
如果URL缺失了,用这句语句来修改来弄<黄色是IP:端口><红色是数据库名>
jdbc:mysql://127.0.0.1:3306/A8V9?autoReconnection=true&useSSL=false
第7个错误(安装包太旧了)
请找你的运维顾问拿最新的安装包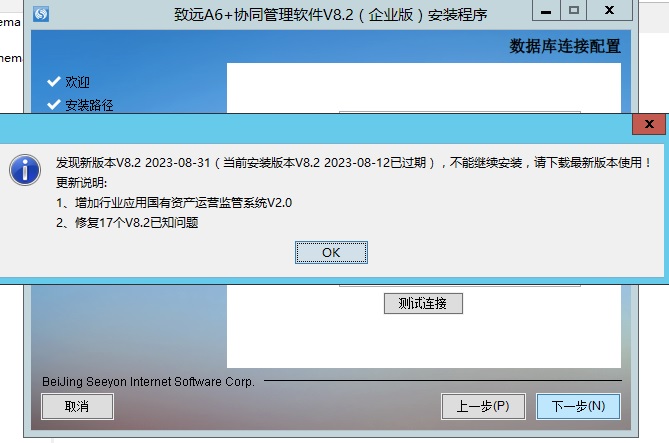
第8个错误(硬件软件配置太低)
请升级的硬件至少8核16G以上,配置好虚拟内存等系统配置。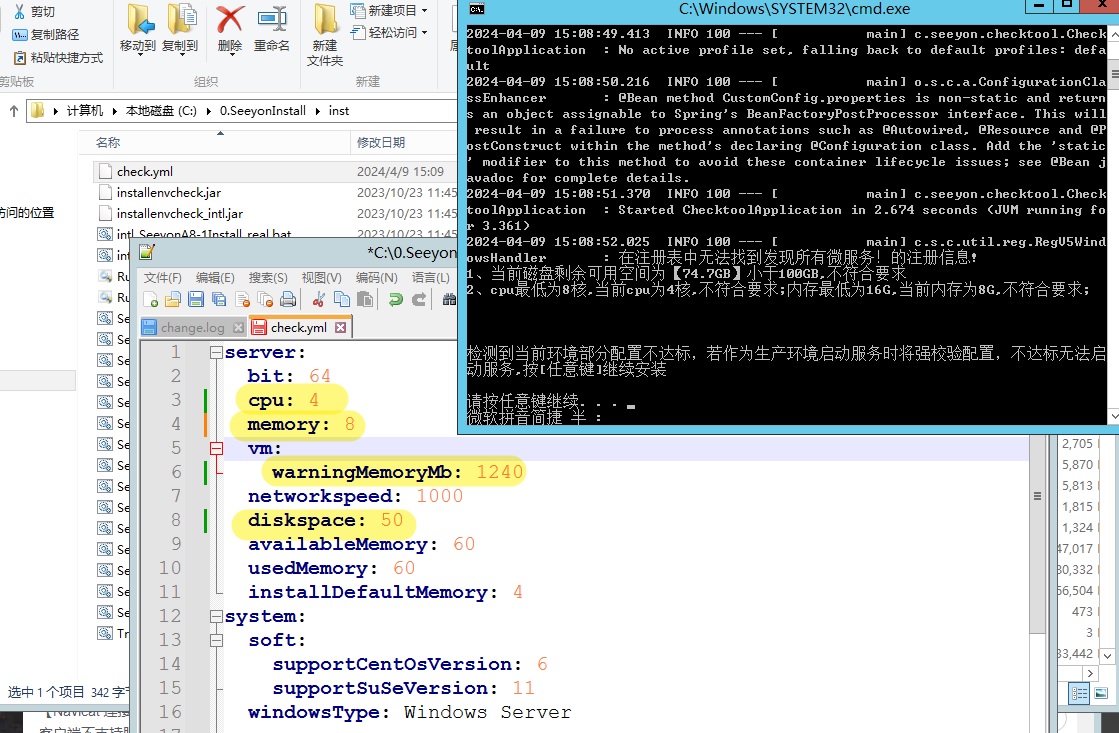
以上的8个问题都解决了,终于可以继续了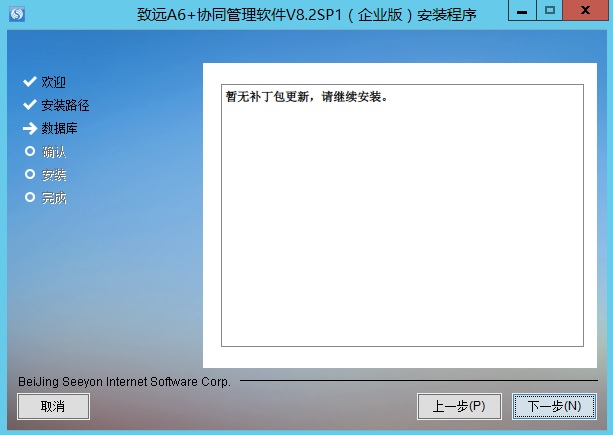
下一步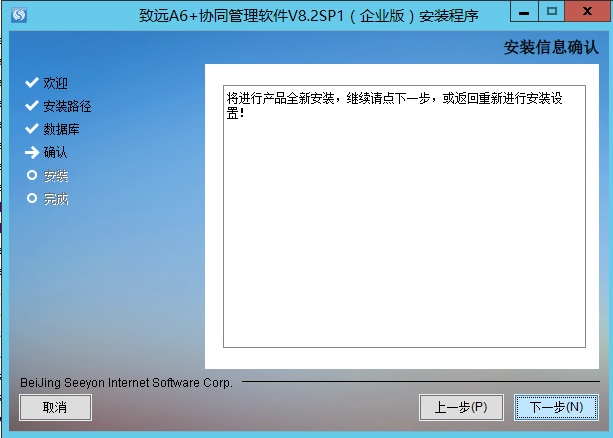
安装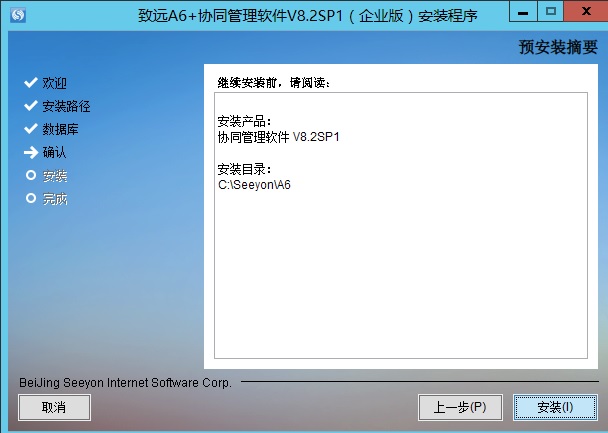
等待安装完成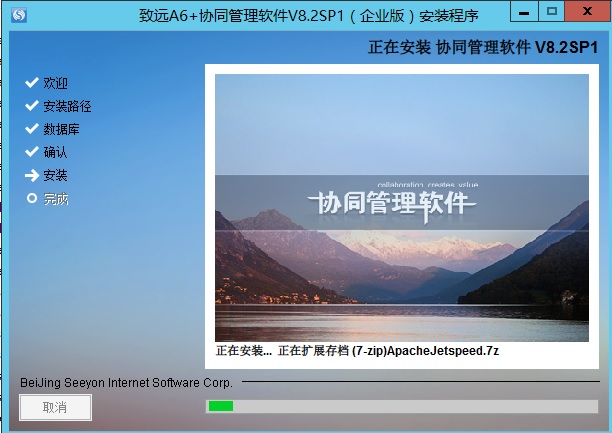
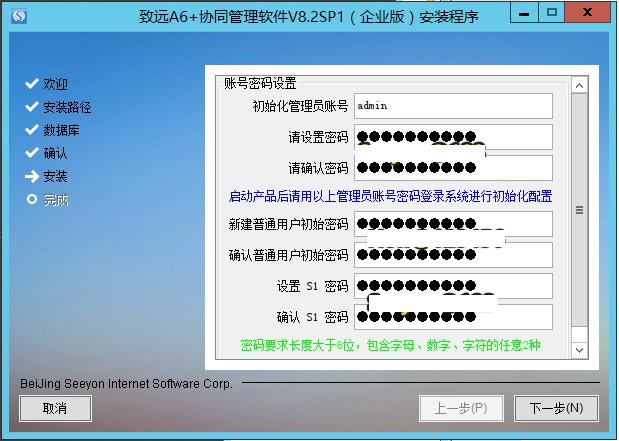
配置密码
- 超级管理员账号密码:只会用一次,首次登录后就会禁用管理员。需要新建一个新用户来替代管理员。
- 新用户初始密码:每新建一个新用户都会默认的密码,当然新建的时候可以改的。
- S1密码:是运维软件的登录密码,千万不要忘记,忘记了就要重装系统了。
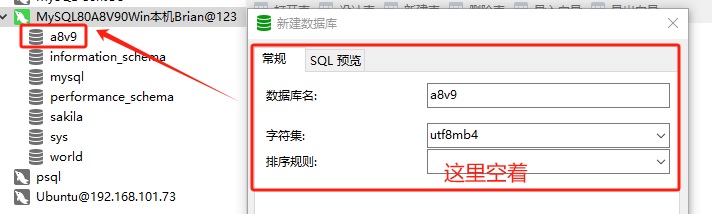
第9个错误(数据库建错了)
如果你的数据库排序和字符集用错了,就需要重建一个再来安装。字符集为UTF8MB4。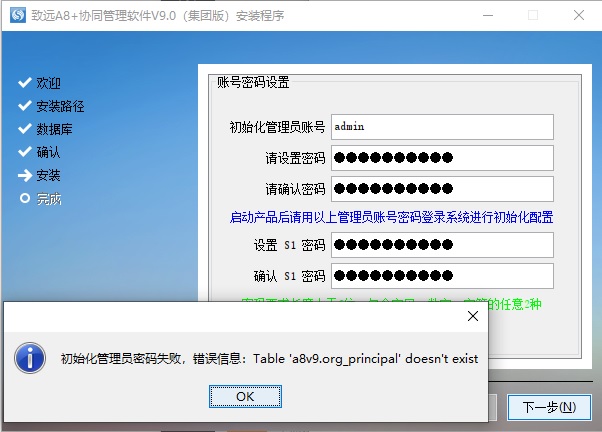
继续安装,这个默认值。如果有网络隔离需要,请配置。但是建议通过防火墙来控制,更方便。
点击完成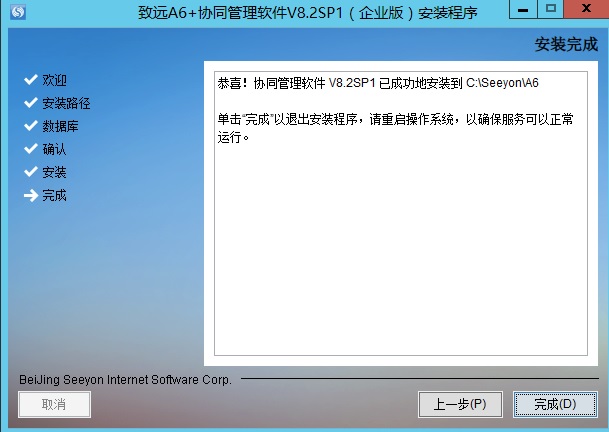
注册系统(加密狗)
详细请找你的客户经理、实施经理或运维工程师。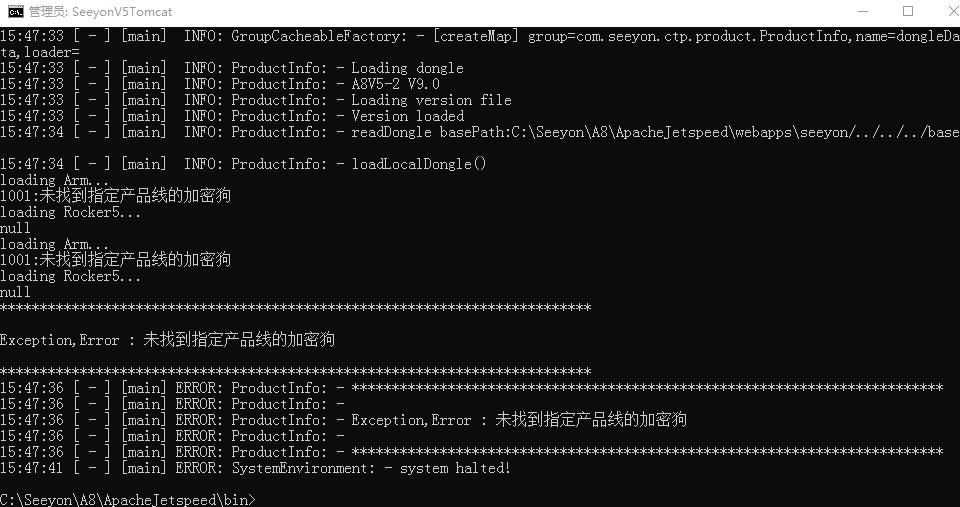
启动
用管理员运行C:\Seeyon\A8\ApacheJetspeed\bin\startup.bat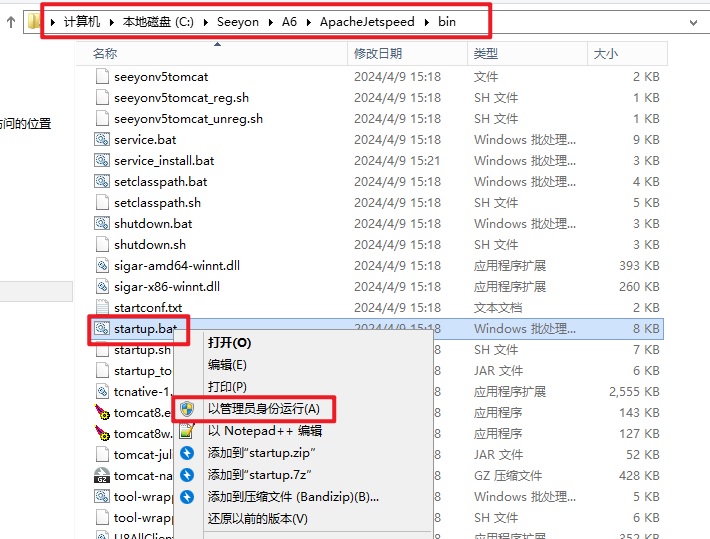
这就证明跑起来了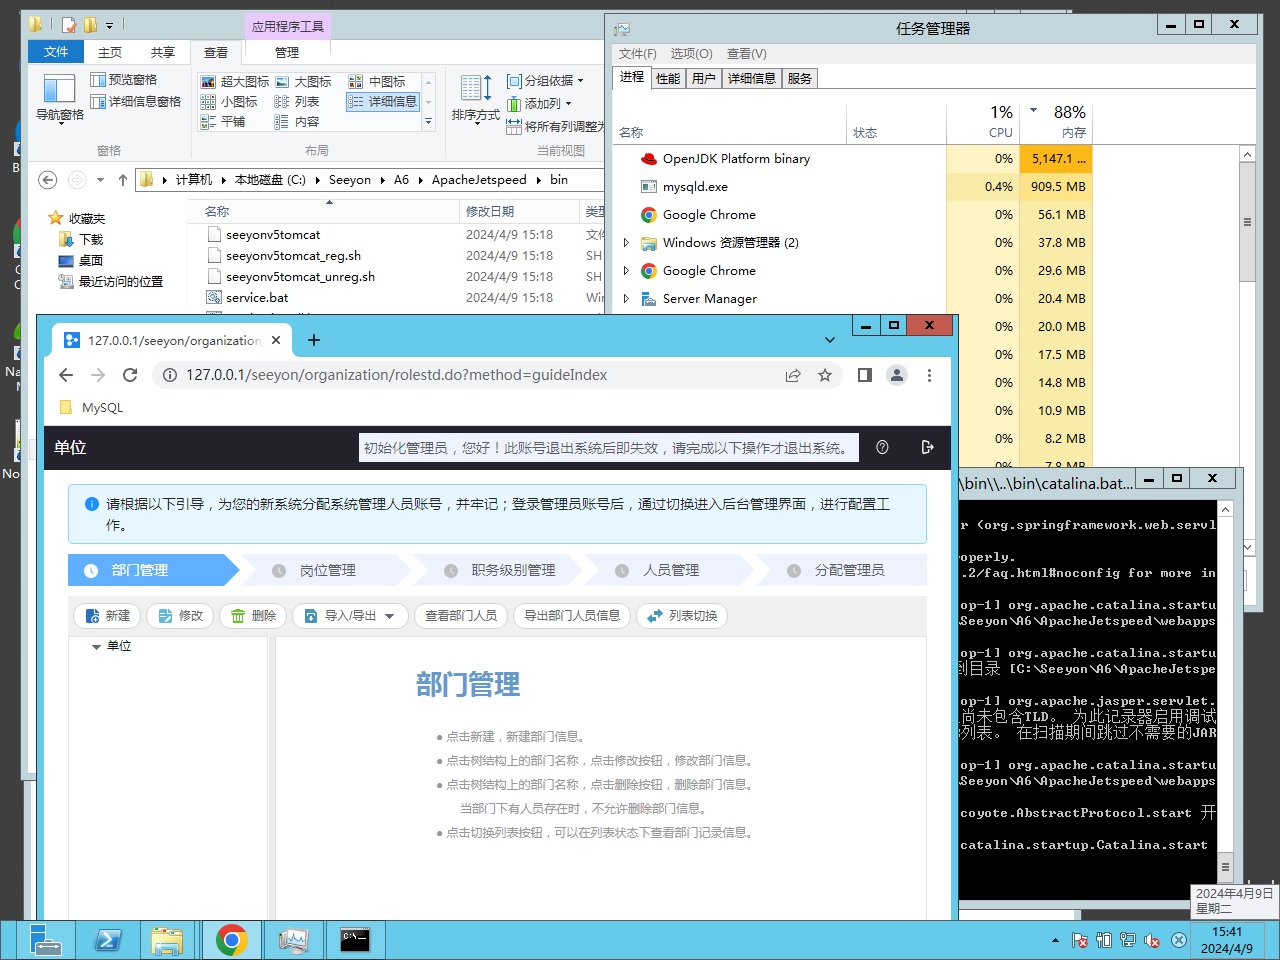
移动端
配置内网IP和端口就能登录,不需要启动额外服务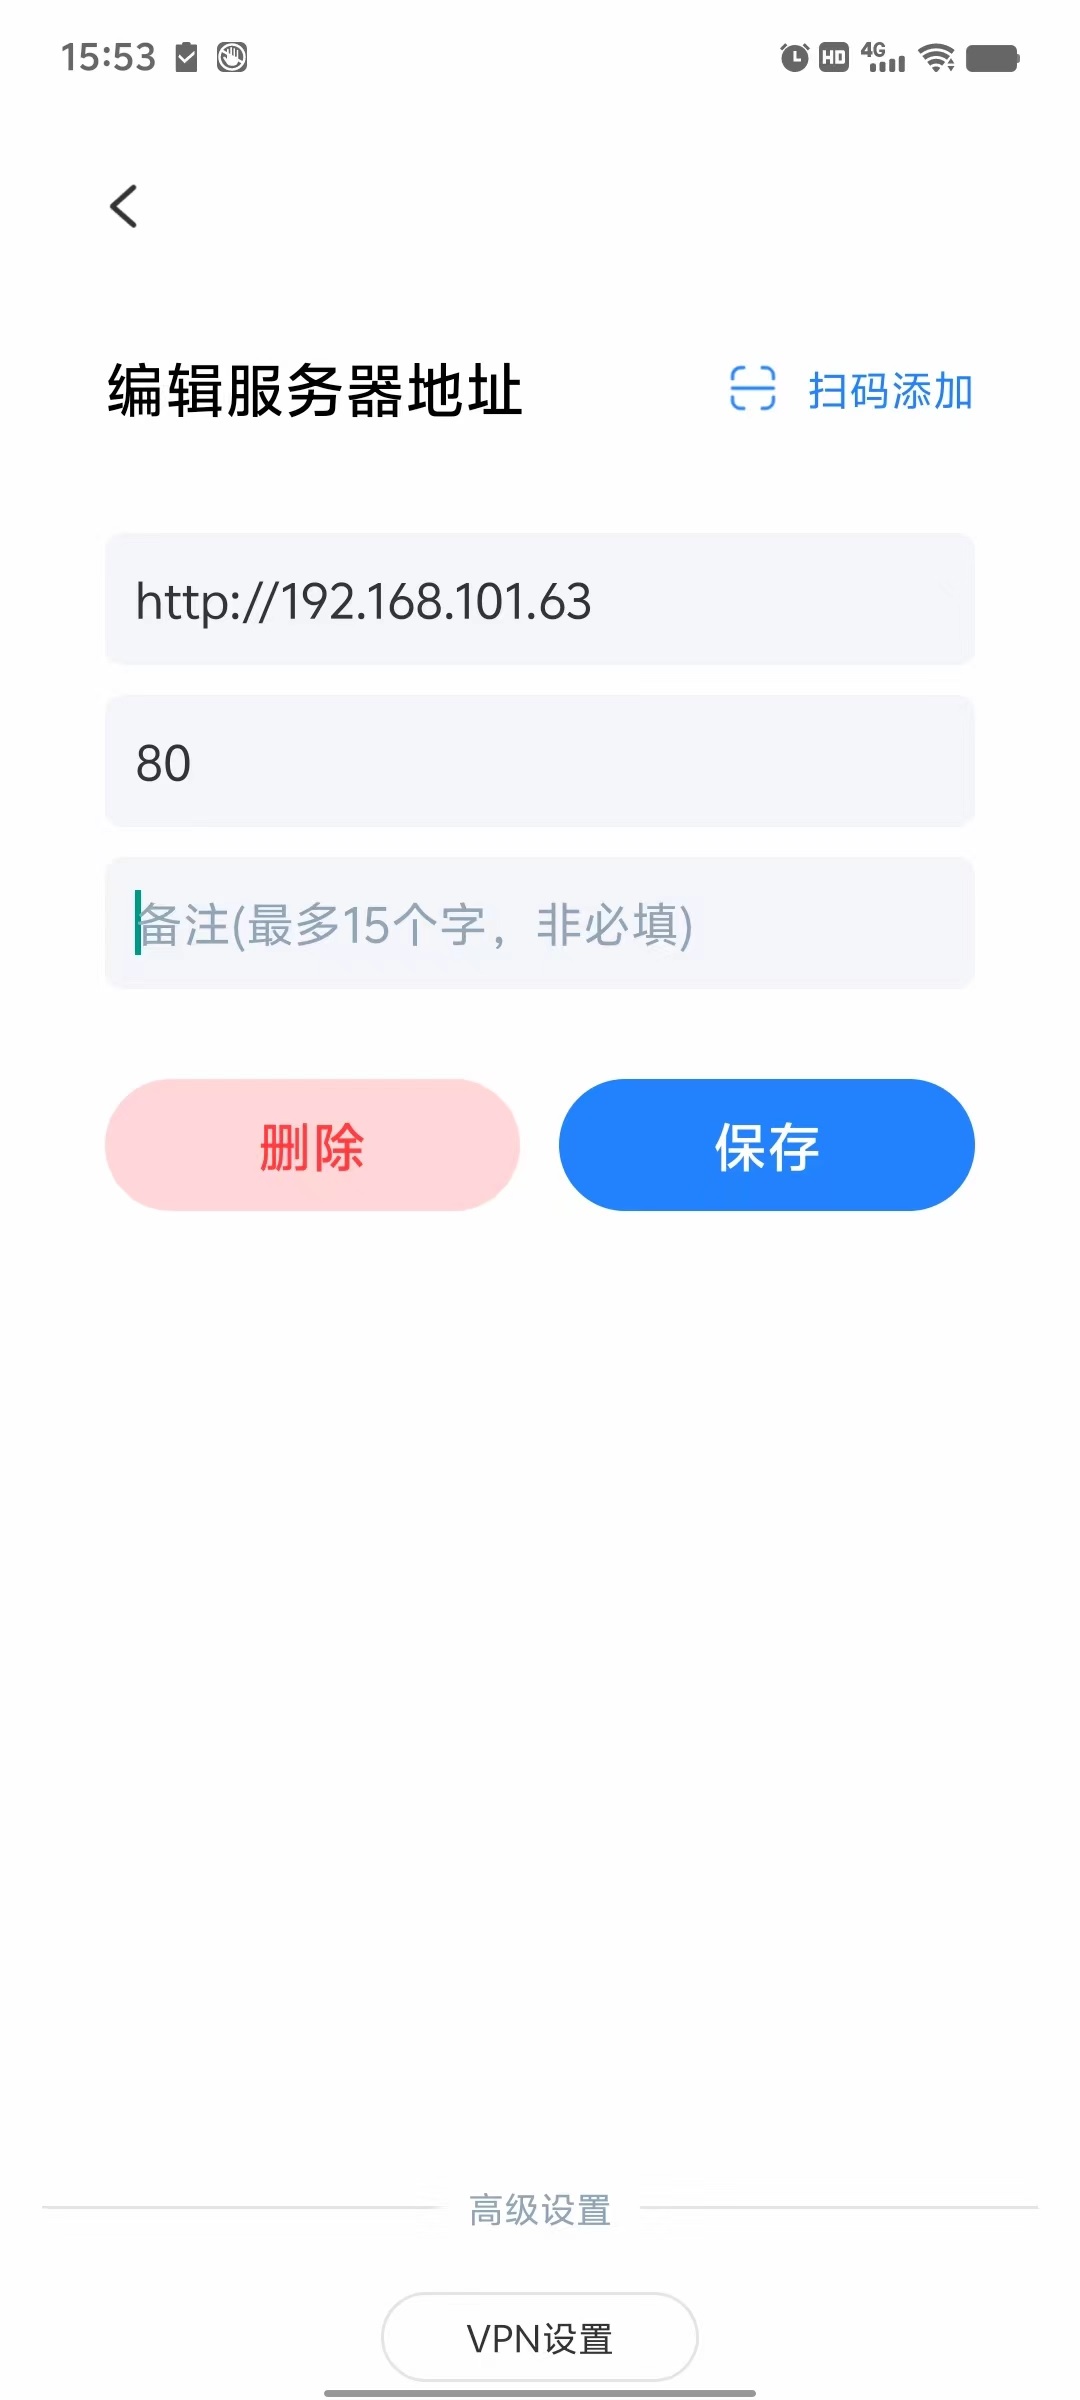
打补丁
请找你的运维顾问拿到帮助文档,还有下载补丁工具。当然你购买了维保服务是可以当甩手掌柜的。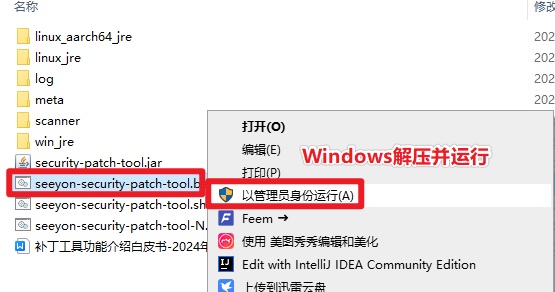
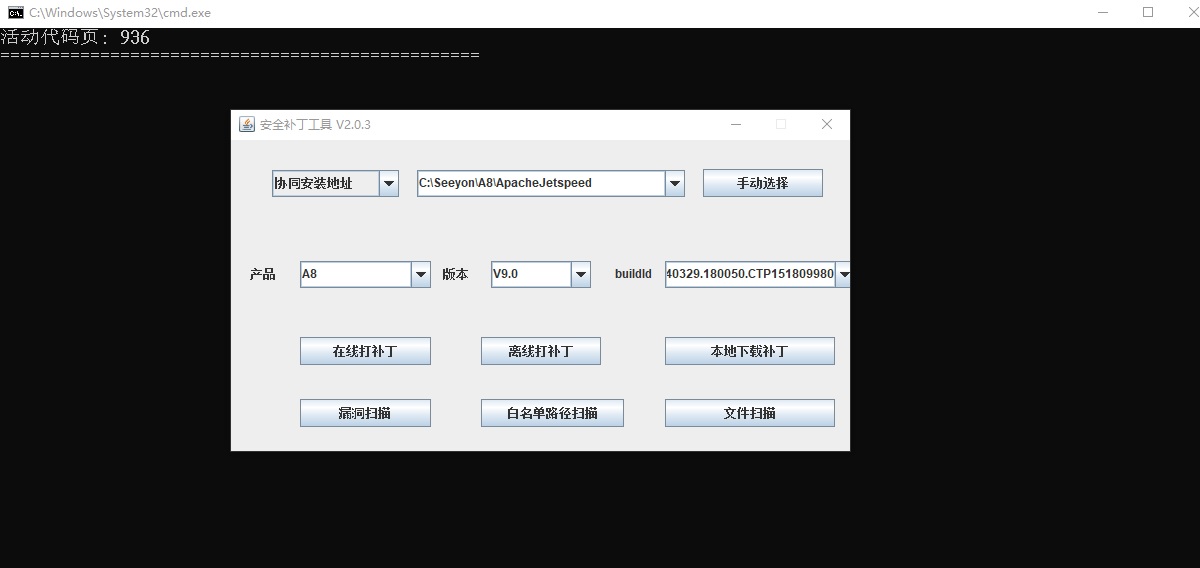
在线打补丁:需要在协同关闭的时候进行
漏洞扫描:需要在协同启动的时候进行
升级
跟重新安装一样,这里不展开。建议至少每3年升级一次系统。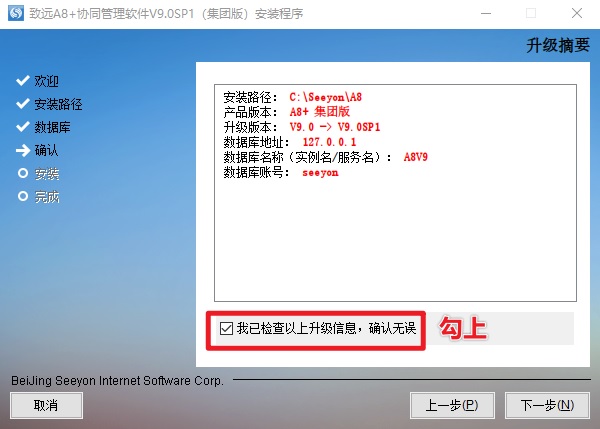
S1(运维工具)
在安装完系统的时候的第一次,S1工具就会自动启动。不需要额外安装的。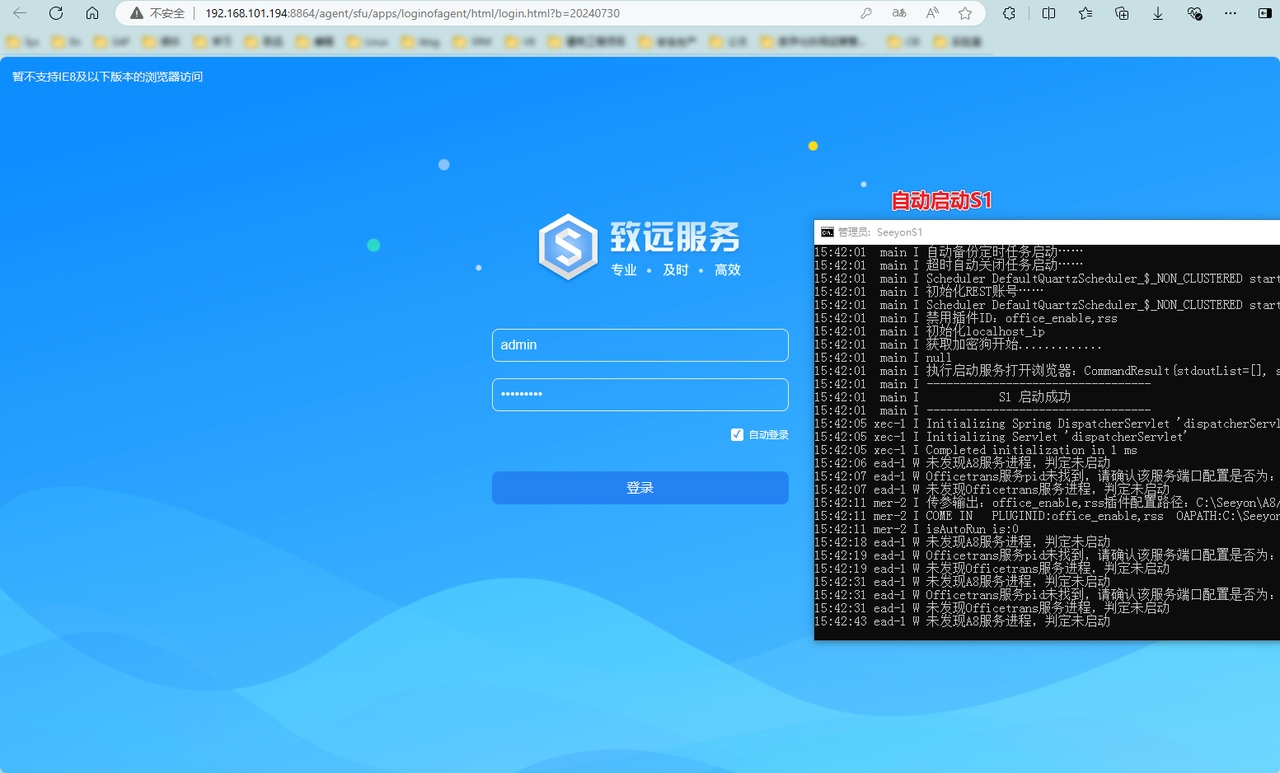
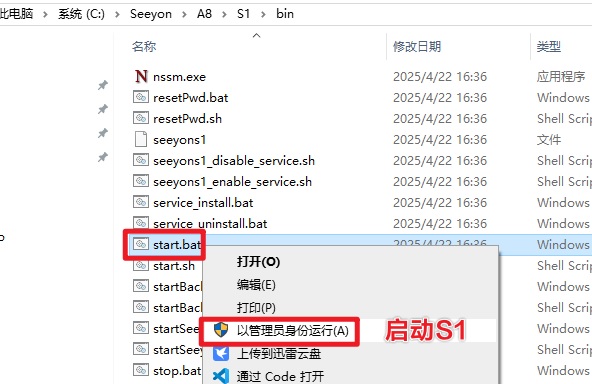
以后手动启动的目录是S1启动位置C:\Seeyon\A8\S1\bin\start.bat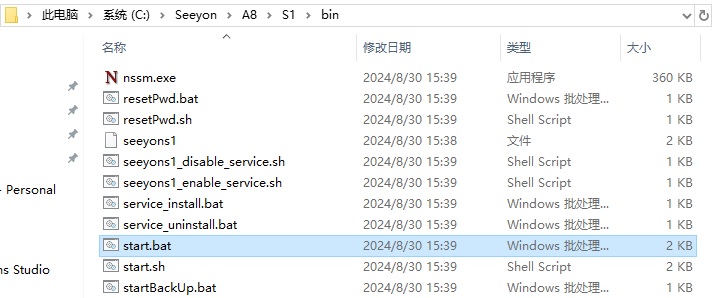
OfficeTrans(Offic浏览)
默认就会安装上,只需要启动即可。
地址是:C:\Seeyon\A8\OfficeTrans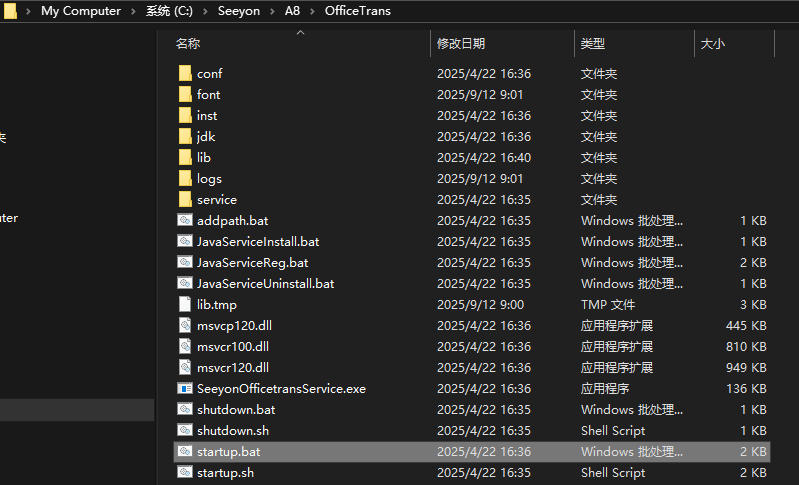
点击小眼睛就能预览文件了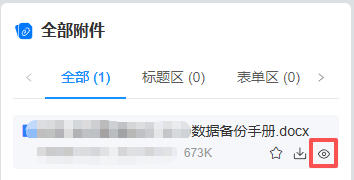
Mediaservice(音视频)
音视频服务是一个能在协同上直接播放视频的工具
下载了安装包后,安装保路径:D:\1.IndependentService\SeeyonMediaserviceInstall.bat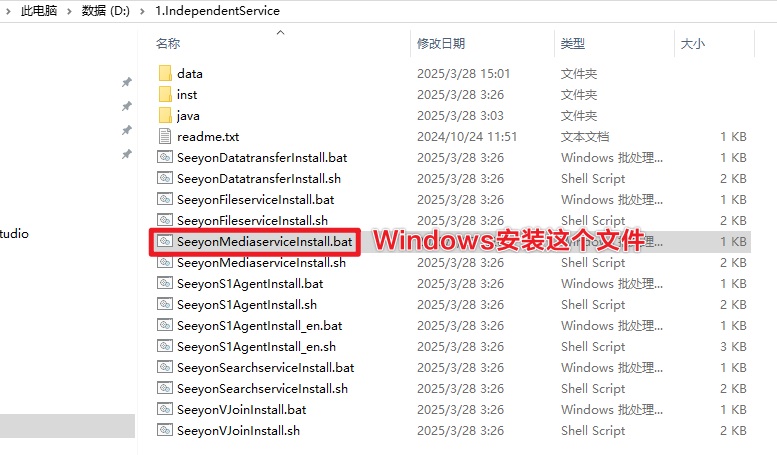
全部下一步就好了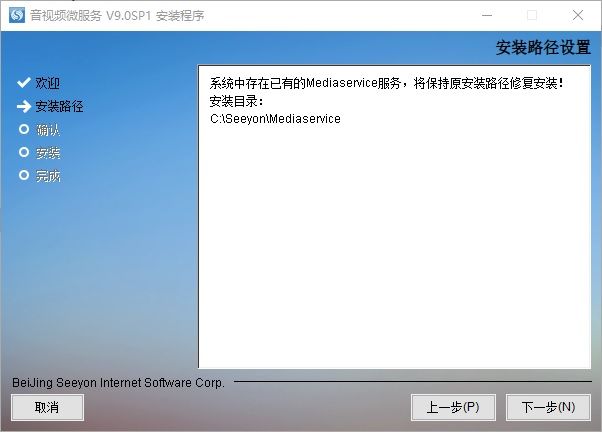
安装完的目录文件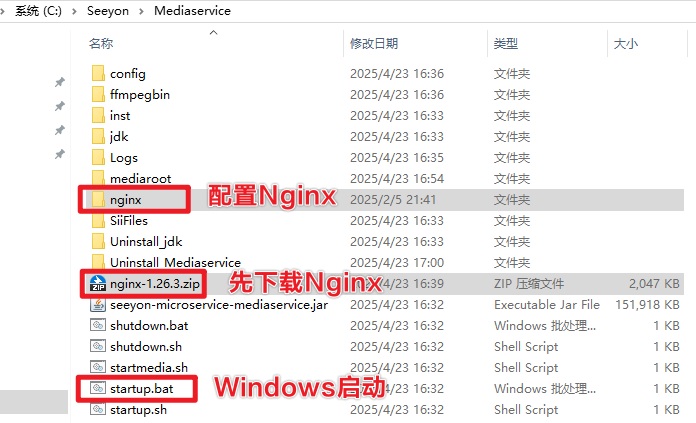
因为音视频服务需要Nginx服务的支持,所以需要安装Nginx。
下载Nginx:https://nginx.org/en/download.html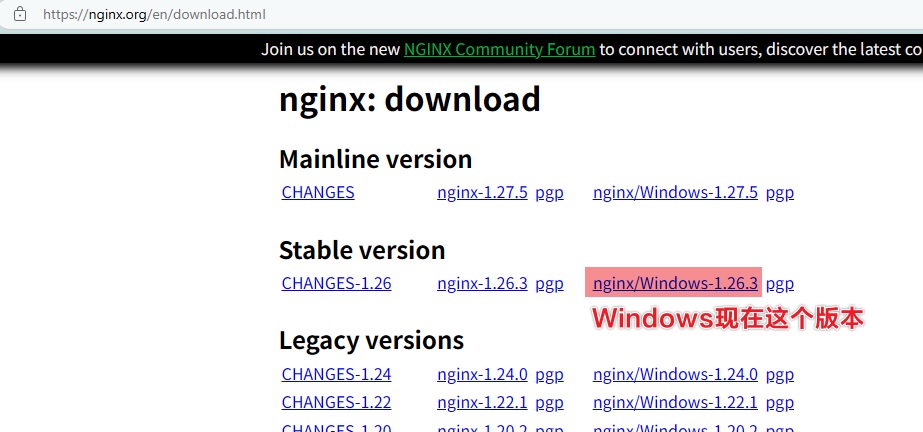
首先要知道,刚刚安装好的音视频服务就已经有了C:\Seeyon\Mediaservice\nginx\conf目录中的nginx.conf和mime.types两个文件
- 把下载好的安装包
nginx-1.26.3.zip文件解压出来成为nginx-1.26.3文件夹 - 把
C:\Seeyon\Mediaservice\nginx\conf目录中的nginx.conf和mime.types复制出来,放在C:\Seeyon\Mediaservice\nginx-1.26.3\conf中,替换原有的两个文夹。 - 删除掉自带的
nginx文件夹。 - 把
nginx-1.26.3文件夹改名为nginx文件夹。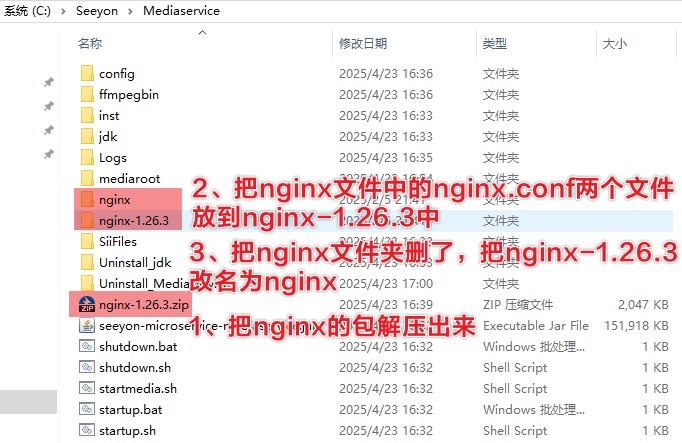
重启S1服务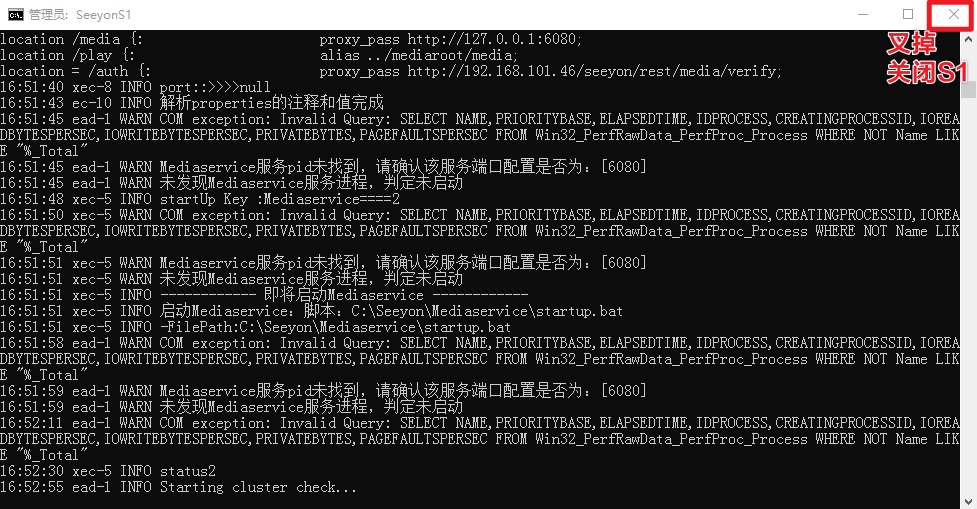
在S1里面配置Mediaservice服务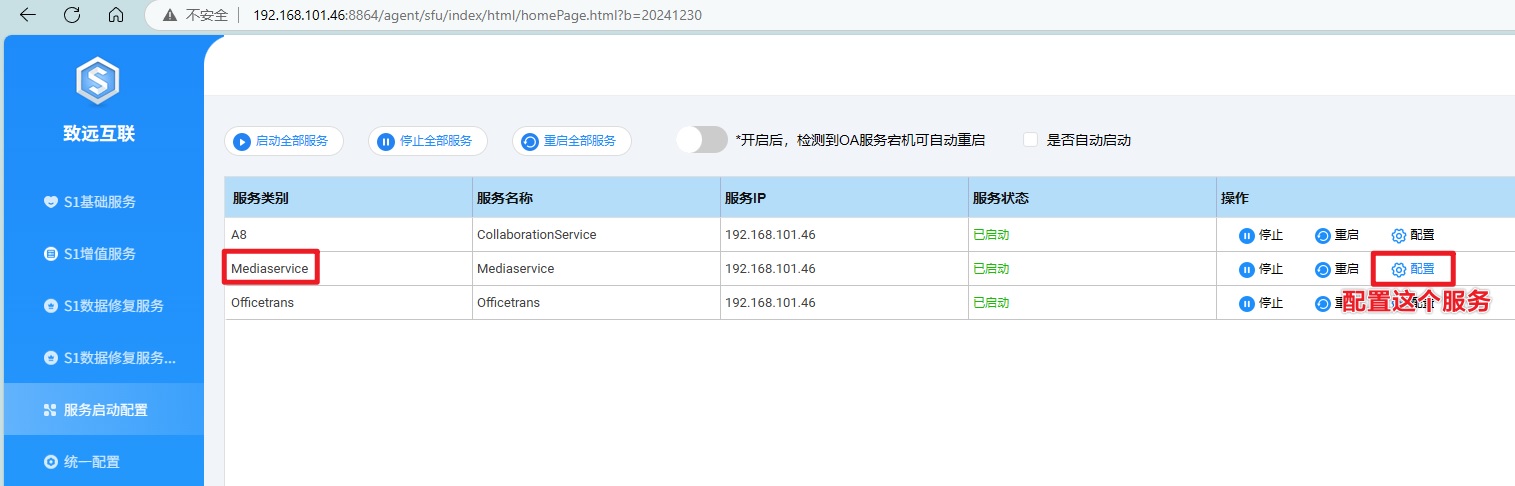
配置默认一般就是正确的,点击测试通过就行。注意a8.server.url的IP要跟本机的IP一致。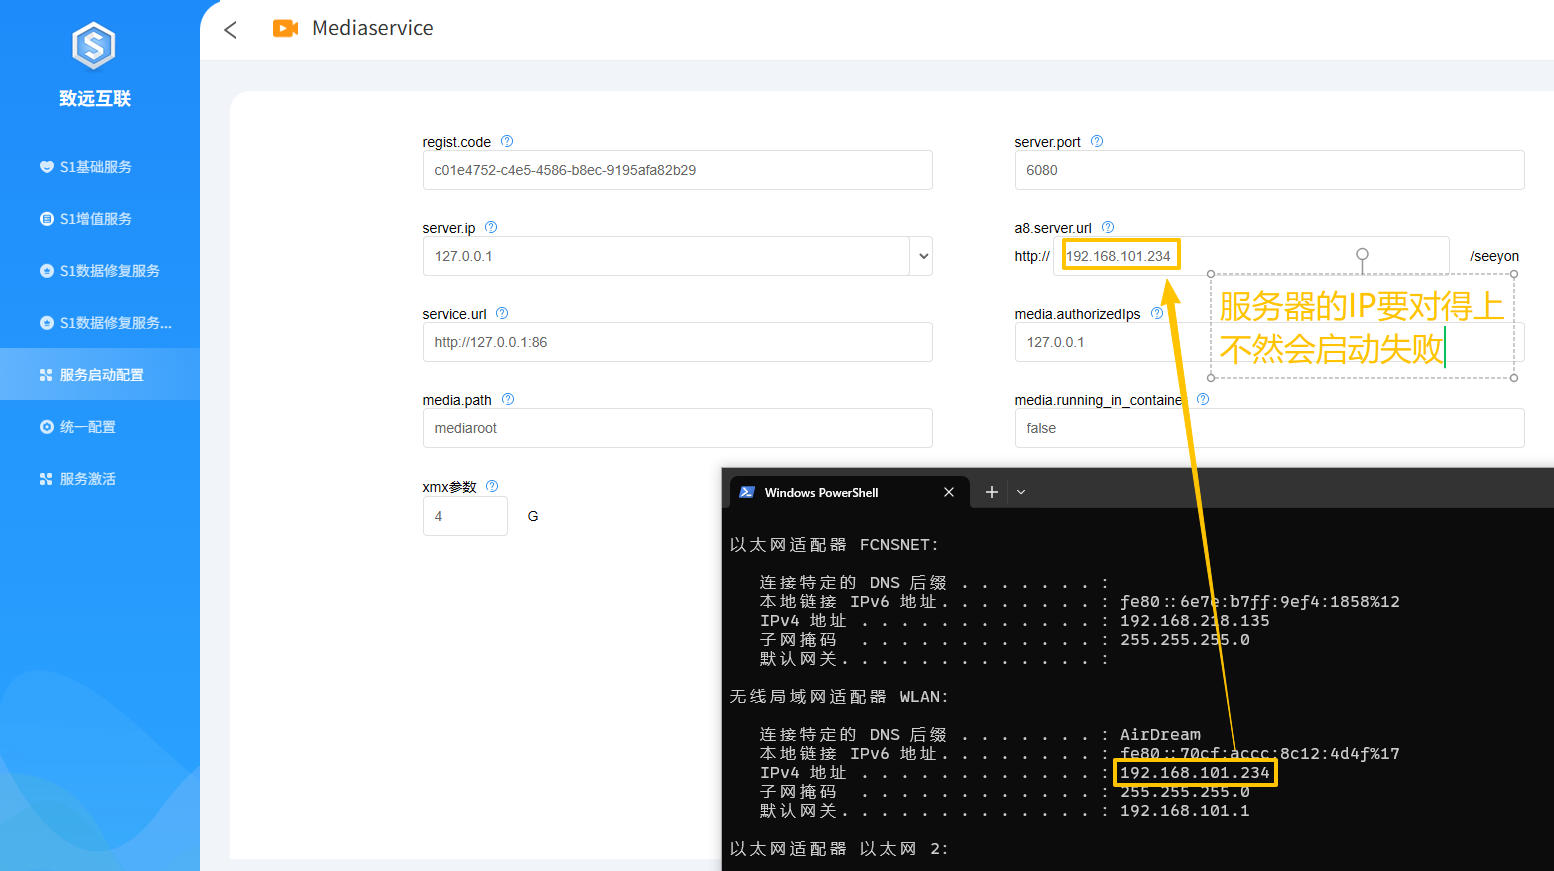
现在可以启动服务了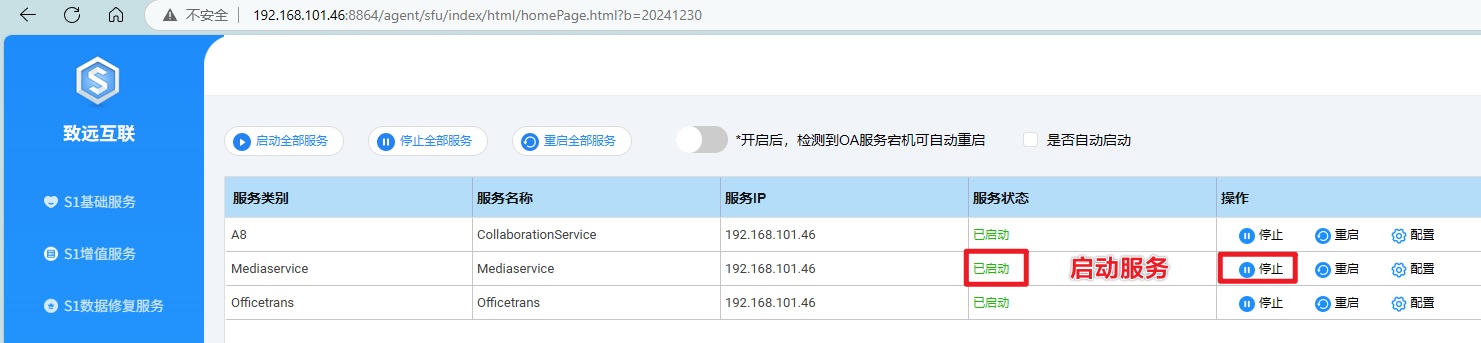
回到A8的知识社区-视频广场,新建一个新的分类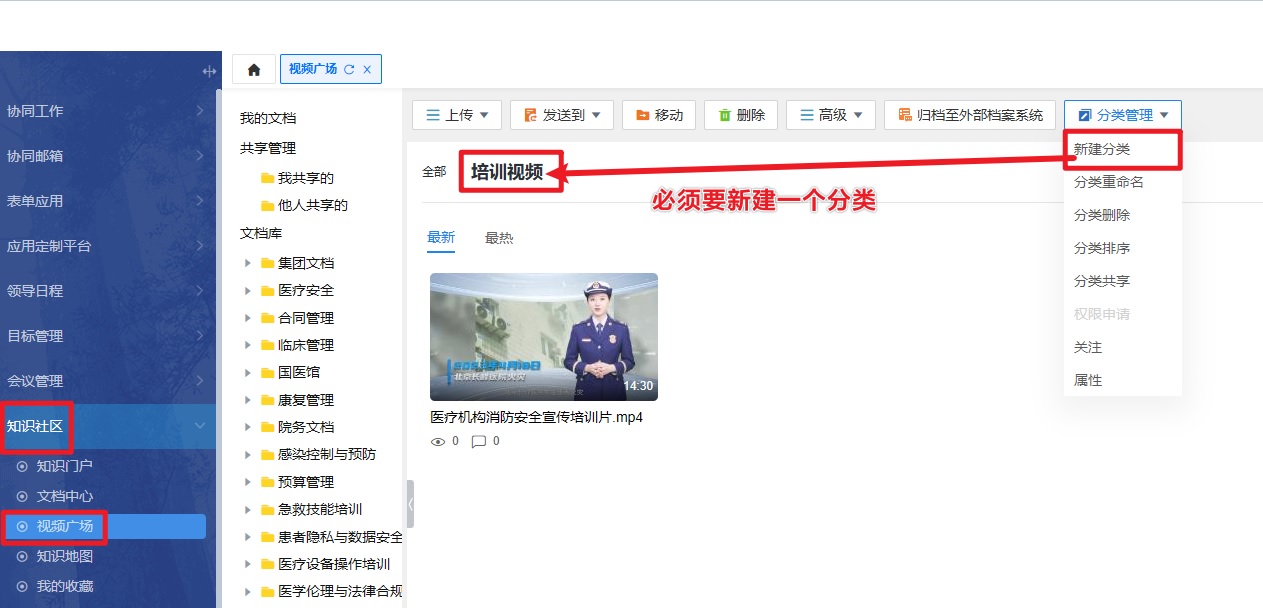
可以上传视频并播放了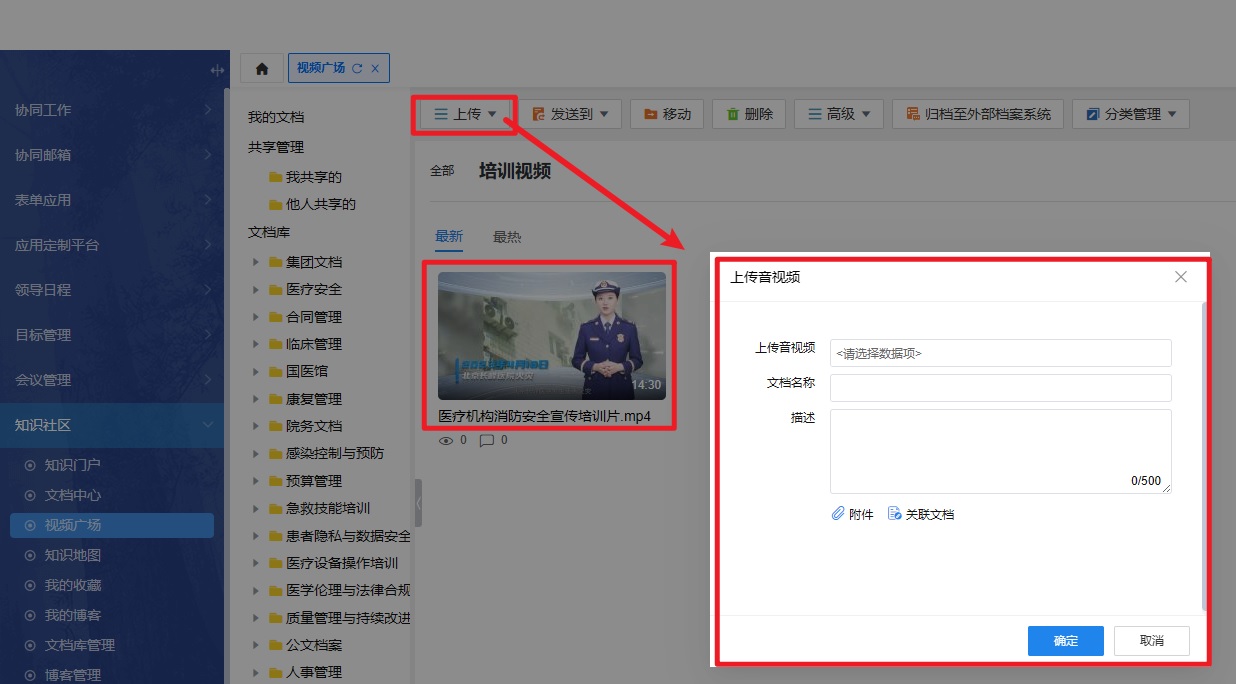
搜索服务
具体见运维顾问提供的手册
下载服务
具体见运维顾问提供的手册